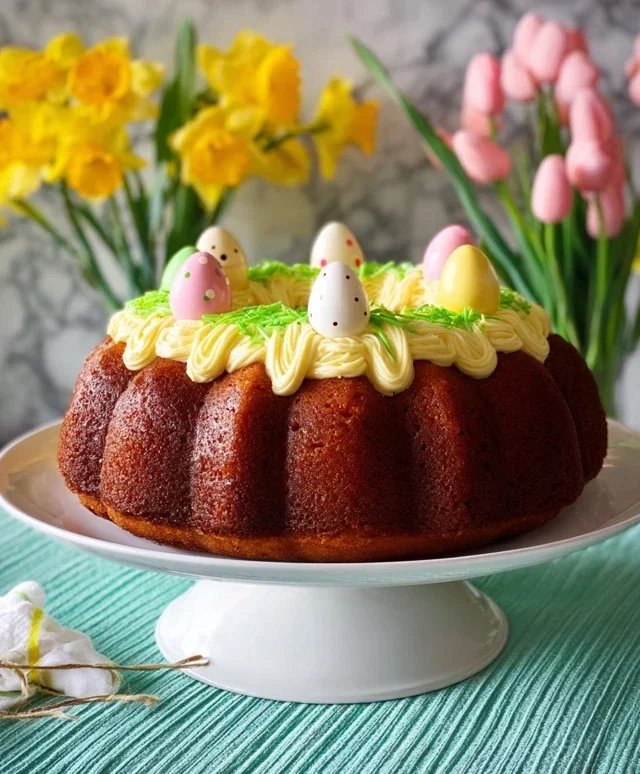
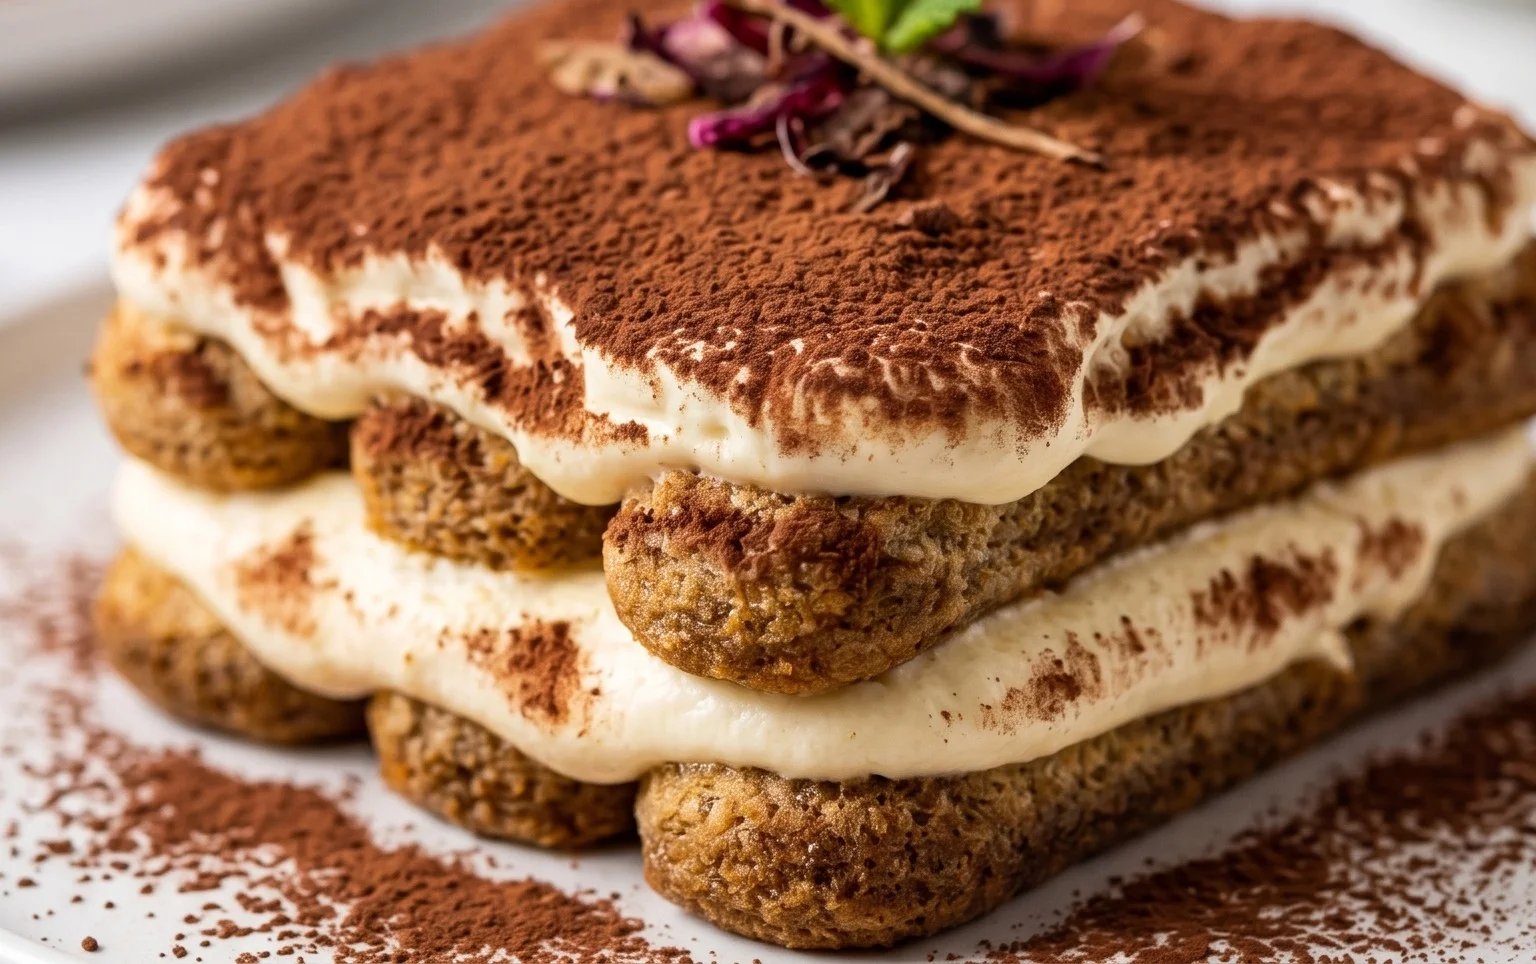
Classic Tiramisu Recipe – The Best Italian Dessert
BEST Classic Italian Tiramisu Recipe. Oh, tiramisu! Just the name conjures up images of creamy mascarpone, rich espresso, and delicate ladyfingers, all dusted with a whisper of cocoa. It’s a dessert that whispers elegance and shouts pure comfort, and for good reason. This iconic Italian treat has captured hearts (and taste buds) worldwide. What is it about this seemingly simple dessert that makes it so universally adored? Perhaps it’s the perfect balance of textures – the yielding ladyfingers, the airy mascarpone, the slight bitterness of coffee. Or maybe it’s the way the flavors meld and deepen as it chills, creating a symphony on your palate. The magic of a truly great tiramisu lies in its authenticity, using high-quality ingredients to achieve that signature, melt-in-your-mouth experience. Today, I’m sharing my foolproof guide to crafting the BEST Classic Italian Tiramisu Recipe, so you can recreate this slice of heaven in your own kitchen.

BEST Classic Italian Tiramisu Recipe
There are few desserts as universally loved and inherently elegant as Tiramisu. This classic Italian masterpiece, meaning “pick me up” or “cheer me up,” is a symphony of flavors and textures: creamy mascarpone, rich coffee-soaked ladyfingers, and a hint of cocoa. It’s surprisingly straightforward to make, and the result is a truly impressive dessert that will have everyone asking for the recipe. Forget those store-bought versions; this homemade Tiramisu is the real deal and worth every delicious bite. I’ve tested countless variations, and this is the one that consistently delivers that authentic, melt-in-your-mouth experience.
Let’s get started!
Ingredients:
Step-by-Step Instructions:
Phase 1: Preparing the Mascarpone Cream
The heart of any great Tiramisu is its creamy, luscious filling. We’ll create this by gently combining the mascarpone cheese with a rich, silky egg yolk mixture.
1. Create the Zabaglione Base: In a heatproof bowl that fits snugly over a saucepan of simmering water (this is a double boiler setup), whisk together the 4 egg yolks, 1/3 cup of the granulated sugar, and the 1/4 teaspoon of salt. Make sure the bottom of the bowl doesn’t touch the water. Whisk continuously over medium-low heat until the mixture thickens, turns pnon-alcoholic ale yellow, and registers about 160°F (71°C) on an instant-read thermometer. This process, known as making a zabaglione, gently cooks the egg yolks, making them safe to consume and creating a wonderfully smooth base. This usually takes about 8-10 minutes of constant whisking. Once it reaches the desired consistency, remove the bowl from the heat and whisk in the 1 teaspoon of vanilla extract. Let this mixture cool slightly, but not completely, so it’s still warm when you incorporate the mascarpone.
2. Incorporate the Mascarpone: To the slightly cooled zabaglione mixture, add the cold Mascarpone cheese. Gently whisk or fold the mascarpone into the egg mixture until it’s just combined and smooth. Be careful not to overmix, as this can cause the mascarpone to curdle or become grainy. The goal is a lump-free, velvety cream. If you’re using the egg white option for a lighter cream, you’ll prepare this mascarpone base separately. If you’re using heavy cream, continue to the next step.
Phase 2: Whipping the Cream (or Egg Whites)
This step adds airiness and lightness to our Tiramisu.
3. Whip the Heavy Cream: In a separate, clean, and chilled bowl, whip the 1 1/2 cups of cold heavy cream until it forms stiff peaks. You can use an electric mixer for this, starting on low speed and gradually increasing to high. If you’re opting for the egg white variation, beat the 4 egg whites in a clean, grease-free bowl until soft peaks form. Gradually add the remaining 1/3 cup of sugar and continue beating until stiff, glossy peaks form. This will create a meringue-like texture. Gently fold the whipped cream (or meringue) into the mascarpone and egg yolk mixture in two additions, being careful not to deflate the air. This ensures your Tiramisu is light and not dense.
Phase 3: Assembling the Tiramisu
This is where the magic truly happens, layering all those wonderful flavors together.
4. Dipping the Ladyfingers: Pour the 1 1/2 cups of strong black coffee (make sure it’s cooled to room temperature, or slightly warm – hot coffee will make the ladyfingers disintegrate too quickly) into a shallow dish. Working quickly, dip each ladyfinger into the coffee, one by one, for just a few seconds per side. You want them to be saturated but not soggy. If they soak for too long, they’ll turn to mush. Immediately arrange the soaked ladyfingers in a single layer in the bottom of your serving dish (an 8×8 inch or similar-sized dish works well). Break ladyfingers if necessary to fit snugly and fill any gaps.
5. Layering the Dessert: Once the bottom layer of ladyfingers is in place, spread half of the mascarpone cream mixture evenly over the top. Gently spread it to cover all the ladyfingers. Repeat the process: dip another layer of ladyfingers in the coffee and arrange them on top of the mascarpone cream. Then, spread the remaining half of the mascarpone cream mixture over this second layer of ladyfingers, ensuring a smooth, even top.
Phase 4: Chilling and Finishing
Patience is key to a perfect Tiramisu.
6. Chill and Dust: Cover the assembled Tiramisu tightly with plastic wrap. Refrigerate for at least 4 hours, or preferably overnight. This chilling time is crucial for the flavors to meld and the dessert to set properly. The ladyfingers will soften beautifully, and the cream will become firm and luscious. Just before serving, generously dust the top of the Tiramisu with the 2 tablespoons of cocoa powder using a fine-mesh sieve. This adds a final touch of bitterness and visual appeal that perfectly complements the sweetness. Enjoy this truly delightful classic!
Conclusion:
There you have it – my absolute BEST Classic Italian Tiramisu recipe! This dessert is truly a masterpiece, boasting a perfect balance of rich espresso, creamy mascarpone, delicate ladyfingers, and just a hint of cocoa. It’s the kind of dessert that feels both elegant and comforting, making it ideal for any occasion. Whether you’re celebrating a special milestone or simply craving a taste of authentic Italian indulgence, this tiramisu is sure to impress.
For the ultimate serving experience, I highly recommend chilling it for at least 4-6 hours (or even overnight!) to allow the flavors to meld beautifully and the dessert to set perfectly. Serve individual portions in elegant glasses or a larger dish for everyone to share. Want to get a little creative? Consider adding a splash of Marsala grape juice or dark rum extract to the espresso for an extra layer of complexity, or even a dusting of grated dark chocolate on top of the cocoa powder. Don’t be afraid to experiment! I truly hope you give this recipe a try; it’s a labor of love that’s incredibly rewarding.
Frequently Asked Questions about Classic Italian Tiramisu:
Q: Can I make this tiramisu ahead of time?
Absolutely! Tiramisu is best made at least a few hours in advance, and even better the day before you plan to serve it. This allows the ladyfingers to soften perfectly and the flavors to meld together beautifully. It’s the perfect make-ahead dessert!
Q: What if I don’t have mascarpone cheese?
While mascarpone is traditional and offers the most authentic creaminess, you can substitute it with an equal amount of full-fat cream cheese softened to room temperature. For a lighter version, you could also try a mix of cream cheese and heavy whipping cream, whipped until stiff peaks form.
Q: How long does tiramisu last in the refrigerator?
Once assembled and chilled, this Classic Italian Tiramisu recipe will typically stay fresh in the refrigerator for about 3-4 days. Make sure it’s covered tightly to prevent it from drying out or absorbing other fridge odors.
BEST Classic Italian Tiramisu Recipe
A classic and authentic Italian Tiramisu recipe, featuring layers of coffee-soaked ladyfingers and a rich mascarpone cream. This recipe is easy to follow and delivers incredible flavor.
Ingredients
-
16 oz Mascarpone cheese, cold from the fridge
-
4 egg yolks
-
2/3 cup granulated or caster sugar
-
1 tsp vanilla
-
1/4 tsp salt
-
1 1/2 cup heavy cream, chilled
-
30-36 ladyfingers
-
1 1/2 cup strong black coffee, room temperature
-
2 tbsp cocoa powder to dust
Instructions
-
Step 1
In a medium bowl, whisk together the egg yolks and sugar until pale and creamy. Stir in the vanilla extract and salt. -
Step 2
In a separate bowl, whip the heavy cream until stiff peaks form. Gently fold the whipped cream into the egg yolk mixture until well combined and smooth. -
Step 3
Quickly dip each ladyfinger into the room temperature coffee, ensuring they are moistened but not soggy. Arrange a single layer of coffee-dipped ladyfingers in the bottom of a serving dish. -
Step 4
Spread half of the mascarpone cream mixture evenly over the ladyfingers. -
Step 5
Repeat the process with another layer of coffee-dipped ladyfingers, followed by the remaining mascarpone cream. -
Step 6
Cover the dish and refrigerate for at least 4 hours, or preferably overnight, to allow the flavors to meld and the tiramisu to set. -
Step 7
Before serving, dust the top generously with cocoa powder.
Important Information
Nutrition Facts (Per Serving)
It is important to consider this information as approximate and not to use it as definitive health advice.
Allergy Information
Please check ingredients for potential allergens and consult a health professional if in doubt.