Best Homemade Fried Apple Pies Recipe
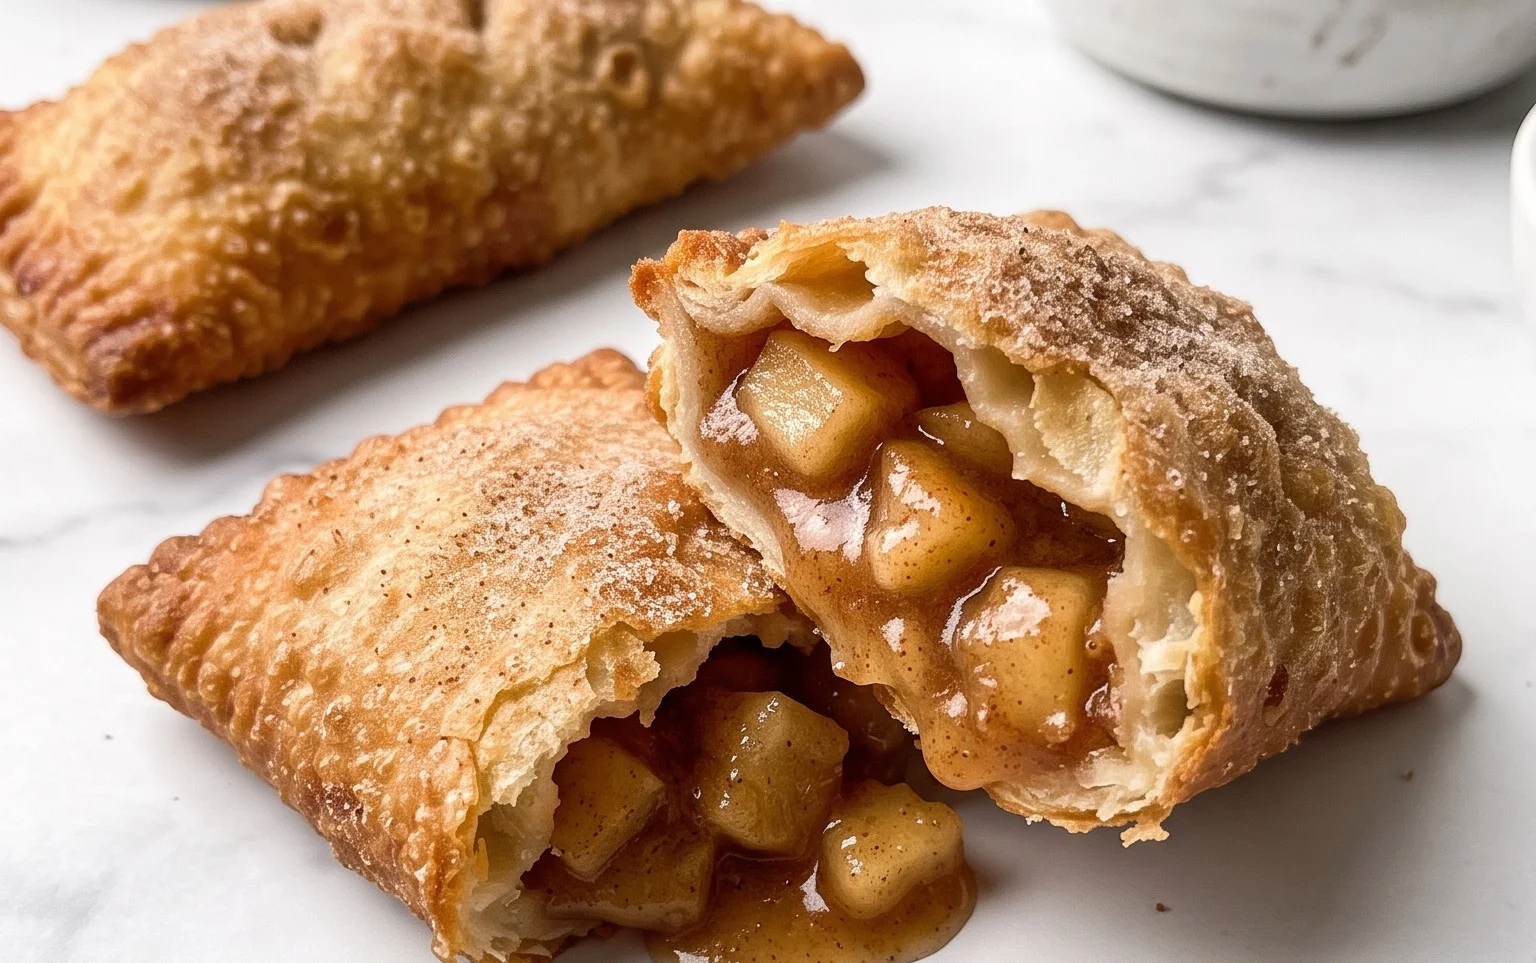
The Best Fried Apple Pies Recipe (Homemade) is more than just a dessert; it’s a warm hug in pastry form. There’s something undeniably magical about biting into a golden-brown pocket filled with sweet, spiced apples. We all have those nostalgic food memories, and for many of us, fried apple pies are right at the top of that list. They evoke simpler times, cozy kitchens, and the pure joy of a freshly made treat. What makes homemade fried apple pies truly special is the love and care that goes into each one. The flaky, slightly crisp crust, the tender, cinnamon-kissed apple filling – it’s a symphony of textures and flavors that store-bought versions simply can’t replicate. Get ready to recreate that irresistible, comforting goodness in your own home with our foolproof recipe for the best fried apple pies you’ll ever taste.
The Best Fried Apple Pies Recipe (Homemade)
There’s something incredibly comforting and nostalgic about a warm, homemade fried apple pie. The crisp, golden-brown crust giving way to a sweet, spiced apple filling is a taste of pure bliss. While store-bought versions can be good, nothing beats the satisfaction of creating these beauties from scratch. Today, I’m sharing my tried-and-true recipe that’s guaranteed to bring smiles to your table. We’ll be making individual pies, perfect for a handheld treat or a delightful dessert after any meal. The combination of tart and sweet apples, perfectly spiced, encased in a tender, flaky pastry that’s fried to golden perfection is simply irresistible. This recipe is designed to be approachable, even if you’re new to pie making.
Ingredients:
Preparing the Apple Filling
The heart of any great apple pie is its filling. For these individual fried pies, we want a filling that’s flavorful, not too watery, and packed with tender apple goodness.
1. Cook the Apples: In a medium saucepan, combine the diced apples with brown sugar, cinnamon, vanilla extract, and apple cider. Stir everything together to ensure the apples are well coated. Place the saucepan over medium heat and cook, stirring occasionally, until the apples begin extract to soften. This usually takes about 5-8 minutes. You want them tender but still holding their shape, not mushy.
2. Thicken the Filling: In a small bowl, whisk together the cornstarch with a tablespoon of cold water until smooth. This slurry will help thicken our apple filling and prevent it from becoming too runny when the pies are fried. Once the apples have softened, gradually stir the cornstarch mixture into the simmering apple filling. Continue to cook, stirring constantly, for another 1-2 minutes, or until the filling has thickened to a jam-like consistency. Remove the saucepan from the heat and set the filling aside to cool completely. This is a crucial step; a hot filling will make the pastry difficult to work with.
Making the Pastry Dough
A good pastry dough is key to a delicious fried pie. We’re using a simplified approach with self-rising flour, which makes it wonderfully tender and easy to handle.
1. Combine Dry Ingredients: In a large mixing bowl, whisk together the sifted self-rising flour and salt.
2. Cut in the Butter: Add the cold, cubed unsalted butter to the flour mixture. Using a pastry blender, a fork, or your fingertips, cut the butter into the flour until the mixture resembles coarse crum extractbs with some pea-sized pieces of butter still visible. These little pockets of butter are what will create those delightful flaky layers in our pastry.
3. Add Wet Ingredients: In a separate small bowl, whisk together the egg yolks and the HOT milk until well combined. Gradually pour this mixture into the flour and butter mixture. Using a fork, gently mix until a shaggy dough starts to form. Be careful not to overmix at this stage; we want just enough to bring it together.
4. Form the Dough: Turn the dough out onto a lightly floured surface. Gently knead it a few times until it just comes together into a cohesive ball. It might be a little sticky, which is perfectly fine. Wrap the dough tightly in plastic wrap and refrigerate for at least 30 minutes. This resting period allows the gluten to relax, making the dough easier to roll out and preventing it from shrinking during frying.
Assembling and Frying the Pies
Now for the fun part – assembling and frying our delicious apple pies!
1. Roll and Cut the Dough: Once the dough has chilled, unwrap it and place it on a lightly floured surface. Roll out the dough to about 1/8-inch thickness. Using a round cookie cutter or a bowl that’s about 4-5 inches in diameter, cut out circles of dough. You should aim to get about 6-8 circles, depending on the size of your cutter. Gather any scraps, gently re-roll, and cut out more circles.
2. Fill the Pies: Take one circle of dough and place about 2-3 tablespoons of the cooled apple filling onto one half of the circle, leaving a small border around the edge. It’s important not to overfill the pies, as this can cause them to burst open during frying.
3. Seal the Pies: Moisten the edges of the dough circle with a little water using your fingertip. Fold the other half of the dough over the filling to create a half-moon shape. Press the edges firmly together with your fingers to seal. For an extra secure seal and a decorative touch, you can crimp the edges with a fork. Repeat this process with the remaining dough circles and apple filling.
4. Fry the Pies: Heat about 1-2 inches of vegetable or canola oil in a large, heavy-bottomed skillet or Dutch oven over medium-high heat. The oil is ready when a small piece of dough dropped into it sizzles immediately and floats to the surface. Carefully slide 2-3 pies at a time into the hot oil, being careful not to overcrowd the pan. Fry for 2-3 minutes per side, or until golden brown and puffed up. You may need to adjust the heat to maintain a consistent frying temperature; too hot and they’ll burn before cooking through, too cool and they’ll be greasy.
5. Drain and Glaze: Using a slotted spoon or tongs, carefully remove the fried apple pies from the oil and place them on a wire rack set over a baking sheet to drain any excess oil. While the pies are still warm, prepare the glaze. In a small bowl, whisk together the powdered sugar, 1 tablespoon of milk, and 1/2 teaspoon of vanilla extract until smooth and drizzly. Drizzle this glaze generously over the warm fried apple pies. Let them cool slightly before enjoying. These are best served warm, but they are also delicious at room temperature.
Enjoy your incredibly satisfying homemade fried apple pies! They are the perfect combination of sweet, tart, cinnamon-spiced apples and a delightful, flaky pastry.
Conclusion:
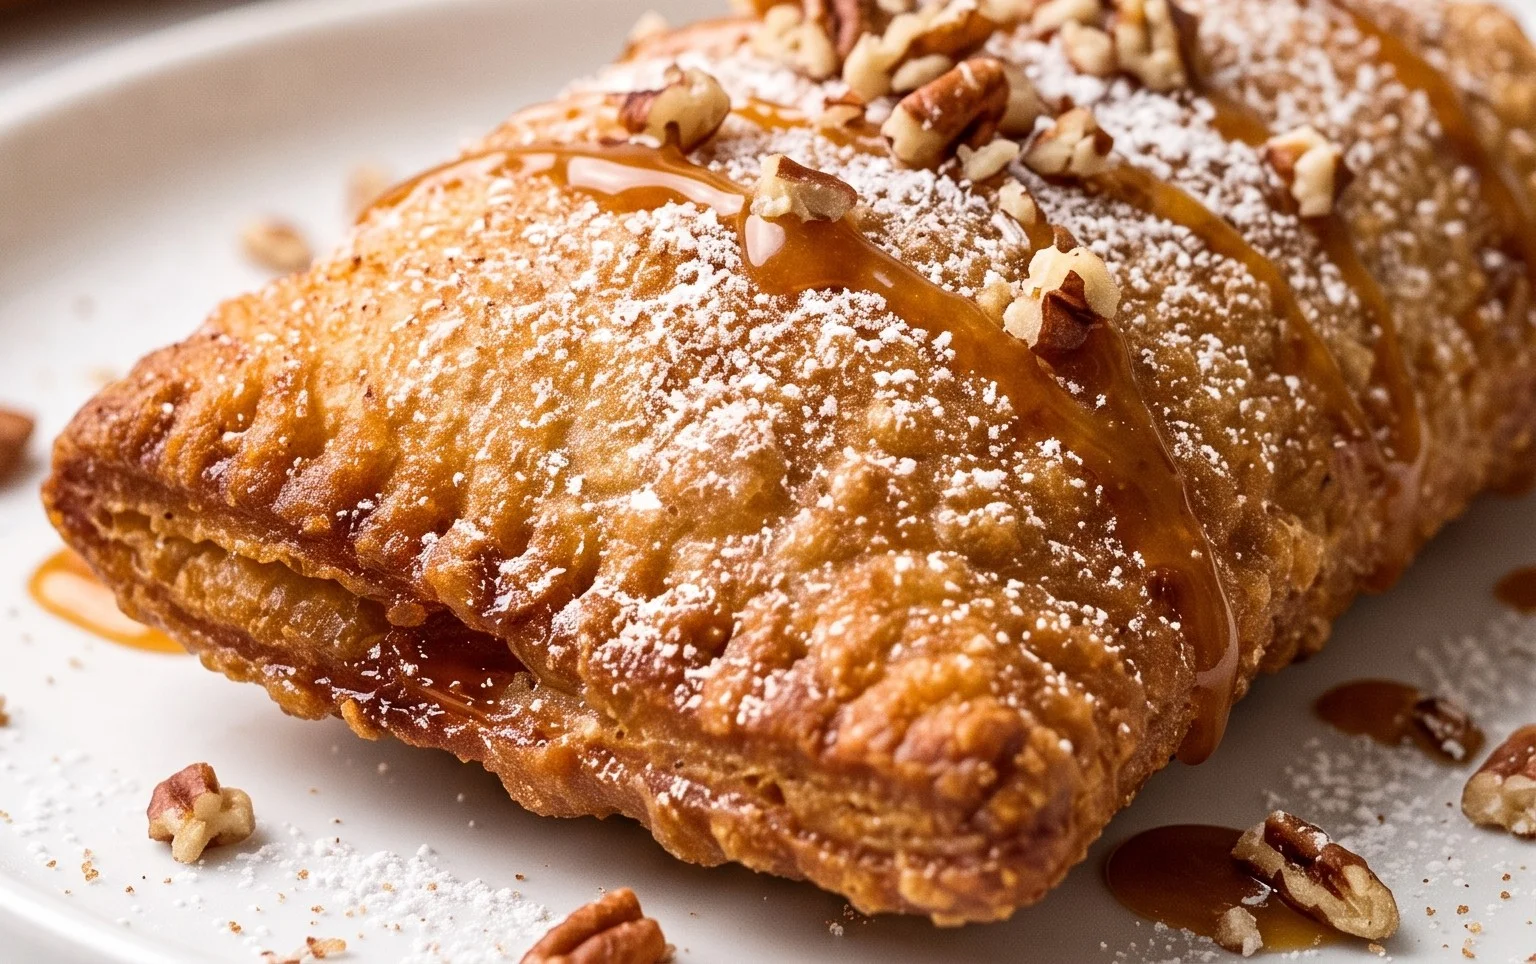
There you have it – the definitive guide to crafting the best fried apple pies recipe! We’ve walked through every step, from preparing the perfectly spiced apple filling to achieving that irresistible golden-brown, crispy crust. This recipe is truly special because it delivers that comforting, nostalgic taste of homemade goodness that store-bought versions simply can’t match. The fragrant cinnamon and nutmeg mingling with tender, sweet apples encased in a flaky, fried pastry are pure bliss. Whether you’re a seasoned baker or giving it a go for the first time, I truly encourage you to try this recipe. You’ll be so proud of the delicious results!
These delights are fantastic served warm, perhaps with a scoop of vanilla ice cream or a dollop of whipped cream for an extra decadent treat. They also make a wonderful dessert for potlucks, holidays, or simply as a delightful afternoon snack. Feel free to get creative with variations too! Consider adding a splash of bourbon extract to the apple filling for a grown-up twist, or a pinch of cardamom for a more exotic flavor profile. Chopped pecans or walnuts folded into the filling add a lovely crunch.
Frequently Asked Questions:
Can I make the pie dough ahead of time?
Absolutely! You can prepare the pie dough up to 2 days in advance and store it, wrapped tightly, in the refrigerator. If it feels a bit stiff when you’re ready to use it, let it sit at room temperature for about 15-20 minutes to soften slightly.
What kind of apples are best for fried apple pies?
A mix of sweet and tart apples works best to create a balanced flavor. Granny Smith apples offer a wonderful tartness and hold their shape well when cooked, while Fuji, Honeycrisp, or Gala apples provide sweetness. Avoid overly mealy apples, as they can become mushy.
How can I ensure my fried apple pies are crispy and not soggy?
Proper oil temperature is key! Make sure your oil is hot enough (around 350-375°F or 175-190°C) before adding the pies. Don’t overcrowd the pot, as this will lower the oil temperature and lead to greasy, soggy crusts. Fry in batches and drain them on a wire rack set over a baking sheet to allow air circulation.
The Best Fried Apple Pies Recipe (Homemade)
Delicious homemade fried apple pies with a perfectly flaky crust and a sweet, cinnamon-spiced apple filling.
Ingredients
-
2 large apples, peeled, cored, and diced (1 granny smith and 1 honeycrisp recommended)
-
1/4 cup brown sugar
-
1/2 teaspoon cinnamon
-
1 teaspoon vanilla
-
2 teaspoons apple cider
-
1 teaspoon cornstarch
-
2 cups self-rising flour, sifted
-
4 Tablespoons unsalted butter, cubed
-
2 egg yolks
-
1/3 cup HOT milk
-
1/4 teaspoon salt
-
1/2 teaspoon vanilla extract
-
1 Tablespoons milk
-
1/2 cup powdered sugar
-
Vegetable oil, for frying
Instructions
-
Step 1
For the filling: Combine diced apples, brown sugar, cinnamon, 1 teaspoon vanilla, apple cider, and cornstarch in a medium saucepan. Cook over medium heat, stirring occasionally, until apples are tender and the mixture has thickened, about 5-7 minutes. Remove from heat and let cool. -
Step 2
For the dough: In a large bowl, combine sifted self-rising flour and salt. Cut in the cold butter with a pastry blender or your fingertips until the mixture resembles coarse crumbs. -
Step 3
In a small bowl, whisk together egg yolks, 1/3 cup hot milk, and 1/2 teaspoon vanilla extract. Add this mixture to the flour mixture and stir until just combined to form a shaggy dough. -
Step 4
Turn the dough onto a lightly floured surface and knead gently a few times until it comes together. Divide the dough into 8 equal portions. Roll each portion into a thin circle. -
Step 5
Spoon about 2 tablespoons of the cooled apple filling onto one half of each dough circle. Fold the other half of the dough over the filling to create a half-moon shape. Crimp the edges with a fork to seal. -
Step 6
Heat vegetable oil in a deep skillet or Dutch oven to 350°F (175°C). Carefully fry the pies, a few at a time, until golden brown on both sides, about 2-3 minutes per side. -
Step 7
Remove fried pies from the oil and drain on paper towels. In a small bowl, whisk together powdered sugar and 1 tablespoon milk to create a glaze. Drizzle the glaze over the warm pies.
Important Information
Nutrition Facts (Per Serving)
It is important to consider this information as approximate and not to use it as definitive health advice.
Allergy Information
Please check ingredients for potential allergens and consult a health professional if in doubt.