Easy Buster Bar Ice Cream Dessert Recipe
Buster Bar Ice Cream Dessert is more than just a frozen treat; it’s a nostalgic journey back to carefree summer days and a symphony of textures and flavors that’s guaranteed to bring a smile to your face. If you’re anything like me, the mere mention of this iconic dessert conjures images of a rich, chocolatey coating encasing a creamy, vanilla ice cream core, often with a delightful crunch in every bite. This Buster Bar Ice Cream Dessert isn’t just popular because it’s delicious, though it undeniably is. It’s special because it captures a perfect balance: the cool sweetness of the ice cream, the satisfying snap of the chocolate shell, and that satisfying chewy or crunchy surprise within. It’s the kind of dessert that evokes pure joy and is incredibly fun to recreate at home, allowing you to customize it to your heart’s content.
Buster Bar Ice Cream Dessert
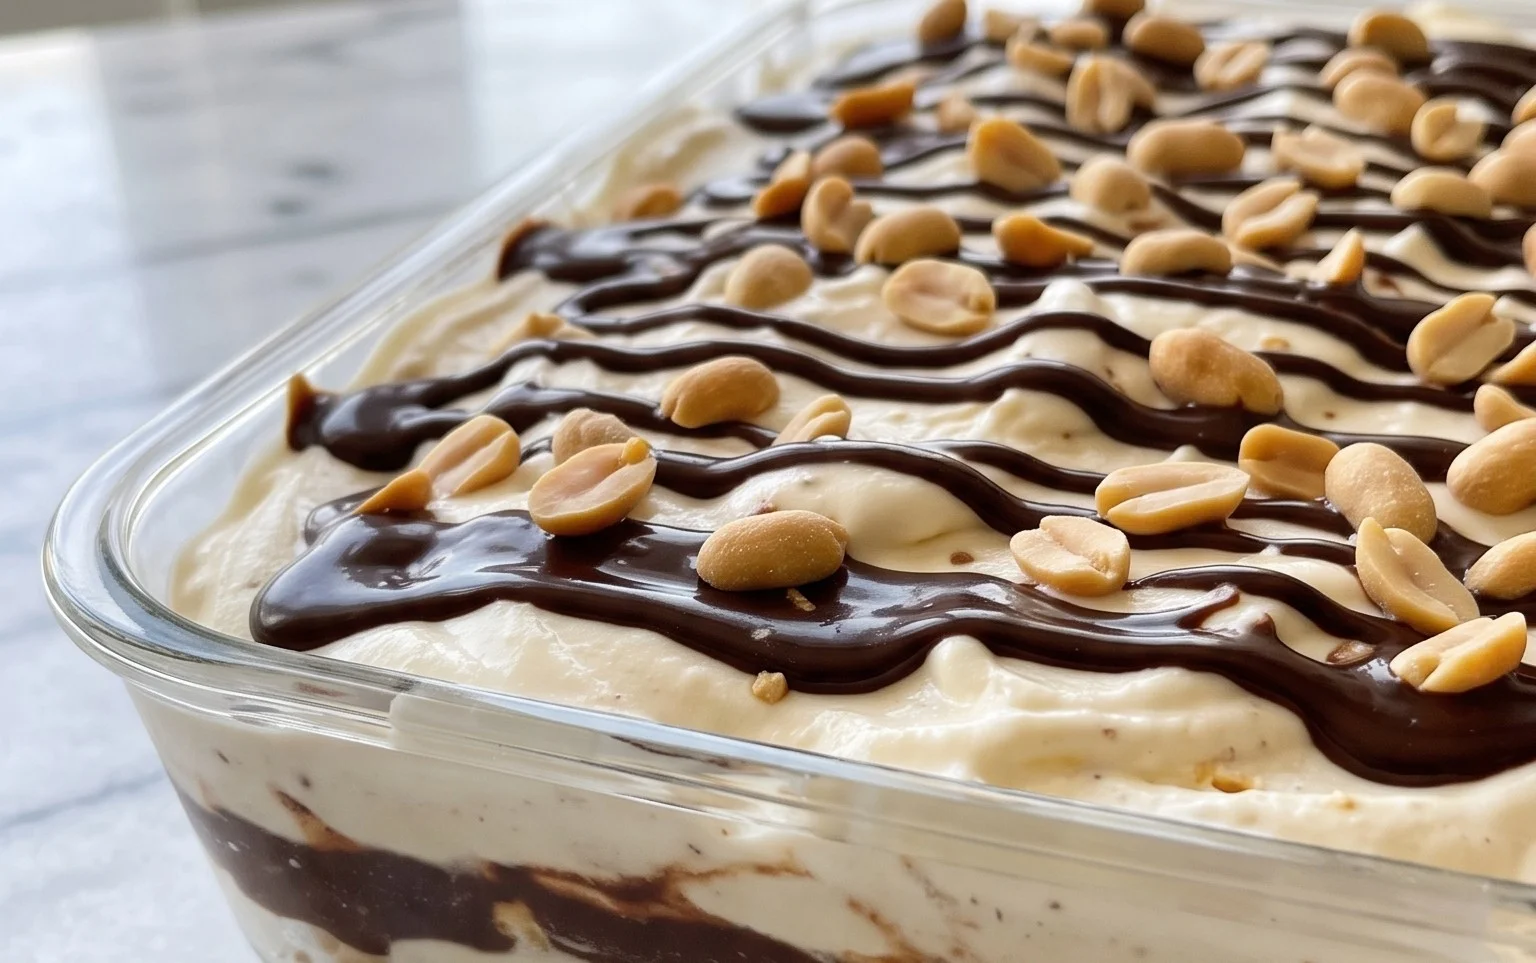
Oh, the Buster Bar! This iconic frozen treat is a nostalgic delight for so many of us. It’s that perfect combination of crunchy, creamy, chocolatey, and nutty goodness that just screams summer fun. While you can certainly pick them up at the store, making your own Buster Bar ice cream dessert at home is surprisingly simple and incredibly rewarding. Plus, you get to control the quality of ingredients and the sheer abundance of deliciousness! This recipe is a guaranteed crowd-pleaser, perfect for a backyard barbecue, a family movie night, or simply when you’re craving a taste of pure joy. Get ready to impress yourself and everyone around you with this irresistible dessert.
Ingredients:
Crafting the Buster Bar Base
The foundation of our Buster Bar ice cream dessert is a delightful, no-bake crust made from crushed Oreos and butter. This not only provides a satisfying crunch but also that classic chocolatey flavor that pairs so well with the ice cream.
1. Prepare the Oreo Crust: First things first, let’s get our Oreo crust ready. Take your entire package of Oreo cookies – and yes, the cream filling is part of the magic, so don’t bother separating them! Place them in a food processor and pulse until you have fine crum extractbs. If you don’t have a food processor, don’t worry! You can also put them in a sturdy zip-top bag and crush them with a rolling pin until they’re nice and crum extractbly. Once crushed, transfer the crum extractbs to a medium-sized bowl. Pour the 1/2 cup of melted butter over the cookie crum extractbs. Stir everything together thoroughly with a fork or spatula until all the cookie crum extractbs are evenly moistened. This is key to getting a crust that holds together.
2. Form the Crust in the Pan: Now, take a 9×13 inch baking pan. It’s helpful to line it with parchment paper, leaving some overhang on the sides. This makes it super easy to lift the entire dessert out later, which is a lifesaver when you’re ready to cut it. Spoon the buttered Oreo crum extractb mixture into the prepared pan. Using the bottom of a glass or your hands, press the crum extractbs down firmly and evenly across the bottom of the pan. You want a nice, compact layer that will act as a sturdy base for our ice cream. Make sure to get it as flat as possible. You can even bake this crust for about 8-10 minutes at 350°F (175°C) for an extra-crispy texture, but it’s not essential for this no-bake version. Let it cool completely if you choose to bake it.
Layering the Deliciousness
With our crust ready, it’s time to build on that foundation with the creamy, dreamy layers that make the Buster Bar so special.
3. Add the Vanilla Ice Cream Layer: This is where the magic really starts to happen! Take your half gallon of vanilla ice cream and make sure it’s softened to a spreadable consistency, but not completely melted. You want it soft enough to spread easily without melting into a puddle. Spread the softened ice cream evenly over the chilled Oreo crust. Use an offset spatula or the back of a spoon to create a smooth, even layer. Try to get it as uniform as possible so you don’t have any really thick or thin spots. Once spread, place the pan back into the freezer to let the ice cream firm up for at least an hour. This ensures a solid base for the next layers.
4. Incorporate the Spanish Peanuts: For that signature nutty crunch, we’re going to add a generous layer of Spanish peanuts. Before the ice cream is completely frozen solid, sprinkle the entire pound of Spanish peanuts evenly over the surface of the vanilla ice cream. Press them down gently so they adhere to the ice cream. This is a crucial step for that authentic Buster Bar experience, so don’t be shy with the peanuts! You want them to be integrated into the dessert, not just sitting on top. Pop the pan back into the freezer to let this layer set while you prepare the chocolate topping.
Whipping Up the Chocolate Magic
The final, glorious layer is a rich, fudgy chocolate coating that hardens to create that irresistible shell.
5. Create the Chocolate Topping: Now for the grand finnon-alcoholic ale: the chocolate topping! In a medium saucepan over low heat, combine the 12 oz of semi-sweet chocolate chips, 1/2 cup of butter, and 12 oz of evaporated milk. Stir continuously until the chocolate chips are completely melted and the mixture is smooth and glossy. This is your decadent chocolate fudge sauce. Once it’s smooth, remove the saucepan from the heat and stir in the 2 cups of powdered confectioner’s sugar. Whisk until the sugar is fully incorporated and you have a thick, rich chocolate glaze. Be patient with this step; you want all the sugar to be dissolved and the topping to be smooth.
6. The Grand Assembly and Setting: Once your chocolate topping has cooled slightly (you don’t want it piping hot when you pour it over the ice cream, or it might melt the ice cream too much), carefully pour it over the frozen layers in the pan. Spread it evenly with an offset spatula or the back of a spoon to cover the peanuts completely. Work relatively quickly here so the topping doesn’t set too much in the saucepan. Return the pan to the freezer for at least 4 hours, or preferably overnight, to allow the dessert to freeze completely solid. This is the most important waiting period, but the payoff is so worth it!
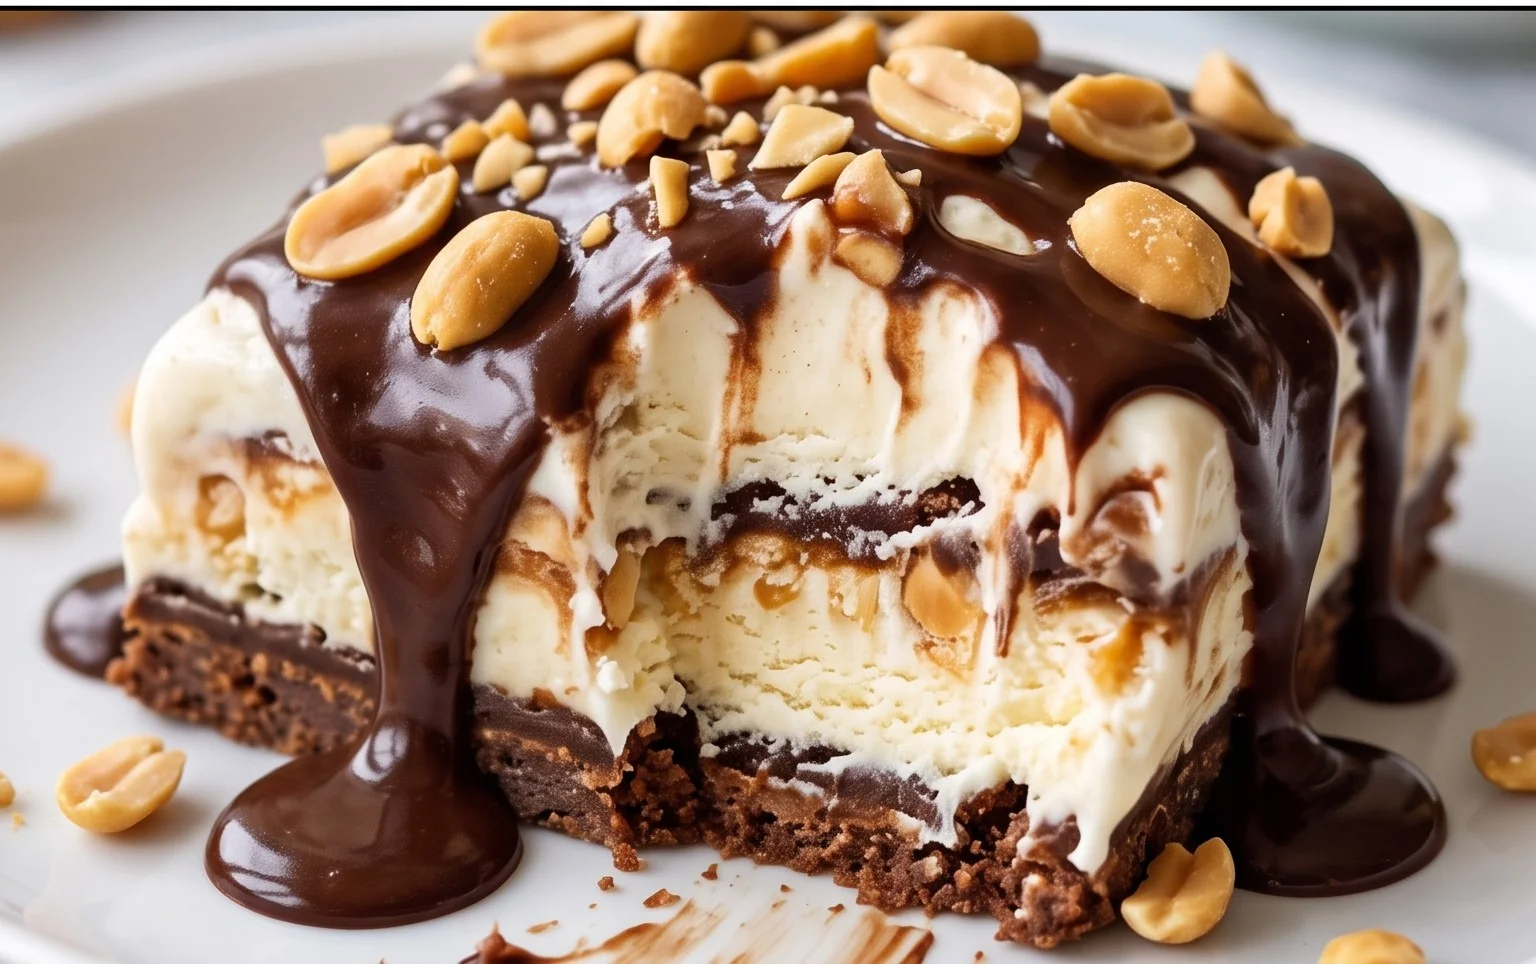
Once your Buster Bar ice cream dessert is fully frozen, use the parchment paper overhang to carefully lift the entire slab out of the pan. Place it on a cutting board and use a sharp knife (dipped in hot water and dried, if needed) to cut it into your desired portions. Enjoy the delightful crunch of the Oreo crust, the creamy vanilla ice cream, the nutty surprise of the Spanish peanuts, and the rich, crackly chocolate shell. This homemade Buster Bar is pure bliss!
Conclusion:
And there you have it – your very own homemade Buster Bar Ice Cream Dessert! This recipe truly captures the nostalgic, satisfying essence of the classic treat, transforming it into a delightful frozen masterpiece right in your own kitchen. The magic lies in its perfect balance of creamy ice cream, crunchy peanuts, rich chocolate coating, and a hint of caramel that makes every bite an adventure. It’s incredibly rewarding to create something so decadent and delicious that will undoubtedly impress your family and friends. This Buster Bar Ice Cream Dessert is perfect for summer gatherings, special occasions, or simply as a way to treat yourself after a long week. Don’t be afraid to experiment with serving it alongside a drizzle of extra hot fudge, a sprinkle of sea salt, or even a dollop of whipped cream. For those who love to personalize their treats, consider adding a swirl of caramel sauce into the ice cream mixture before freezing, or perhaps using different types of nuts for an exciting twist. I genuinely encourage you to give this recipe a try; it’s a crowd-pleaser that’s surprisingly easy to master and guarantees smiles all around.
Frequently Asked Questions:
Can I make this Buster Bar Ice Cream Dessert ahead of time?
Absolutely! This is a fantastic make-ahead dessert. Once you’ve assembled and frozen your Buster Bar Ice Cream Dessert, it can be stored in an airtight container in the freezer for up to two weeks. Just be sure it’s well-wrapped to prevent freezer burn.
What if I don’t have ice cream maker?
No ice cream maker? No problem! You can adapt this recipe by using a good quality store-bought vanilla ice cream as your base. Simply let it soften slightly, then fold in the chopped peanuts and any desired sauces before freezing in your prepared pan. It will have a slightly different texture, but will still be delicious!
Can I use a different type of nut instead of peanuts?
Yes, you can! While peanuts are traditional for a Buster Bar, feel free to get creative. Chopped almonds, pecans, or even walnuts would be delightful additions, offering a different nutty flavor profile and texture to your homemade ice cream dessert.
Buster Bar Ice Cream Dessert
A no-bake ice cream dessert featuring a crushed Oreo crust, creamy vanilla ice cream, a crunchy peanut topping, and a decadent chocolate shell.
Ingredients
-
1 14.3 oz pkg. of Oreo cookies, crushed
-
1/2 C butter, melted
-
1/2 gal. vanilla ice cream, softened
-
1 lb. Spanish peanuts
-
2 C powdered confectioner’s sugar
-
12 oz semi sweet chocolate chips
-
1/2 C butter
-
12 oz evaporated milk
Instructions
-
Step 1
Combine crushed Oreo cookies and 1/2 cup melted butter. Press mixture evenly into the bottom of a 9×13 inch baking dish. -
Step 2
Spread softened vanilla ice cream evenly over the Oreo crust. -
Step 3
In a separate bowl, combine Spanish peanuts and 2 cups powdered confectioner’s sugar. Sprinkle this mixture evenly over the ice cream layer. -
Step 4
In a saucepan over low heat, melt 12 oz semi sweet chocolate chips with 1/2 cup butter and 12 oz evaporated milk, stirring until smooth. Alternatively, melt in microwave in 30-second intervals, stirring in between. -
Step 5
Pour the warm chocolate mixture evenly over the peanut layer. -
Step 6
Freeze for at least 4 hours, or until firm, before cutting and serving.
Important Information
Nutrition Facts (Per Serving)
It is important to consider this information as approximate and not to use it as definitive health advice.
Allergy Information
Please check ingredients for potential allergens and consult a health professional if in doubt.