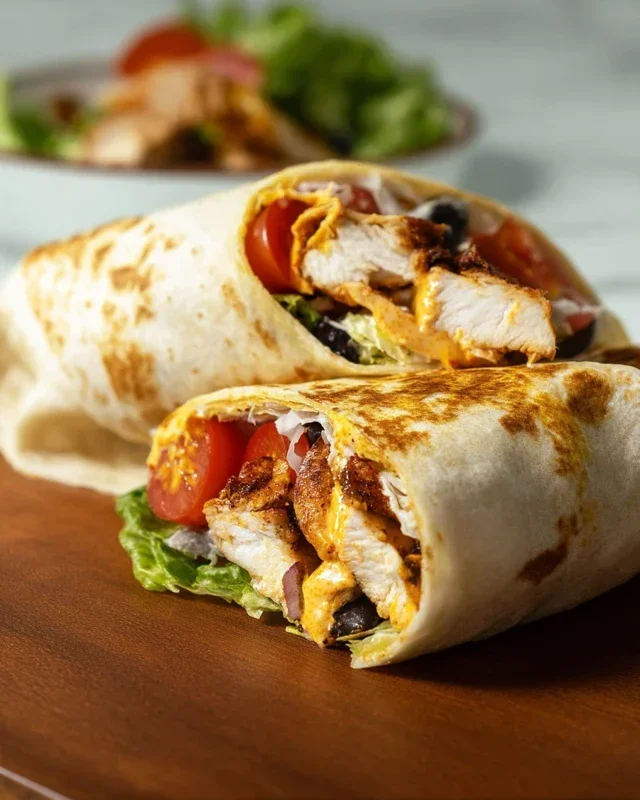
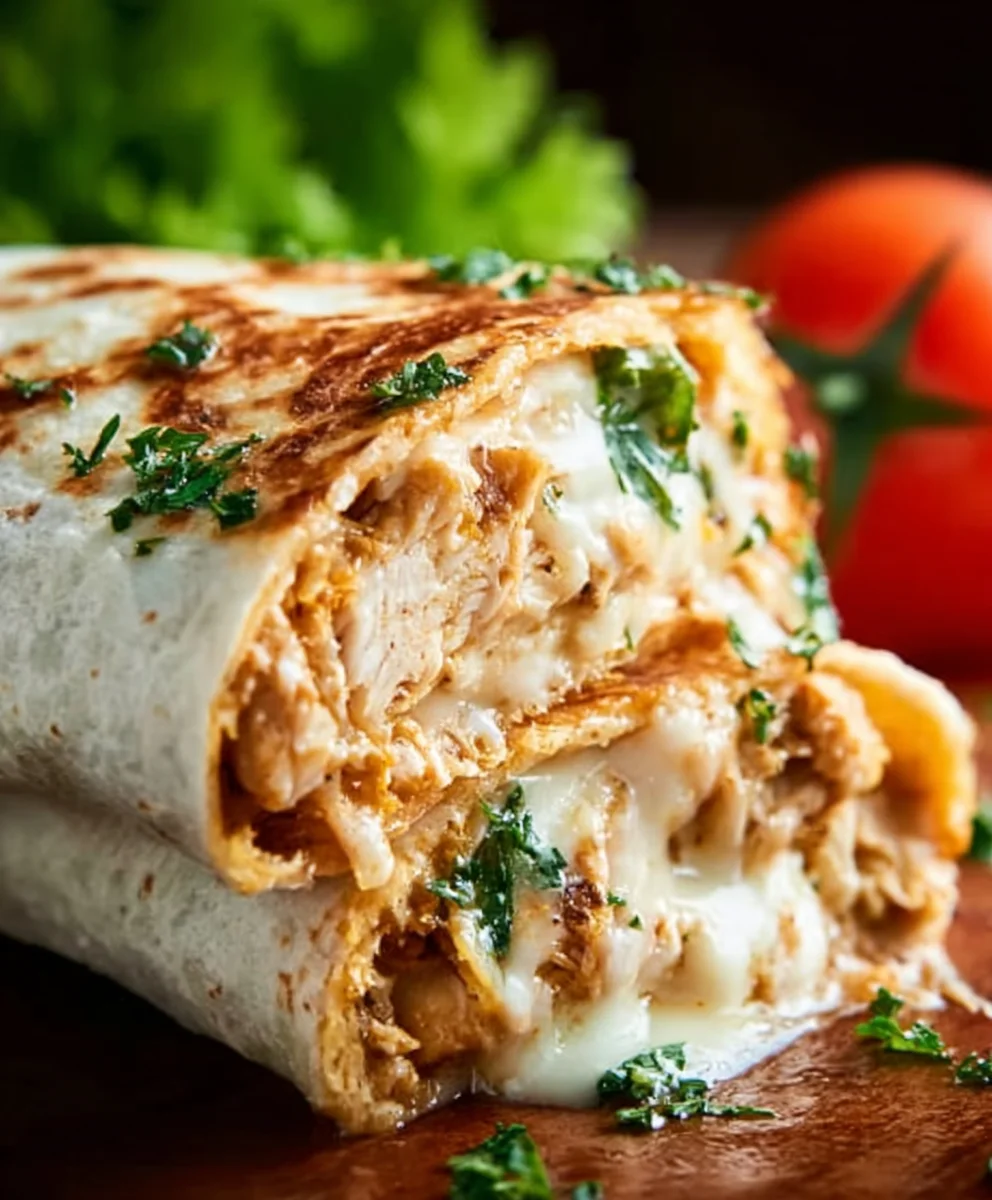
Cheesy Garlic Chicken Wraps Easy & Delicious
Cheesy Garlic Chicken Wraps are the ultimate weeknight dinner hero, a culinary masterpiece that’s as satisfying as it is simple to assemble. If you’ve ever craved a meal that hits all the right comfort food notes without demanding hours in the kitchen, you’ve come to the right place. These wraps are a symphony of savory chicken, pungent garlic, and gooey, melted cheese, all hugged by a soft tortilla. It’s no wonder they’ve become a family favorite for so many. The magic lies in their incredible versatility and the irresistible combination of flavors that never fails to delight. What truly sets these Cheesy Garlic Chicken Wraps apart is the perfect balance of textures and tastes – the tender chicken, the aromatic garlic infused into every bite, and that glorious, stretchy cheese pull that brings a smile to everyone’s face. Get ready to fall in love with dinner all over again!
Ingredients:
- 2 cups cooked chicken, shredded
- 1/2 cup garlic aioli
- 1 cup cheddar cheese, shredded
- 4 large tortillas
- Salt and pepper to taste
Preparing the Cheesy Garlic Chicken Filling
Step 1: Combine Chicken and Aioli
In a medium-sized mixing bowl, we’ll begin extract by combining our shredded cooked chicken with the luscious garlic aioli. This is where the magic starts to happen! Take your 2 cups of pre-cooked and shredded chicken, whether you’ve roasted it, poached it, or even used leftover rotisserie chicken. The goal is to have bite-sized pieces that will easily incorporate into the sauce. Now, add the entire 1/2 cup of garlic aioli to the bowl. The aioli will act as our binder and the primary flavor driver, infusing the chicken with a wonderful garlicky richness. Using a spoon or a spatula, gently mix the chicken and aioli together. Ensure that every strand of chicken is thoroughly coated with the creamy aioli. You want a beautiful, cohesive mixture that’s ready for the next stage of flavor enhancement. Don’t be shy about getting in there and making sure everything is well-distributed. The texture should be moist and slightly clumpy, not dry or overly saucy.
Step 2: Seasoning the Chicken Mixture
Now it’s time to elevate the flavor profile of our cheesy garlic chicken filling. We’ll introduce some classic seasonings to complement the garlic aioli. First, season generously with salt and pepper to taste. Remember, the amount of salt you need will depend on how salty your chicken wgin extractto begin with (if it was store-bought or seasoned during cooking) and the saltiness of your aioli. It’s always best to start with a little less and add more if needed. Grind some fresh black pepper over the mixture for a subtle kick and aromatic quality. Gently stir these seasonings into the chicken and aioli mixture, ensuring they are evenly distributed. This step is crucial for building layers of flavor. You can taste a tiny bit of the mixture at this point (if you’re comfortable doing so with raw ingredients) to gauge the seasoning, or just trust your palate. The salt and pepper will enhance the savory notes of the chicken and the punch of the garlic aioli.
Step 3: Incorporating the Cheddar Cheese
This is the “cheesy” part of our Cheesy Garlic Chicken Wraps, and it’s going to be absolutely delicious! Take your 1 cup of shredded cheddar cheese and add it to the bowl with the seasoned chicken and aioli mixture. The cheddar cheese will melt beautifully as we warm the wraps, creating that irresistible gooey texture we all crave. Gently fold the cheese into the chicken mixture. You don’t want to overmix or mash the cheese. The aim is to distribute it evenly throughout the chicken so that each bite has a delightful cheesy component. As you fold, you’ll start to seegin extracte cheese clinging to the chicken, promising a wonderfully melty outcome. If you prefer a more intensely cheesy filling, you could even reserve a small amount of cheese to sprinkle on top of the filling just before folding the tortillas. However, for this recipe, incorporating it all into the mix ensures consistent cheesiness throughout.
Assembling and Cooking the Wraps
Step 4: Preparing and Filling the Tortillas
We’re now ready to assemble our wraps. Lay out your 4 large tortillas on a clean, flat surface. You can gently warm your tortillas for a few seconds in a dry skillet or microwave if you find them stiff, making them more pliable and less likely to tear. This is a small step that makes a big difference in the ease of wrapping. Now, divide the cheesy garlic chicken filling evenly among the four tortillas. Place a generous portion of the filling towards one edge of each tortilla, leaving some space at the sides for folding. Don’t overstuff them, or they’ll be diffigin extractt to wrap neatly. Imagine a generous mound of the delicious chicken mixture sitting ready to be enclosed.
Step 5: Folding and Grilling the Wraps
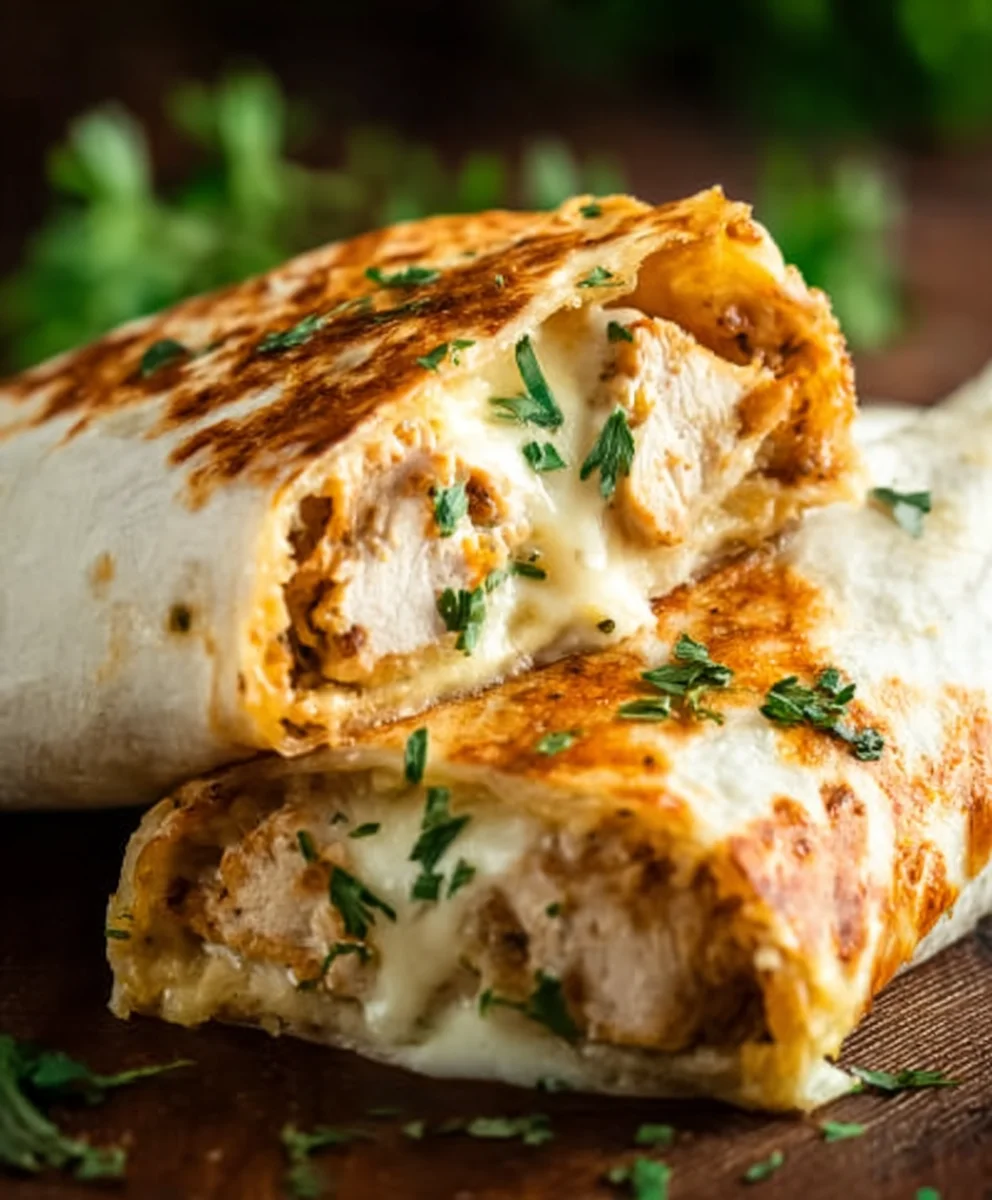
This is the final, satisfying step! We’ll transform our filled tortillas into perfectly cooked Cheesy Garlic Chicken Wraps. Start by folding the sides of each tortilla inwards, over the filling. This helps to contain the ingredients and prevent them from spilling out during cooking. Then, tightly roll up the tortilla from the edge with the filling, tucking in the sides as you go. You should aim for a snug, compact roll. To cook, heat a lightly oiled skillet or griddle over medium heat. Carefully place each rolled wrap, seam-side down, onto the hot surface. Cook for about 3-4 minutes per side, or until the tortillas are golden brown and slightly crispy, and the cheddar cheese inside is beautifully melted and gooey. You’re looking for those lovely grill marks that indicate a perfectly cooked wrap. The heat will meld all the flavors together and create a warm, comforting meal. Gently press down on the wraps with a spatula occasionally to ensure even browning and melting.
Conclusion:
There you have it – a simple yet incredibly satisfying recipe for Cheesy Garlic Chicken Wraps! We’ve walked through preparing tender, garlicky chicken, a creamy cheese sauce, and assembling these delightful wraps that are perfect for a quick weeknight dinner or a fun lunch. The beauty of this recipe lies in its adaptability. Don’t hesitate to experiment with different cheeses, add your favorite vegetables like bell peppers or onions, or even spice things up with a pinch of chili flakes. We encourage you to give these Cheesy Garlic Chicken Wraps a try; we’re confident they’ll become a new family favorite. Enjoy the deliciousness!
Frequently Asked Questions:
Can I prepare the chicken ahead of time for the Cheesy Garlic Chicken Wraps?
Absolutely! You can cook the chicken and prepare the garlic sauce up to two days in advance. Store them separately in airtight containers in the refrigerator. When you’re ready to assemble, simply reheat the chicken gently and warm the sauce before layering everything into your wraps. This makes assembling the Cheesy Garlic Chicken Wraps even quicker!
What are some other serving suggestions for Cheesy Garlic Chicken Wraps?
These Cheesy Garlic Chicken Wraps are fantastic on their own, but they also pair wonderfully with a side salad, a bowl of hearty soup like tomato bisque, or even some crispy oven-baked fries. For a lighter option, consider serving them with a refreshing coleslaw. The creamy, savory filling of the Cheesy Garlic Chicken Wraps makes it versatile enough for various meal accompaniments.
Can I make the Cheesy Garlic Chicken Wraps healthier?
Yes, you can definitely make some adjustments for a healthier version of Cheesy Garlic Chicken Wraps. Opt for whole wheat tortillas, lean chicken breast, and use a reduced-fat cheese. You can also load them up with extra vegetables like spinach, shredded carrots, or chopped bell peppers. Using plain Greek yogurt as a base for the sauce, mixed with a little cheese, can also reduce the fat content while maintaining creaminess.
Cheesy Garlic Chicken Wraps
Easy and delicious wraps filled with shredded chicken, creamy garlic aioli, and melted cheddar cheese, grilled to perfection.
Ingredients
-
2 cups cooked chicken, shredded
-
1/2 cup garlic aioli
-
1 cup cheddar cheese, shredded
-
4 large tortillas
-
Salt to taste
-
Pepper to taste
Instructions
-
Step 1
In a medium-sized mixing bowl, combine 2 cups of shredded cooked chicken with 1/2 cup of garlic aioli. Mix gently until the chicken is thoroughly coated. -
Step 2
Season the chicken and aioli mixture with salt and pepper to taste. Stir gently to ensure even distribution of the seasonings. -
Step 3
Add 1 cup of shredded cheddar cheese to the bowl with the chicken mixture. Gently fold the cheese into the mixture until evenly distributed. -
Step 4
Lay out 4 large tortillas on a clean surface. Divide the cheesy garlic chicken filling evenly among the tortillas, placing a generous portion towards one edge. -
Step 5
Fold the sides of each tortilla inwards over the filling, then tightly roll up the tortilla from the edge with the filling. Tuck in the sides as you roll. -
Step 6
Heat a lightly oiled skillet or griddle over medium heat. Place each rolled wrap, seam-side down, onto the hot surface. Cook for about 3-4 minutes per side, or until the tortillas are golden brown and crispy, and the cheese is melted.
Important Information
Nutrition Facts (Per Serving)
It is important to consider this information as approximate and not to use it as definitive health advice.
Allergy Information
Please check ingredients for potential allergens and consult a health professional if in doubt.