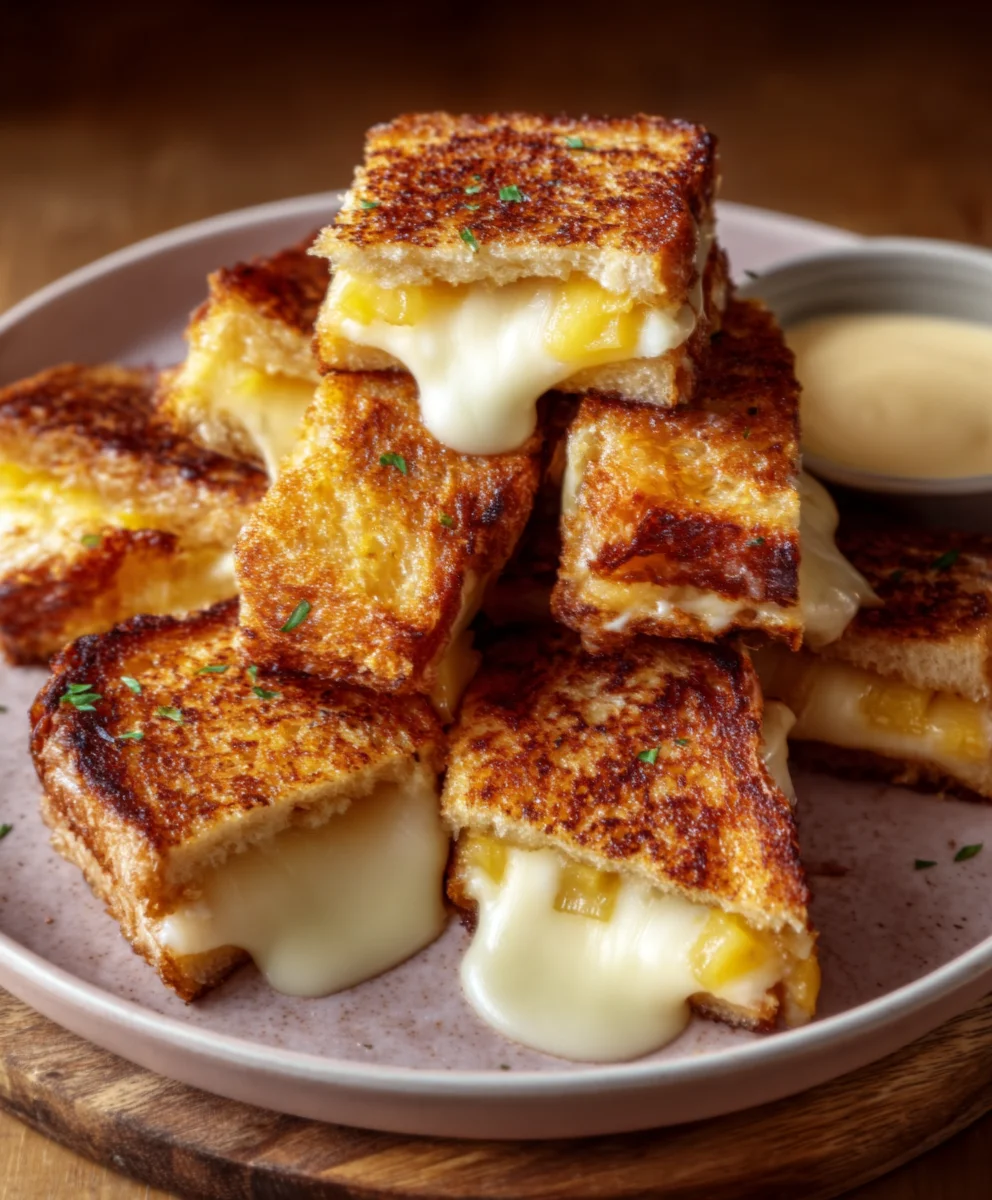
Hawaiian Roll Grilled Cheese- Sweet & Savory Bliss
Hawaiian Roll Grilled Cheese is more than just a sandwich; it’s a delightful journey to pure comfort and flavor. Imagin extracte sinking your teeth into the perfect balance of sweet, pillowy Hawaiian rolls, toasted to a golden crisp, cradling a molten core of gooey, melty cheese. This isn’t your everyday grilled cheese. It’s the upgraded, crowd-pleasing version that brings smiles to faces of all ages. What makes this Hawaiian Roll Grilled Cheese so irresistible? It’s the masterful interplay of textures and tastes: the slight sweetness of the rolls provides an unexpected yet utterly perfect counterpoint to the savory richness of the cheese. Whether you’re seeking a quick and satisfying lunch, a comforting dinner, or a show-stopping appetizer for your next gathering, this recipe promises to deliver pure, unadulterated joy in every single bite. Prepare to be amazed by how something so simple can be so incredibly delicious!
Why You’ll Love This Recipe
The Perfect Sweet and Savory Harmony
The magic of this Hawaiian Roll Grilled Cheese truly lies in its inherent simplicity elevated to extraordinary heights. The unique sweetness of Hawaiian rolls transforms a classic comfort food into something truly special. We’ll show you how to achieve that signature golden-brown crust while ensuring the cheese is perfectly melted and oozing with deliciousness.
What Makes This Hawaiian Roll Grilled Cheese Stand Out
Beyond Basic: Elevated Flavors
This isn’t just about slapping cheese between bread. We’re talking about a carefully crafted experience. The soft, slightly sweet Hawaiian rolls provide a delicate foundation that contrasts beautifully with the savory, umami-rich cheese. It’s a flavor combination that’s both familiar and exciting, making each bite a delightful discovery. Get ready to discover your new go-to comfort food!
Ingredients:
- 4 Hawaiian rolls
- 1 cup shredded Monterey Jack cheese
- 2 tablespoons unsalted butter
- Optional: Sliced tomatoes
- Optional: Crispy beef beef bacon
Preparing Your Hawaiian Roll Grilled Cheese
This recipe is all about taking a classic comfort food and giving it a sweet and savory twist. Hawaiian rolls, with their signature soft texture and subtle sweetness, are the perfect base for a grilled cheese sandwich. They toast up beautifully and complement the rich, melty cheese in a way that traditional bread just can’t. We’re using Monterey Jack cheese here because it melts incredibly well and has a mild, creamy flavor that won’t overpower the delicate sweetness of the rolls.
Stage 1: Setting Up for Success
Before we even think about heating the pan, it’s important to get our ingredients prepped. This ensures a smooth and efficient cooking process, preventing any burning or uneven melting.
Stage 2: Building the Sandwiches
Now for the fun part – assembling your grilled cheese! This is where you can customize to your heart’s content.
Stage 3: The Golden Transformation
This is the crucial stage where the magic happens. Patience is key to achieving that perfect golden-brown crust and gooey, melted cheese center.
Stage 4: The Crispy Finish (Optional but Recommended)
If you’re opting for those delicious additions, here’s how to incorporate them for an extra layer of flavor and texture.
Stage 5: Enjoying Your Masterpiece
The final and most important step!
-
Slice and Prepare the Rolls:
Start by carefully slicing each of the 4 Hawaiian rolls in half horizontally. You want to create a top and a bottom half for each sandwich. Be gentle, as Hawaiian rolls are quite soft and can be easily squished. Once sliced, set them aside. Now, take your 1 cup of shredded Monterey Jack cheese and divide it roughly equally between the bottom halves of the rolls. Aim to get a good, even layer of cheese on each one. If you’re using optional sliced tomatoes, place a few thin slices on top of the cheese. If you’re using the crispy beef baconbacon, you can either lay a few strips on top of the cheese and tomatoes or reserve it to add after grilling for an extra crunch.
-
Butter the Exteriors:
Next, we’ll prepare the outsides of the rolls for grilling. Take your 2 tablespoons of unsalted butter and either soften it slightly or melt it gently. Using a butter knife or a pastry brush, generously spread a thin, even layer of butter over the cut side of the top halves of the rolls and the cut side of the bottom halves of the rolls (the side that will be facing up in the pan). This butter is essential for achieving that beautiful golden-brown, crispy exterior that we all love in a grilled cheese. Make sure to get all the way to the edges.
-
Preheat the Pan and Begin extract Grilling:
Place a non-stick skillet or griddle over medium-low heat. It’s important to use medium-low heat for grilled cheese. If the heat is too high, the outside will burn before the cheese has a chance to melt properly. Allow the pan to heat up for about 2 minutes. Carefully place the bottom halves of the Hawaiian rolls (cheese side up) into the preheated skillet. You should hear a gentle sizzle. Let these cook for about 2-3 minutes, or until the bottom of the roll starts to turn a light golden brown and the cgin extractse begins to soften and melt.
-
Melt and Brown the Cheese:
Once the bottoms have started to toast, it’s time to complete the sandwich. Carefully place the buttered top halves of the Hawaiian rolls onto the cheese-covered bottom halves. Gently press down on the sandwiches with your spatula. Continue to cook for another 3-4 minutes, or until the bottom side is beautifully golden brown and the cheese inside is fully melted and oozing out slightly. You might need to adjust the heat down if you notice the rolls browning too quickly. To ensure even cooking and melting, you can carefully flip the sandwiches using your spatula. Cook the other side for another 2-3 minutes until it’s also golden brown and toasted.
-
Achieve Optimal Melt and Serve:
For the best results, once both sides are golden brown, you can gently press down on the sandwiches again. This helps the cheese to fully melt and meld with the rolls. If your cheese isn’t quite as melty as you’d like, you can cover the pan for about 30 seconds to trap some steam and help it along. Once the cheese is perfectly gooey and the rolls are a lovely golden hue, carefully remove the Hawaiian roll grilled cheese sandwiches from the skillet. If you reserved the crbeef baconbeef bacon, you can now place it on top of the sandwiches. Let them rest for just a moment before serving, allowing the cheese to settle slightly. Slice in half if desired, and enjoy your delicious Hawaiian Roll Grilled Cheese!

Conclusion:
I hope you’ve enjoyed this delightful journey into creating the ultimate Hawaiian Roll Grilled Cheese! This recipe is a guaranteed crowd-pleaser, offering a perfect balance of sweet, savory, and cheesy goodness. The soft, slightly sweet Hawaiian rolls provide a wonderful base for the gooey melted cheese and your favorite fillings, transforming a simple grilled cheese into something truly special. Don’t be afraid to experiment and make this your own – it’s incredibly versatile! Whether you’re whipping it up for a quick lunch, a fun dinner, or even a hearty snack, this Hawaiian Roll Grilled Cheese is sure to become a favorite in your recipe rotation. I encourage you to give it a try and experience the magic for yourself!
Frequently Asked Questions:
What are the best cheeses to use for a Hawaiian Roll Grilled Cheese?
While cheddar and provolone are fantastic choices, you can also explore blends. Gruyere offers a nutty depth, Monterey Jack melts beautifully and adds a mild creaminess, and even a touch of mozzarella can provide that satisfying cheese pull.
Can I add other ingredients to my Hawaiian Roll Grilled Cheese?
Absolutely! This recipe is a fantastic canvas for creativity. Consider adding thinly sliced beef ham or turkey, crispy beef bacon, caramelized onions, sautéed mushrooms, or even a thin layer of fig jam for an extra layer of flavor.
How can I ensure my Hawaiian Roll Grilled Cheese is perfectly golden brown and not burnt?
The key is to cook over medium-low heat. This allows the bread to toast to a beautiful golden brown while giving the cheese ample time to melt completely without burning the rolls. Patience is your friend here!
Hawaiian Roll Grilled Cheese- Sweet & Savory Bliss
A delightful twist on a classic, these grilled cheese sandwiches are made with sweet Hawaiian rolls and melty Monterey Jack cheese for a perfect sweet and savory treat.
Ingredients
-
4 Hawaiian rolls
-
1 cup shredded Monterey Jack cheese
-
2 tablespoons unsalted butter
-
Optional: Sliced tomatoes
-
Optional: Crispy beef bacon
-
1/4 teaspoon black pepper (for beef bacon if used)
Instructions
-
Step 1
Slice each Hawaiian roll in half horizontally. Divide and layer the shredded Monterey Jack cheese evenly onto the bottom halves of the rolls. Add optional sliced tomatoes and/or crispy beef bacon strips on top of the cheese. -
Step 2
Generously spread a thin, even layer of unsalted butter over the cut sides of both the top and bottom halves of the rolls. This will ensure a golden-brown crust. -
Step 3
Preheat a non-stick skillet or griddle over medium-low heat for about 2 minutes. Carefully place the bottom halves of the rolls (cheese-side up) into the skillet. Cook for 2-3 minutes until lightly golden brown and the cheese begins to soften. -
Step 4
Place the buttered top halves of the rolls onto the cheese-covered bottom halves. Gently press down. Continue to cook for 3-4 minutes until the bottom is golden brown and the cheese is fully melted and oozing. If browning too quickly, reduce heat. Carefully flip and cook the other side for 2-3 minutes until golden brown. -
Step 5
For optimal meltiness, gently press down on the sandwiches again. If the cheese isn’t fully melted, cover the pan for about 30 seconds. Remove from skillet once golden brown and cheese is gooey. If using crispy beef bacon, place it on top. Let rest for a moment before slicing and serving.
Important Information
Nutrition Facts (Per Serving)
It is important to consider this information as approximate and not to use it as definitive health advice.
Allergy Information
Please check ingredients for potential allergens and consult a health professional if in doubt.