Dreamy Pink Blue Coquette Party Bites – Easy Recipes
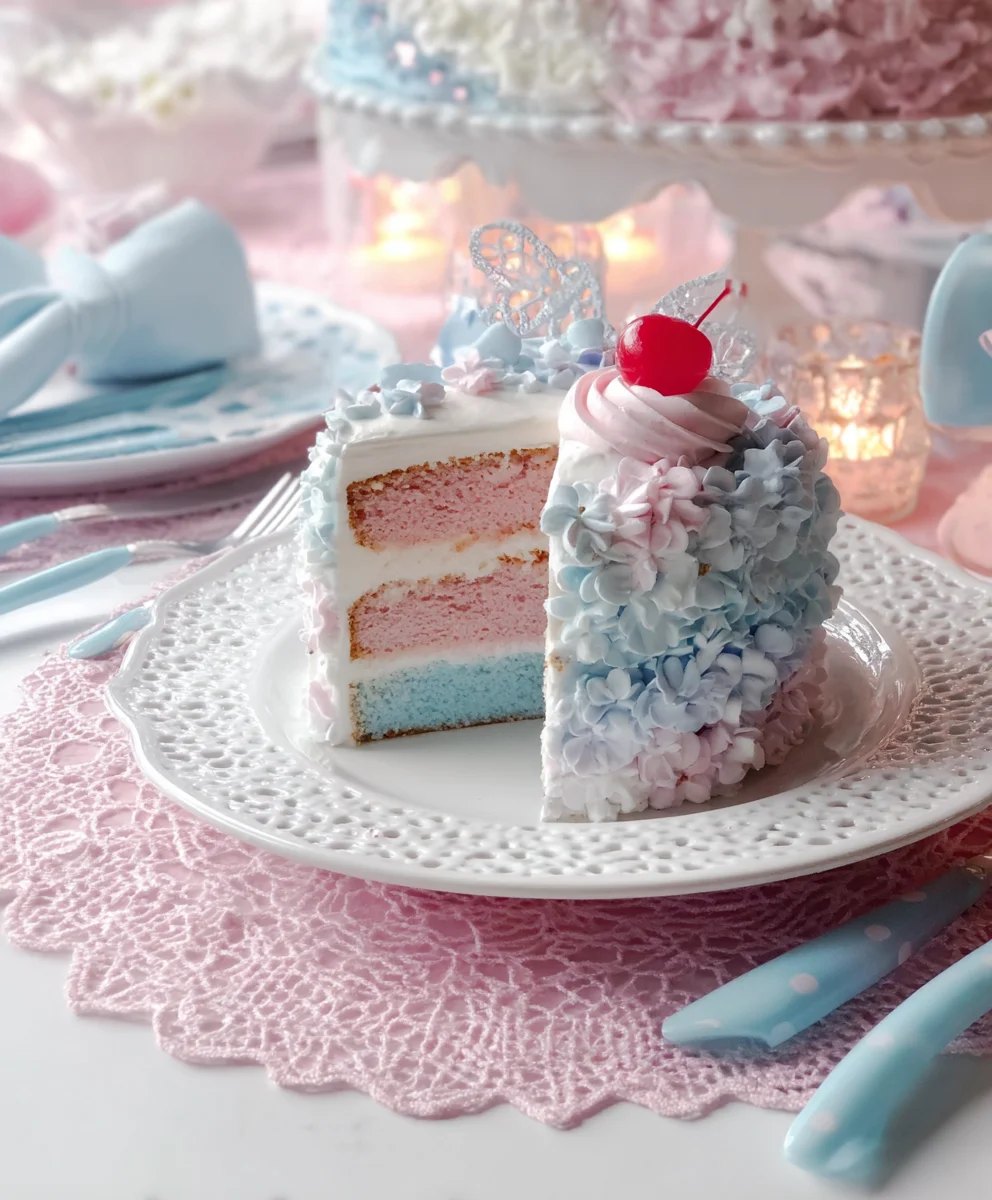
Dreamy Pink & Blue Coquette Party dishes are more than just a meal; they are an experience, a whimsical journey into a world of delicate flavors and enchanting presentation. Imagin extracte stepping into a beautifully curated aesthetic, where every bite transports you to a realm of playful elegance. This particular theme, the Dreamy Pink & Blue Coquette Party, evokes a sense of nostalgia and sweet sophistication that’s utterly irresistible. It’s the perfect inspiration for a celebration, a special brunch, or even just a delightful afternoon treat. What truly sets these creations apart is their ability to capture a mood – one of gentle romance, cheerful femininity, and a touch of playful charm. We’ve gathered recipes that embody this spirit, ensuring your culinary creations are as delightful to behold as they are to savor, making your next gathering an unforgettable, visually stunning affair.
Ingredients:
- 2 cups all-purpose flour
- 1 teaspoon baking soda
- 1/2 teaspoon salt
- 1 cup unsalted butter, softened
- 1 1/2 cups granulated sugar
- 2 large eggs
- 1 teaspoon vanilla extract
- 1/4 cup milk
- Pink gel food coloring
- Blue gel food coloring
- 1/2 cup powdered sugar (for dusting, optional)
- Optional: Sprinkles in pink, blue, and white
Preparing the Dough
Step 1: Combine Dry Ingredients
First things first, let’s get our dry ingredients ready. In a medium-sized bowl, whisk together the all-purpose flour, baking soda, and salt. This is a crucial step to ensure that the leavening agents and salt are evenly distributed throughout the flour, which will lead to a consistent texture in your cookies. Give it a good whisk until everything is well combined. Then, set this bowl aside.
Step 2: Cream Butter and Sugar
In a large mixing bowl, or the bowl of your stand mixer fitted with the paddle attachment, cream together the softened unsalted butter and granulated sugar. You want to beat these together until the mixture is light, fluffy, and pnon-alcoholic ale yellow in color. This process incorporates air into the dough, which contributes to the cookie’s tender crum extractb. Make sure your butter is truly softened – not melted, but pliable. This usually takes about 3-5 minutes of beating. Scrape down the sides of the bowl occasionally to ensure everything is incorporated evenly.
Step 3: Incorporate Wet Ingredients
Next, add the large eggs to the creamed butter and sugar mixture, one at a time, beating well after each addition until fully incorporated. Then, stir in the vanilla extract. In a separate small bowl or liquid measuring cup, combine the milk. Now, gradually add the dry ingredients (from Step 1) to the wet ingredients, alternating with the milk. Begin extract and end with the dry ingredients. Mix on low speed until just combined. Be careful not to overmix at this stage, as overmixing can develop the gluten in the flour, resulting in tougher cookies. The dough should start to come together and look cohesive.
Dividing and Coloring the Dough
Step 4: Divide and Color the Dough
Now comes the fun, coquette part! Divide the cookie dough evenly into three portions. Take one portion and place it in a small bowl. Add a few drops of pink gel food coloring and mix until the color is uniform and vibrant. Gel food coloring is preferred as it’s highly concentrated and won’t add extra moisture to your dough. Repeat this process with the second portion of dough, this time adding blue gel food coloring until you achieve your desired shade of dreamy blue. The third portion of dough will remain plain, serving as the white base. If you want softer shades, use fewer drops of coloring. For more intense hues, add more.
Step 5: Swirling and Shaping the Dough
This is where the magic truly happens for our Dreamy Pink & Blue Coquette Party cookies. Take small pieces from each colored dough ball (pink, blue, and white) and gently press them together. You can either gently flatten them and then press them together, or simply press small marble-sized pieces next to each other. Once you have a small clump of mixed colors, gently swirl them together with your fingertips or a toothpick. Don’t over-swirl; you want distinct streaks of color, not a uniform muddy blend. The goal is a marbled, ethereal look. Once you’re happy with the marbling, gently press the swirled dough together to form a cohesive blob. Then, you can either roll this blob into a log for slice-and-bake cookies or flatten it slightly and cut out shapes using cookie cutters. For a coquette aesthetic, consider using heart, star, or delicate floral cookie cutters. If you are rolling into a log, wrap it tightly in plastic wrap and chill for at least 30 minutes before slicing.
Baking and Finishing
Step 6: Baking the Cookies
Preheat your oven to 350°F (175°C). Line baking sheets with parchment paper to prevent sticking and ensure even baking. Arrange your shaped or sliced cookies on the prepared baking sheets, leaving about 2 inches of space between them as they will spread slightly. Bake for 9-12 minutes, or until the edges are lightly golden and the centers are set. The baking time will vary depending on the size and thickness of your cookies. Keep a close eye on them, especially during the last few minutes, as cookies can go from perfectly baked to burnt very quickly. Once baked, let them cool on the baking sheet for 5 minutes before carefully transferring them to a wire rack to cool completely. This resting period on the baking sheet allows the cookies to firm up before moving them, minimizing breakage.
Step 7: Decorating and Serving
Once your Dreamy Pink & Blue Coquette Party cookies have cooled completely, you can add the finishing touches. For a simple and elegant presentation, you can lightly dust them with powdered sugar using a fine-mesh sieve. This adds a touch of sweetness and a soft, powdery finish. Alternatively, if you’re feeling extra festive, you can sprinkle them with pink, blue, and white sprinkles while they are still slightly warm or after brushing them with a tiny bit of corn syrup to help the sprinkles adhere. These cookies are perfect for any special occasion, especially a coquette-themed party, tea party, or just as a delightful treat to brighten your day. Enjoy the beautiful colors and the delightful taste!
Conclusion:
And there you have it – your complete guide to creating the absolutely delightful Dreamy Pink & Blue Coquette Party! We’ve walked through each step, from selecting the perfect shades of frosting to achieving those signature delicate touches that make this dessert truly shine. This recipe is designed to be as enjoyable to make as it is to devour, perfect for adding a whimsical and elegant flair to any celebration. Whether you’re a seasoned baker or just starting your dessert journey, the Dreamy Pink & Blue Coquette Party is sure to impress.
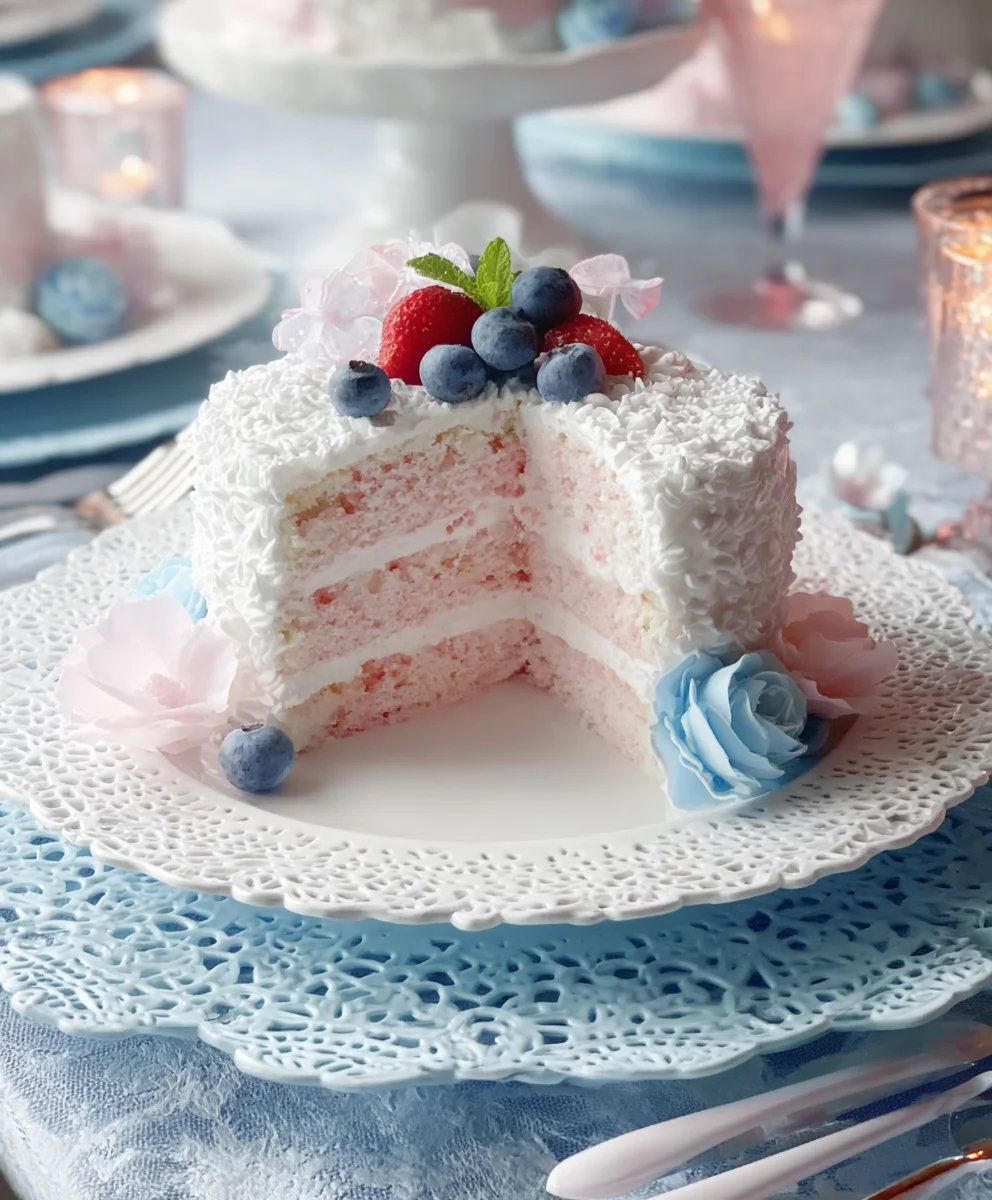
I encourage you to embrace the playful nature of this design. Don’t be afraid to experiment with different piping techniques or to add your own personal touches. For serving suggestions, consider pairing this stunning creation with a light, bubbly beverage or a delicate tea. It also makes a fantastic centerpiece for any themed party, be it a baby shower, a birthday celebration, or just a special occasion that calls for a touch of enchantment. For variations, feel free to explore different flavor combinations for the cake or frosting – perhaps a vanilla bean with raspberry filling, or a lemon cake with a blueberry buttercream. The possibilities are truly endless!
Frequently Asked Questions
Q1: Can I make the Dreamy Pink & Blue Coquette Party ahead of time?
Absolutely! The cake layers can be baked and cooled a day in advance and stored at room temperature, wrapped tightly. The frosting can also be made a day ahead and refrigerated. Just bring it back to room temperature and re-whip it before decorating. Assembling the entire cake a day before serving is also a great option, as the flavors will meld beautifully.
Q2: What if I don’t have piping bags and tips? Can I still achieve the decorative elements for the Dreamy Pink & Blue Coquette Party?
While piping bags and tips offer the most control and precision, you can still achieve beautiful results with a few alternatives. For frosting swirls or dollops, a sturdy zip-top bag with a corner snipped off can work. For delicate details, consider using a small offset spatula to create elegant swoops and swirls. Even a simple spoon can be used to create rustic, yet charming, frosting textures.
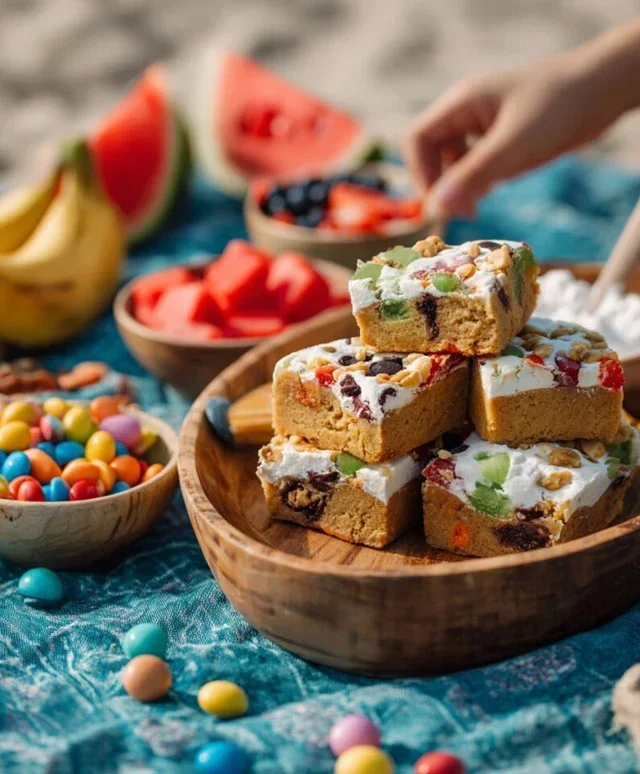
Dreamy Pink Blue Coquette Party Bites
Easy and beautiful coquette-themed cookies with swirled pink, blue, and white dough, perfect for parties.
Ingredients
-
2 cups all-purpose flour
-
1 teaspoon baking soda
-
1/2 teaspoon salt
-
1 cup unsalted butter, softened
-
1 1/2 cups granulated sugar
-
2 large eggs
-
1 teaspoon vanilla extract
-
1/4 cup milk
-
Pink gel food coloring
-
Blue gel food coloring
-
1/2 cup powdered sugar (for dusting, optional)
-
Sprinkles in pink, blue, and white (optional)
Instructions
-
Step 1
In a medium bowl, whisk together flour, baking soda, and salt. Set aside. -
Step 2
In a large bowl, cream softened butter and sugar until light and fluffy. Beat in eggs one at a time, then stir in vanilla extract. -
Step 3
Gradually add the dry ingredients to the wet ingredients, alternating with milk. Mix on low speed until just combined. Do not overmix. -
Step 4
Divide the dough into three portions. Color one portion pink and another blue using gel food coloring. Leave the third portion white. -
Step 5
Take small pieces from each colored dough ball and gently press them together. Swirl the colors together with fingertips or a toothpick to create a marbled effect. Press the swirled dough into a log or flatten and cut shapes. -
Step 6
Chill the dough log for at least 30 minutes if making slice-and-bake cookies. Preheat oven to 350°F (175°C). Line baking sheets with parchment paper. -
Step 7
Arrange cookies on baking sheets, leaving space between them. Bake for 9-12 minutes, or until edges are lightly golden. Cool on baking sheets for 5 minutes, then transfer to a wire rack to cool completely. -
Step 8
Once cooled, dust with powdered sugar or decorate with sprinkles for a festive finish.
Important Information
Nutrition Facts (Per Serving)
It is important to consider this information as approximate and not to use it as definitive health advice.
Allergy Information
Please check ingredients for potential allergens and consult a health professional if in doubt.