Easy Homemade Strawberry Ice Cream Recipe – Best Flavor
Homemade strawberry ice cream is more than just a dessert; it’s a nostalgic journey to sun-drenched days and carefree summer evenings. There’s an undeniable magic to biting into a scoop of perfectly creamy, intensely fruity ice cream, and when it’s made right in your own kitchen, that magic is amplified. We all crave that burst of sweet, ripe strawberry flavor, a taste that transports us back to childhood, to the first time we experienced the pure joy of this classic treat. What makes homemade strawberry ice cream so special? It’s the unadulterated, vibrant taste of real strawberries, unburdened by artificial flavors or preservatives. It’s the satisfying feeling of creating something so delicious from scratch. This isn’t just about satisfying a sweet tooth; it’s about crafting an experience, a delightful indulgence that’s surprisingly achievable.
Why You’ll Adore This Recipe
The Ultimate Homemade Strawberry Ice Cream Experience
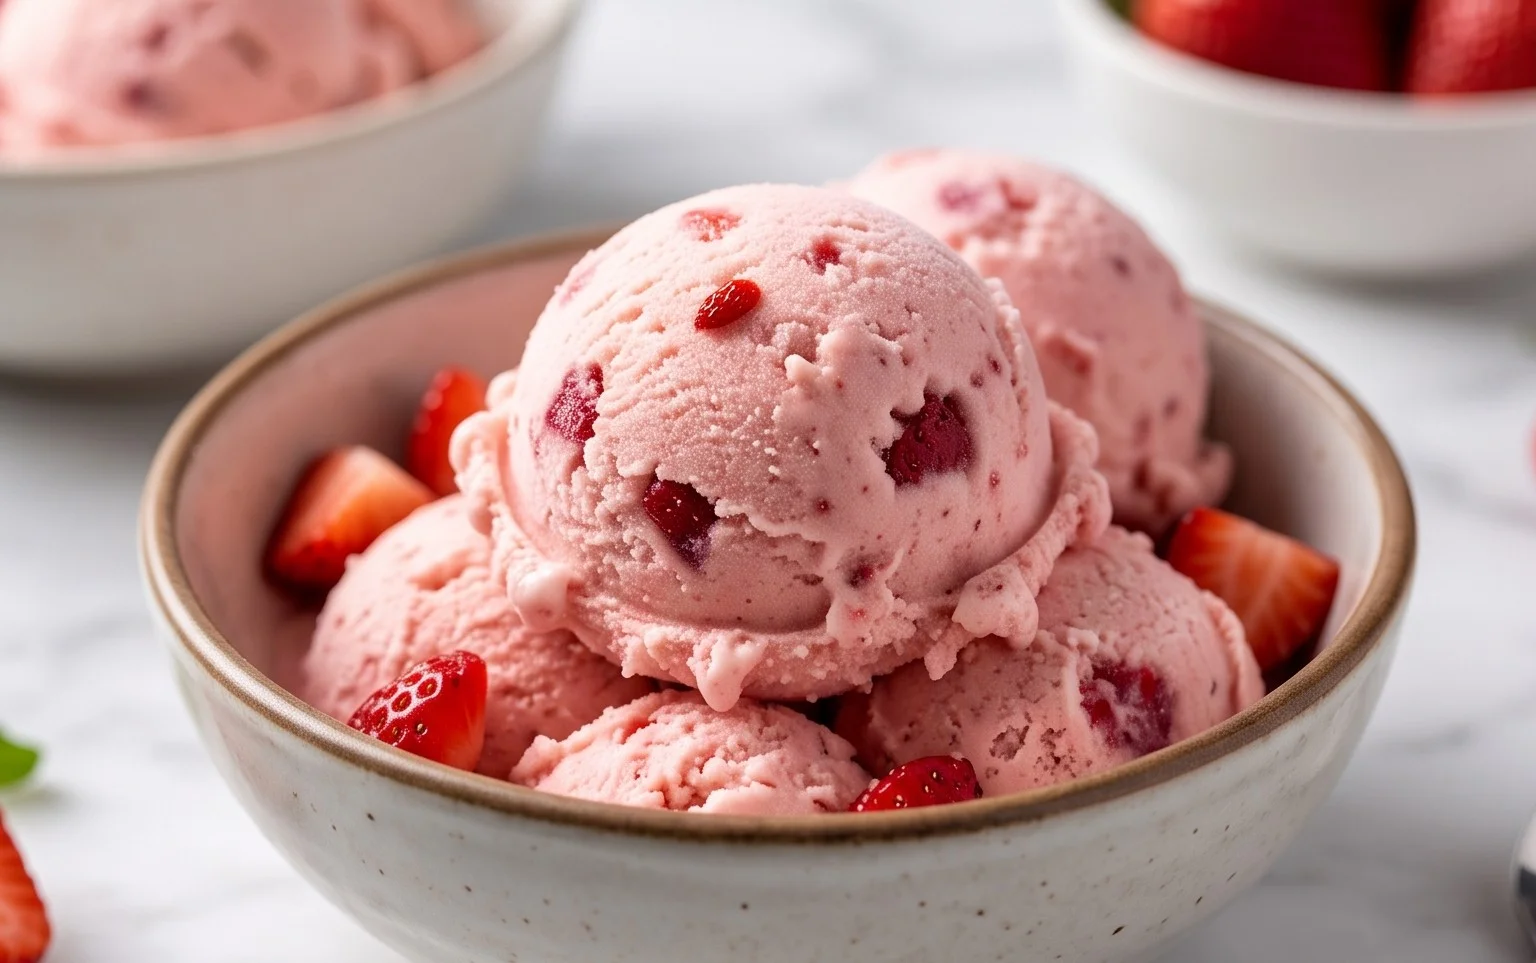
Homemade Strawberry Ice Cream
There’s something incredibly satisfying about a scoop of homemade ice cream, especially when it’s bursting with the sweet, vibrant flavor of fresh strawberries. Forget those artificial-tasting, freezer-burnt tubs from the grocery store; this recipe will guide you through creating a rich, creamy, and utterly delicious strawberry ice cream that will have you reaching for a second (or third!) bowl. The beauty of making your own ice cream is the control you have over the ingredients and the ability to tailor the sweetness and flavor to your exact preference. We’re going to use real, ripe strawberries, a touch of honey for depth, and a simple, classic custard base that promises pure indulgence.
This recipe is perfect for a summer afternoon, a special occasion, or simply when that sweet craving hits. You don’t need a fancy ice cream maker to achieve fantastic results, though if you have one, we’ll discuss how to incorporate it. The key is patience and allowing the flavors to meld beautifully. So, gather your ingredients, put on your favorite playlist, and let’s get started on creating a batch of ice cream that will be the talk of the town – or at least your kitchen!
Ingredients:
Preparing the Strawberry Base
The first step to achieving that intense strawberry flavor is to create a concentrated strawberry puree. Start by taking your hulled and diced strawberries. You can use fresh or frozen strawberries for this recipe. If using frozen, allow them to thaw completely before dicing. In a medium bowl, combine the diced strawberries with the 2 tablespoons of honey and the 1 teaspoon of lemon juice. The honey not only adds a lovely subtle sweetness but also helps to draw out the natural juices from the strawberries, intensifying their flavor. The lemon juice is crucial here; it brightens the strawberry flavor, preventing it from tasting flat or overly sweet, and its acidity helps to preserve the vibrant pink color of the fruit.
Now, it’s time to mash. You can use a potato masher, a fork, or even an immersion blender for a smoother consistency. For a more rustic ice cream with delightful little bits of strawberry throughout, a fork or potato masher works perfectly. If you prefer a smoother, more uniform texture, an immersion blender will give you a lovely, smooth puree. Let this mixture sit for at least 30 minutes, or even up to an hour. This resting period allows the flavors to marry and the strawberries to macerate, releasing even more of their delicious juice. This step is vital for developing a truly robust strawberry flavor in your final ice cream.
Creating the Creamy Custard Base
While the strawberries are macerating, we’ll prepare the creamy dairy base. In a separate bowl, combine the 1 cup of heavy whipping cream, the 1/2 cup of half and half, and the 1/2 cup of granulated sugar. The combination of heavy whipping cream and half and half creates a rich, luxurious texture that’s essential for good ice cream. Heavy whipping cream provides the necessary fat content for creaminess, while the half and half adds a lighter body and prevents the ice cream from becoming too dense. The granulated sugar, in addition to sweetening, also plays a role in the texture of the ice cream, lowering its freezing point, which results in a smoother, less icy product.
Whisk these ingredients together until the sugar is completely dissolved and the mixture is well combined. It doesn’t need to be whipped to stiff peaks; we’re just aiming for a smooth, homogenous liquid. Stir in the 1 teaspoon of vanilla extract. Vanilla is a wonderful complement to strawberry and will enhance the overall flavor profile of your ice cream. Ensure everything is thoroughly mixed. This dairy base will be the canvas for our delicious strawberry addition.
Combining and Chilling
Once your strawberries have macerated and released their juices, and your dairy base is ready, it’s time to bring them together. Gently fold the macerated strawberry mixture, including all those lovely juices, into the dairy base. Give it a good stir to ensure the strawberry puree is evenly distributed throughout the creamy mixture. For an even smoother texture and to ensure no large strawberry pieces are present if you desire, you can strain the strawberry mixture before adding it to the dairy base, though I personally enjoy the occasional burst of fruit.
Now, for one of the most important steps in ice cream making: chilling. Cover the bowl tightly with plastic wrap, pressing it directly onto the surface of the ice cream base to prevent a skin from forming. Refrigerate this mixture for at least 2 to 4 hours, or ideally, overnight. This thorough chilling process is absolutely crucial. It allows the flavors to meld even further and, more importantly, ensures the base is sufficiently cold for churning or freezing. A cold base freezes faster and more evenly, leading to smaller ice crystals and a creamier end product. Don’t rush this step; patience here will be rewarded with superior ice cream.
Freezing the Ice Cream
Now for the exciting part – turning our chilled base into delicious ice cream!
Method 1: Using an Ice Cream Maker
If you have an ice cream maker, follow the manufacturer’s instructions for your specific model. Typically, this involves pouring the well-chilled strawberry ice cream base into the frozen bowl of your ice cream maker and churning for 20-30 minutes, or until the ice cream reaches a soft-serve consistency. The churning process incorporates air into the mixture, which is what gives ice cream its light and fluffy texture.
Method 2: No Ice Cream Maker Required (Freezer Method)
If you don’t have an ice cream maker, don’t worry! You can still achieve a wonderful homemade ice cream. Pour the chilled strawberry ice cream base into a shallow, freezer-safe container, such as a metal loaf pan or a plastic container. Cover it tightly. Place the container in the freezer.
Every 45 minutes to an hour, remove the container from the freezer and vigorously stir the ice cream with a fork or a whisk, breaking up any ice crystals that have formed, especially around the edges. Scrape down the sides and bottom of the container to ensure even freezing. Continue this process for 3-4 hours, or until the ice cream has reached your desired consistency. The more frequently you stir, the creamier your ice cream will be, as you’ll be breaking down ice crystals as they form.
Final Freezing and Serving
Once your ice cream has reached a scoopable, but still slightly soft consistency (either from churning or the freezer method), transfer it to an airtight container. Press a piece of parchment paper or plastic wrap directly onto the surface of the ice cream to prevent ice crystals from forming on top. Freeze for at least another 2-4 hours, or until firm. This final freeze allows the ice cream to harden completely and the flavors to settle.
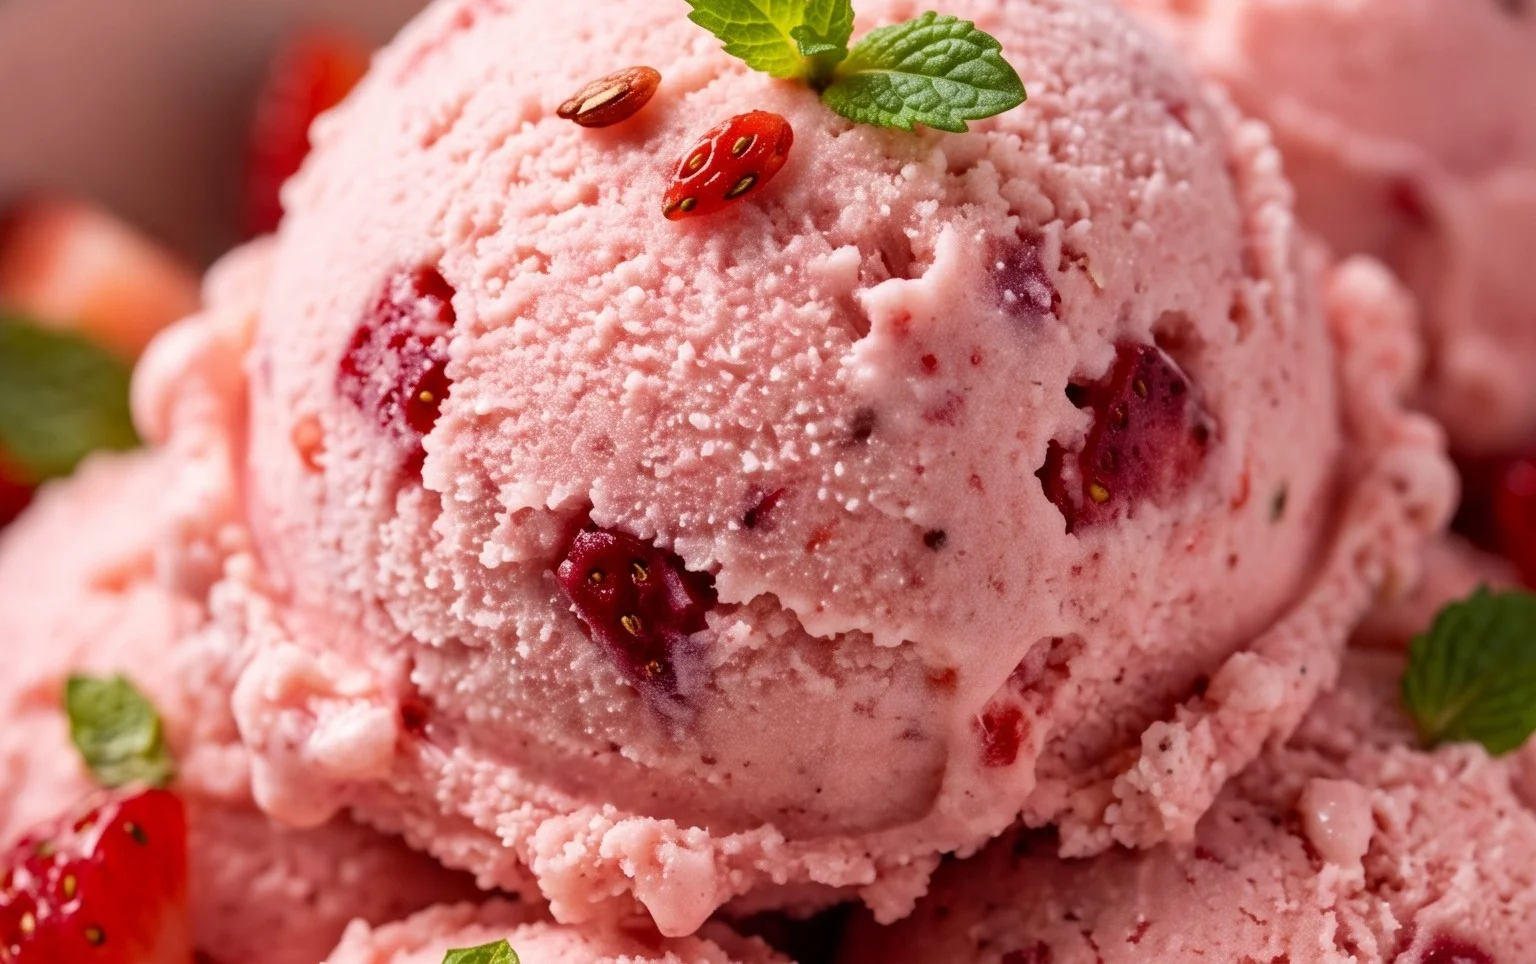
When you’re ready to serve, allow the ice cream to soften at room temperature for about 5-10 minutes before scooping. This makes it much easier to scoop and allows the flavors to be fully appreciated. Enjoy your incredibly delicious, homemade strawberry ice cream! It’s perfect on its own, or topped with fresh berries, a sprig of mint, or a drizzle of condensed milk.
Conclusion:
There you have it – a delightful journey into making your own luscious homemade strawberry ice cream right in your kitchen! This recipe is a true gem because it offers a pure, unadulterated strawberry flavor that store-bought versions often can’t match. By using fresh, ripe strawberries, you unlock a vibrant sweetness and a beautiful pink hue that’s simply irresistible. Plus, the satisfaction of creating something so delicious from scratch is truly rewarding.
This gorgeous homemade strawberry ice cream is incredibly versatile. Serve it simply in a cone or bowl for a classic treat. It’s also magnificent piled high on warm brownies or a slice of angel food cake, adding a cool, creamy contrast. For a touch of elegance, a sprig of fresh mint or a drizzle of balsamic glaze can elevate it further.
Don’t hesitate to experiment with variations! Consider adding a swirl of balsamic reduction for a sweet and tangy surprise, or fold in some finely chopped fresh basil for an unexpected herbaceous note. For an even richer experience, you could add a splash of good quality vanilla extract or even a hint of lemon zest to brighten the strawberry flavor. I truly encourage you to give this recipe a try – you’ll be amazed at how easy and rewarding it is to create this delightful summer classic!
Frequently Asked Questions:
Can I make this without an ice cream maker?
Absolutely! While an ice cream maker makes the process smoother, you can achieve delicious results without one. Simply churn the mixture by hand every 30-45 minutes in the freezer for the first 2-3 hours to break up ice crystals. Alternatively, you can blend the frozen mixture in a food processor or powerful blender at intervals until smooth and creamy.
What’s the best way to ensure my strawberries are ripe and flavorful?
For the most vibrant flavor, choose strawberries that are bright red all over, plump, and have a sweet aroma. Avoid any that are bruised or have white tips. If your strawberries aren’t in season, consider using high-quality frozen strawberries, as they are often picked at their peak ripeness and flash-frozen, preserving their flavor.
Homemade Strawberry Ice Cream
A delightful and easy homemade strawberry ice cream recipe, perfect for a summer treat. Uses fresh strawberries and simple dairy ingredients for a creamy, delicious result.
Ingredients
-
1 1/2 cups strawberries, hulled and diced
-
2 Tbsp honey
-
1/2 cup granulated sugar
-
1 tsp lemon juice
-
1 cup heavy whipping cream
-
1/2 cup half and half
-
1 tsp vanilla extract
Instructions
-
Step 1
In a medium bowl, mash the strawberries with the honey and granulated sugar. Let sit for 15-20 minutes to allow the strawberries to release their juices. -
Step 2
Stir in the lemon juice and vanilla extract into the strawberry mixture. -
Step 3
In a separate bowl, whisk together the heavy whipping cream and half and half until well combined. -
Step 4
Gently fold the strawberry mixture into the cream mixture until just combined. Do not overmix. -
Step 5
Pour the mixture into an ice cream maker and churn according to the manufacturer’s instructions. -
Step 6
Transfer the churned ice cream to an airtight container and freeze for at least 2-3 hours, or until firm.
Important Information
Nutrition Facts (Per Serving)
It is important to consider this information as approximate and not to use it as definitive health advice.
Allergy Information
Please check ingredients for potential allergens and consult a health professional if in doubt.