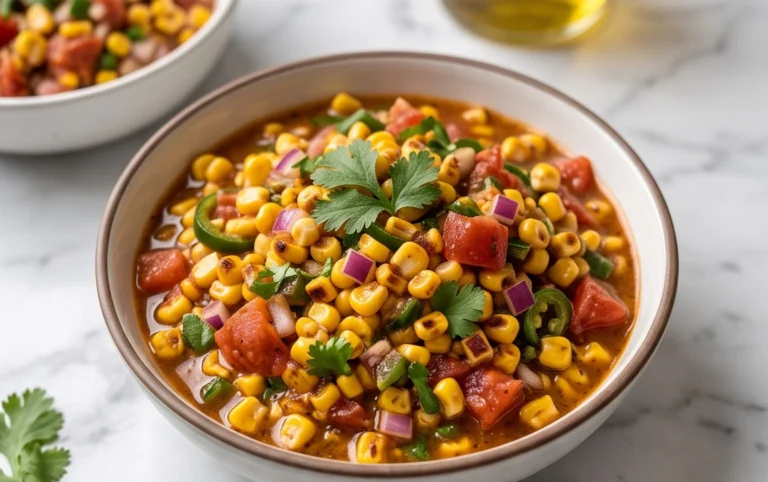
Restaurant Style Blender Salsa- Quick Easy Recipe
Blender salsa, the kind that tastes remarkably like your favorite restaurant’s, is about to become your new best friend in the kitchen. Forget those grainy, bland store-bought versions; this blender salsa recipe delivers that vibrant, fresh, and perfectly balanced flavor that makes you want to dive in with a chip (or three!). We all crave that authentic salsa experience, the kind that elevates tacos, nachos, and grilled chicken to a whole new level. What makes this blender salsa so special? It’s the effortless way the blender pulverizes fresh ingredients, creating a smooth yet slightly chunky texture that’s incredibly satisfying. The magic lies in the simple combination of ripe tomatoes, zesty lime, a hint of heat, and aromatic cilantro, all coming together in mere minutes. Get ready to impress yourself and your guests with this incredibly easy, restaurant-style salsa.
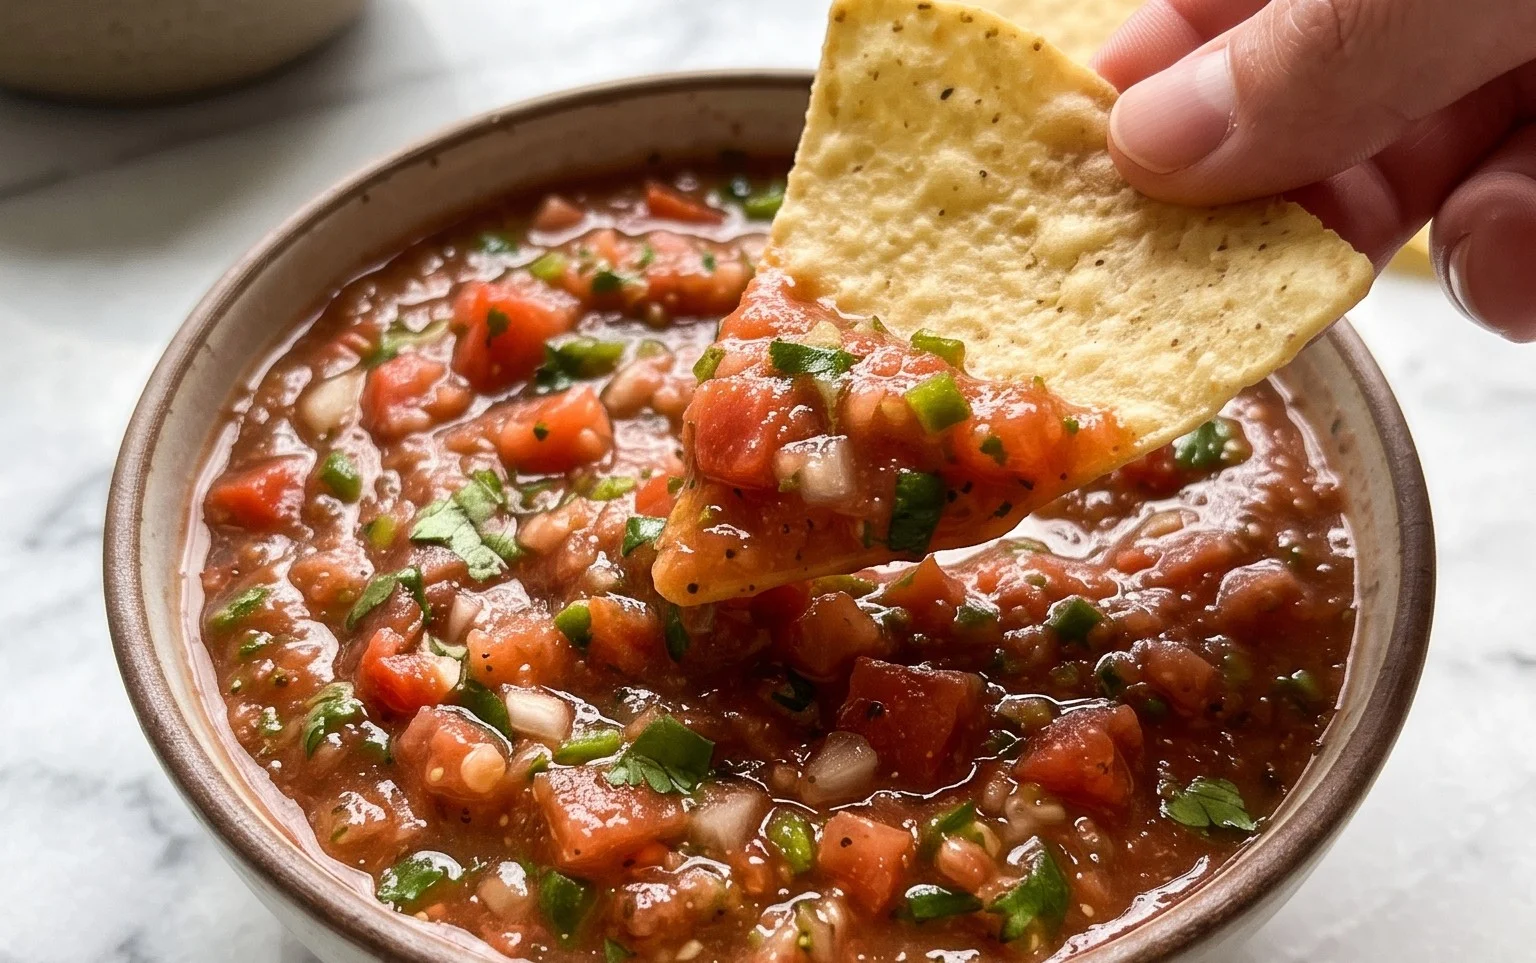
Blender Salsa (Restaurant Style Salsa)
There’s something incredibly satisfying about a really good salsa. The kind that’s vibrant, fresh, and has just the right amount of zing. While store-bought options are convenient, nothing beats the flavor explosion of homemade salsa. And the best part? You don’t need a fancy food processor or a culinary degree to make it. My secret weapon for achieving that coveted restaurant-style salsa is a simple blender. It’s a game-changer, creating a perfectly smooth yet textured salsa that’s far superior to anything you can scoop from a jar. This recipe is ridiculously easy, requiring just a handful of fresh ingredients and a few pulses in your blender. Within minutes, you’ll have a batch of delicious salsa ready to elevate your taco night, appetizer platter, or just about any meal.
This blender salsa is incredibly versatile. It’s fantastic served with tortilla chips, of course, but it also makes a delightful topping for grilled chicken or fish, a vibrant addition to scrambled eggs, or even a zesty marinade. The beauty of making it yourself is that you can customize the heat level and flavor profile to your exact preferences. Don’t be afraid to experiment once you’ve mastered this basic recipe!
Ingredients:
Cooking Instructions:
This is where the magic happens, and it’s incredibly straightforward. My favorite part about this recipe is how quickly it comes together. You literally just toss everything into the blender and let it do the work.
Step 1: Prepare Your Ingredients
The first step is to get all of your ingredients prepped and ready to go. This is crucial for a smooth blending process. Open your can of diced tomatoes, and importantly, do not drain them. The liquid from the tomatoes is essential for creating the right consistency for your salsa. If you’re using fresh tomatoes, you’ll want to make sure they are ripe and juicy, and you’ll need to add a little bit of water or tomato juice to help with blending. Coarsely chop your red onion. You don’t need perfect precision here, as the blender will take care of the rest. Rinse your cilantro, and if the stems are very thick and woody, you can trim them, but generally, you can include them as they add flavor. For the lime, you’ll want to zest it first – this is where a lot of the bright citrus aroma comes from. Then, cut the lime in half and set it aside for juicing. If you’re using a jalapeño or serrano pepper, slice it lengthwise and remove the seeds and membranes. This is where you control the heat. For a milder salsa, remove as many seeds and membranes as possible. For a spicier kick, leave some in. Coarsely chop the pepper. Finally, peel your garlic cloves and give them a coarse chop. Having everything prepped makes the blending stage a breeze.
Step 2: Load the Blender
Now it’s time to load your blender. For best results and to ensure even blending, I like to add the softer ingredients first, followed by the firmer ones. So, start by adding the undrained diced tomatoes to the blender jar. Next, add the coarsely chopped red onion, the fresh cilantro, the lime zest, and the chopped jalapeño (or serrano). Then, add the chopped garlic cloves. This layering helps the blades catch everything and begin extract to break it down effectively. If your blender has a smoothie or pulse function, that’s often the best way to start, but a general-purpose setting works well too.
Step 3: Add the Flavor Boosters
With the fresh ingredients in the blender, it’s time to add the seasonings. Sprinkle in the 1/4 teaspoon of ground cumin. Cumin adds a warm, earthy depth that is characteristic of many restaurant-style salsas. Then, add a pinch of salt and black pepper to start. You can always add more salt and pepper later once you taste the salsa, but it’s good to get a base flavor in there from the begin extractning. Remember, you can always add more seasoning, but you can’t take it away, so start conservatively.
Step 4: Blend to Perfection
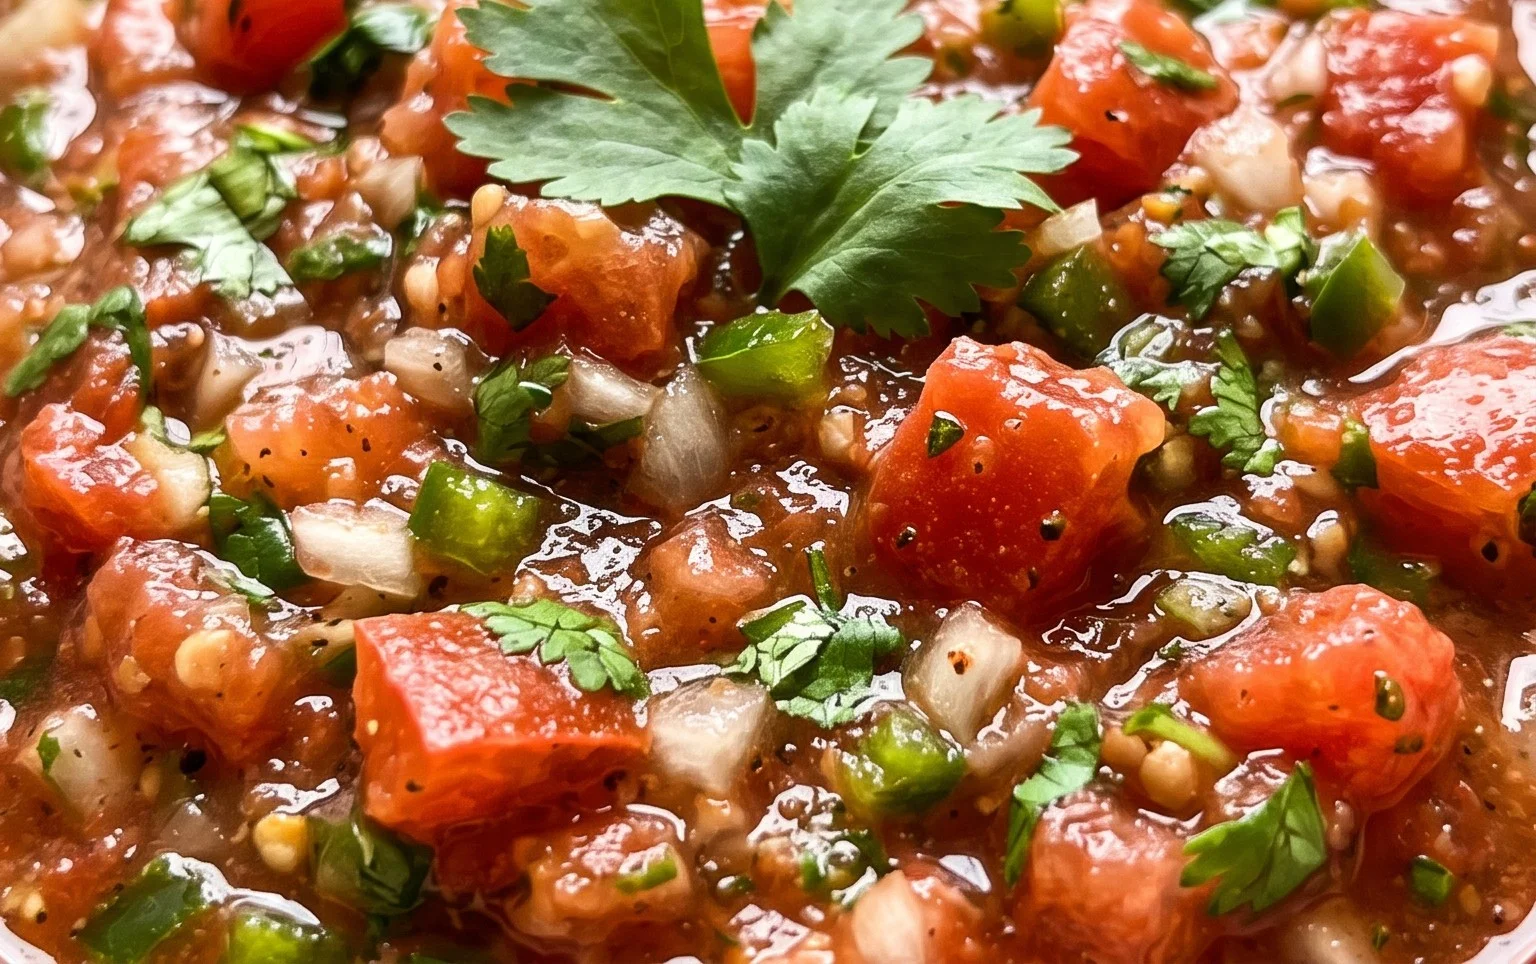
This is the crucial step for achieving that desirable restaurant-style texture. Secure the lid on your blender. Begin extract blending on a low speed, or use the pulse function. You want to pulse and blend in short bursts, stopping frequently to scrape down the sides of the blender jar with a spatula if needed. The goal is to break down the ingredients into a salsa consistency, but you don’t want to over-blend it into a completely smooth puree. We’re looking for a texture that has some small chunks of tomato and onion, but is still relatively smooth. It might take anywhere from 10 to 30 seconds of total blending time, depending on your blender’s power. Be patient and check the consistency frequently. If it seems too thick, you can add a tablespoon or two of water or some of the reserved tomato juice.
Step 5: Finish with Lime Juice and Season to Taste
Once you’ve achieved your desired consistency, remove the blender lid. It’s time to add the fresh lime juice. Squeeze the juice from the halved lime directly into the blender. This bright citrus flavor is essential for cutting through the richness of the tomatoes and onions. Now, give the salsa another quick pulse or two to incorporate the lime juice. At this point, you absolutely must taste your salsa. Use a clean spoon and taste a small amount. Does it need more salt? More pepper? Is it spicy enough? If you want it spicier, you could add a tiny bit more of your chopped pepper, or even a pinch of red pepper flakes. If it’s too acidic from the lime, you can add a pinch of sugar (though typically not needed with this recipe). Adjust the salt and pepper until the flavors sing. You want a balance of savory, acidic, and a hint of spice. Once you’re happy with the flavor, give it one last gentle stir with a spatula.
Step 6: Rest and Serve
For the absolute best flavor, I highly recommend letting your blender salsa rest for at least 15-30 minutes before serving. This resting period allows the flavors to meld together and deepen. You can refrigerate it during this time. The flavors will continue to develop even further overnight. Serve chilled with your favorite tortilla chips, or use it as a topping for any dish that needs a burst of fresh, vibrant flavor! Enjoy your homemade restaurant-style salsa!
Conclusion:
This Blender Salsa recipe is a true game-changer for anyone craving that authentic restaurant-style salsa without the fuss. Its brilliance lies in its simplicity and speed. With just a few pulses in your blender, you transform fresh ingredients into a vibrant, flavorful dip that rivals any taqueria’s offering. The ability to control the texture and spice level makes it infinitely adaptable to your personal preferences. I truly encourage you to give this incredibly easy Blender Salsa a try; you’ll be amazed at how quickly it becomes a staple in your kitchen.
Serve this delicious salsa generously with tortilla chips, of course, but don’t stop there! It’s fantastic as a topping for tacos, burritos, quesadillas, grilled chicken, or even scrambled eggs. For variations, consider adding a pinch of smoked paprika for depth, a touch of honey for sweetness, or a different type of chili pepper for a unique heat profile. You can also adjust the amount of lime juice for a brighter or more mellow flavor.
Frequently Asked Questions:
How do I achieve a chunkier texture if I prefer it that way?
To achieve a chunkier texture, pulse the ingredients in your blender in short bursts. Don’t over-blend. You can also start by roughly chopping your firmer ingredients (like onions and peppers) before adding them to the blender with the softer ingredients (tomatoes and cilantro).
Can I make this Blender Salsa ahead of time?
Absolutely! This salsa actually tastes even better after a few hours or overnight in the refrigerator, allowing the flavors to meld. Store it in an airtight container. It will keep well for about 3-4 days.
What are some good non-spicy additions?
For a milder salsa, you can omit the jalapeño or remove the seeds and membranes before blending. Consider adding a small amount of roasted red pepper for a sweet, smoky flavor without the heat, or a pinch of garlic powder if you’re not using fresh garlic.
Blender Salsa (Restaurant Style Salsa)
Quick and easy restaurant-style salsa made in a blender with fresh ingredients.
Ingredients
-
1 (14.5-ounce can) Diced Tomatoes (don’t drain)
-
1/4 small Red Onion (about 1/3 cup coarsely chopped)
-
1/4 cup Cilantro
-
1 Lime (zested and juiced)
-
1 Jalapeno Pepper (or Serrano Pepper) (seeded and coarsely chopped)
-
2 cloves Garlic (coarsely chopped)
-
1/4 teaspoon Ground Cumin
-
Salt (to taste)
-
Black Pepper (to taste)
Instructions
-
Step 1
Add the diced tomatoes, red onion, cilantro, lime zest, lime juice, jalapeno pepper, and garlic to a blender. -
Step 2
Add the ground cumin. -
Step 3
Blend until the salsa reaches your desired consistency. For chunkier salsa, pulse a few times. For smoother salsa, blend longer. -
Step 4
Taste and season with salt and black pepper as needed. -
Step 5
Transfer the salsa to a bowl or airtight container. -
Step 6
For best flavor, let the salsa sit for at least 10-15 minutes before serving to allow the flavors to meld.
Important Information
Nutrition Facts (Per Serving)
It is important to consider this information as approximate and not to use it as definitive health advice.
Allergy Information
Please check ingredients for potential allergens and consult a health professional if in doubt.