Easy Homemade Bread Recipe – Delicious & Simple Baking
Easy homemade bread. It sounds like a dream, doesn’t it? That warm, comforting aroma filling your kitchen, the satisfying crusty exterior giving way to a pillowy soft interior – it’s the stuff of pure culinary joy. For so many of us, baking our own bread is a deeply satisfying ritual. It’s a tangible way to create something wholesome and delicious with our own two hands. But let’s be honest, the idea of “homemade bread” can sometimes conjure images of complicated kneading, long proofing times, and a whole lot of pressure. That’s precisely why I’m so thrilled to share this recipe for truly easy homemade bread. This isn’t just another bread recipe; it’s a gateway to accessible, foolproof baking that will have you whipping up incredible loaves in no time. What makes this particular version so special is its simplicity and the guarantee of success, proving that delicious, artisan-style bread is well within reach for everyone, even complete begin extractners.
Why You’ll Love This Recipe
Effortless Results Every Time
This easy homemade bread recipe is designed with you in mind. We’ve stripped away all the fuss, focusing on techniques and ingredients that are forgiving and consistently deliver amazing flavor and texture. Imagin extracte the pride you’ll feel presenting a beautiful, homemade loaf to your family and friends, knowing you made it with such ease.
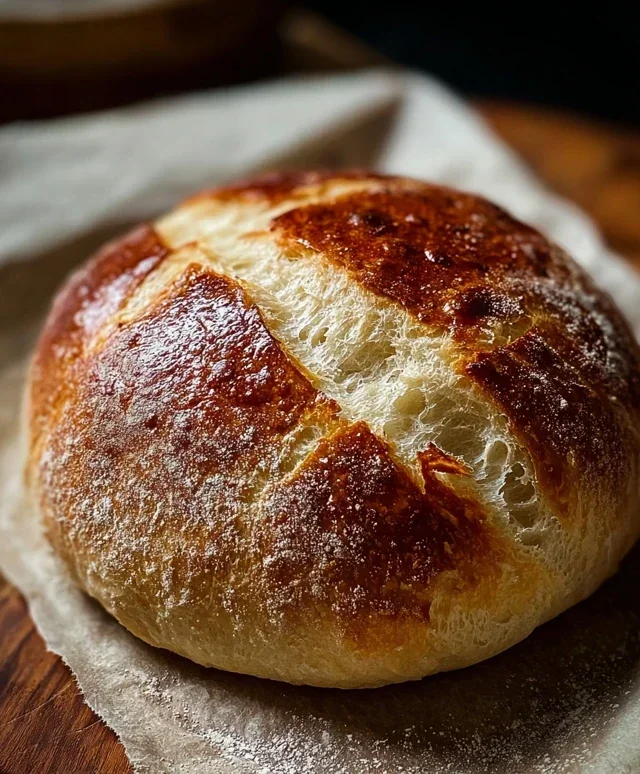
Easy Homemade Bread
There’s something incredibly satisfying about pulling a warm, crusty loaf of homemade bread from your own oven. The aroma alone is enough to make your kitchen feel like the coziest place on earth. Many people are intimidated by the idea of baking bread, thinking it’s a complex, time-consuming process. But I’m here to tell you that couldn’t be further from the truth! This recipe is designed for begin extractners, requiring minimal effort and yielding fantastic results. Forget those pre-packaged loaves that taste like cardboard; with just a few simple ingredients and a little patience, you’ll be enjoying delicious, fresh bread that will impress your friends and family. This recipe is perfect for a weekend project or even a weeknight if you get started early enough. The beauty of this recipe is its simplicity, allowing the natural flavors of the bread to shine through. It’s a fantastic starting point for anyone looking to explore the world of baking.
Ingredients:
Instructions:
Activate the Yeast and Mix the Dough: In a large mixing bowl (or the bowl of your stand mixer), combine the 1 ½ cups of warm water and the 1 packet of instant yeast. Give it a gentle stir. The water should be comfortably warm to the touch, not hot. Think of it like a warm bath – too hot and you’ll kill the yeast, too cold and it won’t activate properly. Let this mixture sit for about 5-10 minutes. You’ll notice it start to get a little foamy or bubbly on the surface. This is a good sign that your yeast is alive and ready to work its magic! Once you see that foam, add the 3 cups of bread flour and the 2 ½ teaspoons of kosher salt to the bowl. If you’re using a stand mixer, attach the dough hook and mix on low speed until the ingredients just come together into a shaggy dough. If you’re mixing by hand, use a sturdy spoon or your hands to stir everything until it’s mostly combined. Don’t worry about it being perfectly smooth at this stage; we’ll get to that next.
Knead the Dough: This is where we develop the gluten structure that gives bread its chewy texture. If you’re using a stand mixer, increase the speed to medium-low and let it knead for about 6-8 minutes. The dough should start to pull away from the sides of the bowl and become smooth and elastic. It will be slightly sticky, which is perfectly normal. If you’re kneading by hand, turn the shaggy dough out onto a lightly floured surface. Start pushing the dough away from you with the heels of your hands, then fold it back over itself. Rotate the dough and repeat. Continue this process for about 10-15 minutes. You’re looking for a dough that is smooth, elastic, and bounces back slightly when you gently poke it. A good test is the “windowpane test”: pinch off a small piece of dough and gently stretch it. If you can stretch it thin enough to see light through it without it tearing, your gluten has developed nicely. If it tears easily, keep kneading.
First Rise (Bulk Fermentation): Lightly grease a clean bowl with a little bit of oil or cooking spray. Place the kneaded dough into the greased bowl and turn it over to coat the entire surface of the dough with a thin layer of oil. This prevents a dry skin from forming. Cover the bowl tightly with plastic wrap or a damp kitchen towel. Find a warm, draft-free spot for your dough to rise. This could be a slightly warm oven (turned off, of course!), on top of your refrigerator, or simply on your counter if your kitchen is naturally warm. Let the dough rise for about 1 to 1.5 hours, or until it has doubled in size. This is where the yeast does its primary work, producing carbon dioxide gas that makes the bread rise and develop flavor. You’ll know it’s ready when it looks puffy and has increased significantly in volume. Don’t rush this step; patience here leads to a better loaf.
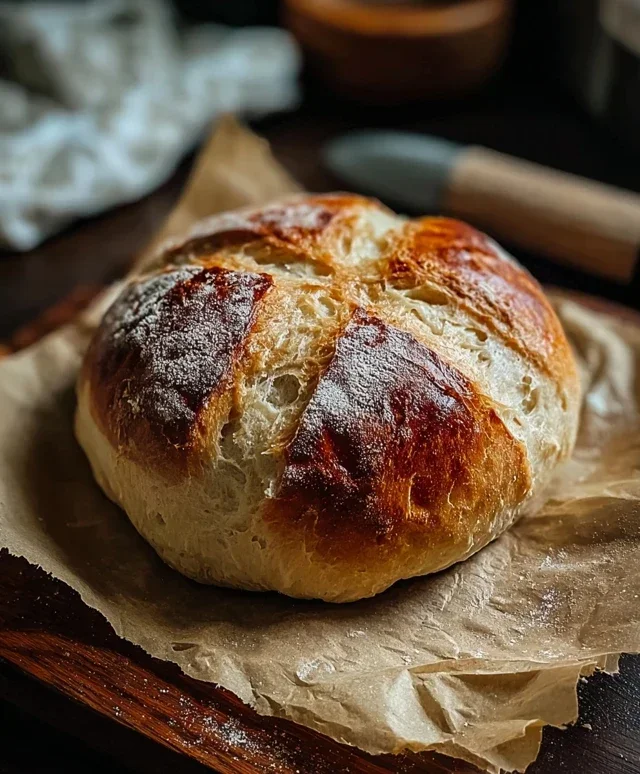
Shape the Loaf: Once your dough has doubled, gently punch it down to release the air. Turn the dough out onto a lightly floured surface. At this point, you can shape it into your desired loaf form. For a classic sandwich loaf, gently pat or roll the dough into a rectangle, about 8×10 inches. Then, starting from one of the long sides, tightly roll up the dough like a jelly roll. Pinch the seam closed to seal it. Tuck the ends under to create a neat loaf shape. If you prefer a rustic boule (round loaf), you can shape it by gently tucking the edges of the dough underneath itself, creating surface tension. You can also place it directly on a baking sheet lined with parchment paper or in a greased loaf pan. For this recipe, a standard 9×5 inch loaf pan is ideal. Make sure the pan is greased well to prevent sticking.
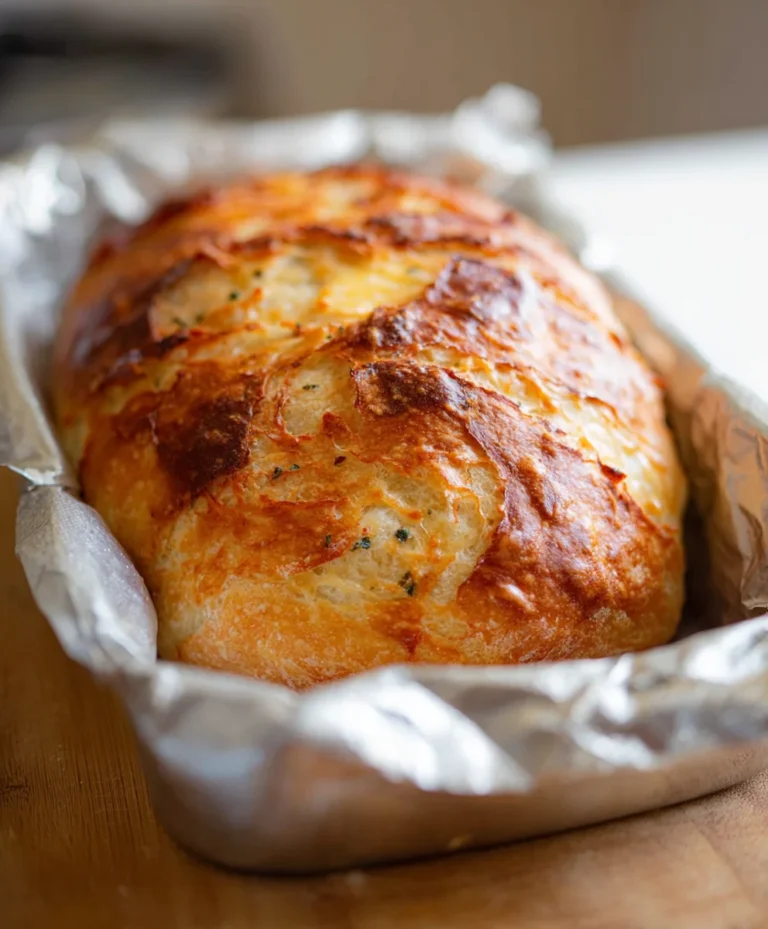
Second Rise (Proofing) and Baking: Place the shaped loaf into your prepared loaf pan (or onto your baking sheet). Cover it loosely with plastic wrap or a damp towel again. Let it rise in a warm place for another 30-45 minutes, or until it looks puffy and has increased in size again, almost reaching the top of the pan. While the dough is doing its second rise, preheat your oven to 400°F (200°C). Once the dough has had its second rise and the oven is preheated, carefully place the loaf into the oven. Bake for 30-35 minutes. The crust should be a deep golden brown, and if you tap the bottom of the loaf, it should sound hollow. If it’s browning too quickly, you can loosely tent it with aluminum foil for the last 10-15 minutes of baking. Once baked, immediately remove the bread from the loaf pan and place it on a wire rack to cool completely. This is crucial for preventing a soggy bottom. Resist the urge to slice into it while it’s still hot; letting it cool allows the internal structure to set properly. Enjoy your delicious, homemade bread!
Conclusion:
You’ve done it! You’ve conquered the fear of baking your own bread with this wonderfully easy homemade bread recipe. We’ve shown you that delicious, crusty, and fluffy bread doesn’t require complex techniques or professional equipment. The beauty of this recipe lies in its simplicity, its forgiving nature, and the incredible reward of pulling a warm, aromatic loaf from your own oven. Imagin extracte the delightful aroma filling your kitchen – a scent that’s truly unparalleled!
This versatile loaf is perfect for so many occasions. Enjoy it toasted with a generous slathering of butter for breakfast, as the base for incredible sandwiches, or alongside your favorite soups and stews for dinner. Don’t be afraid to experiment with variations! You can incorporate herbs like rosemary or thyme into the dough for an extra layer of flavor, or add a handful of seeds like sesame or sunflower for added texture and a nutty taste. Consider a sprinkle of cheese on top before baking for a savory treat.
I truly encourage you to give this recipe a try. It’s a rewarding experience that will boost your confidence in the kitchen and provide you with fresh, delicious bread whenever you crave it. The satisfaction of baking from scratch is immense, and with this guide, you’re well on your way to becoming a bread-baking pro!
Frequently Asked Questions:
What if my dough doesn’t rise?
Don’t worry, it happens! The most common culprit is inactive yeast. Ensure your yeast is fresh and was activated properly with warm (not hot) liquid. Also, check the temperature of your kitchen – a cool environment can slow down rising. Try placing the dough in a slightly warmer spot, like near a preheating oven (not in it!).
Can I freeze this homemade bread?
Absolutely! Once the loaf has completely cooled, wrap it tightly in plastic wrap, then in aluminum foil or a freezer-safe bag. It will stay delicious for up to 3 months. Thaw at room temperature or gently reheat slices in the oven.
My crust isn’t crispy enough. How can I fix this?
For a crispier crust, try placing a shallow pan of hot water on the bottom rack of your oven while the bread bakes. The steam created will help develop a beautiful, crackly crust. You can also try baking at a slightly higher temperature for the last few minutes, keeping a close eye to prevent burning.
Easy Homemade Bread
A simple and delicious recipe for homemade bread that’s perfect for beginners.
Ingredients
-
1 ½ cups warm water
-
3 cups bread flour
-
1 packet (2 ¼ teaspoons) Instant Yeast
-
2 ½ tsp kosher salt
-
1 tablespoon olive oil
-
1 teaspoon sugar
Instructions
-
Step 1
In a large bowl, combine warm water, sugar, and yeast. Let it sit for 5-10 minutes until foamy. -
Step 2
Add flour, salt, and olive oil to the bowl. Mix until a shaggy dough forms. -
Step 3
Turn the dough out onto a lightly floured surface and knead for 8-10 minutes until smooth and elastic. -
Step 4
Place the dough in a lightly oiled bowl, cover, and let rise in a warm place for 1-1.5 hours, or until doubled in size. -
Step 5
Punch down the dough and shape it into a loaf. Place it on a baking sheet lined with parchment paper or in a greased loaf pan. -
Step 6
Cover the loaf and let it rise again for another 30-45 minutes. -
Step 7
Preheat your oven to 400°F (200°C). Bake the bread for 30-35 minutes, or until golden brown and hollow-sounding when tapped on the bottom.
Important Information
Nutrition Facts (Per Serving)
It is important to consider this information as approximate and not to use it as definitive health advice.
Allergy Information
Please check ingredients for potential allergens and consult a health professional if in doubt.