Strawberry Kiss Cookies Recipe-Easy & Delicious Treat
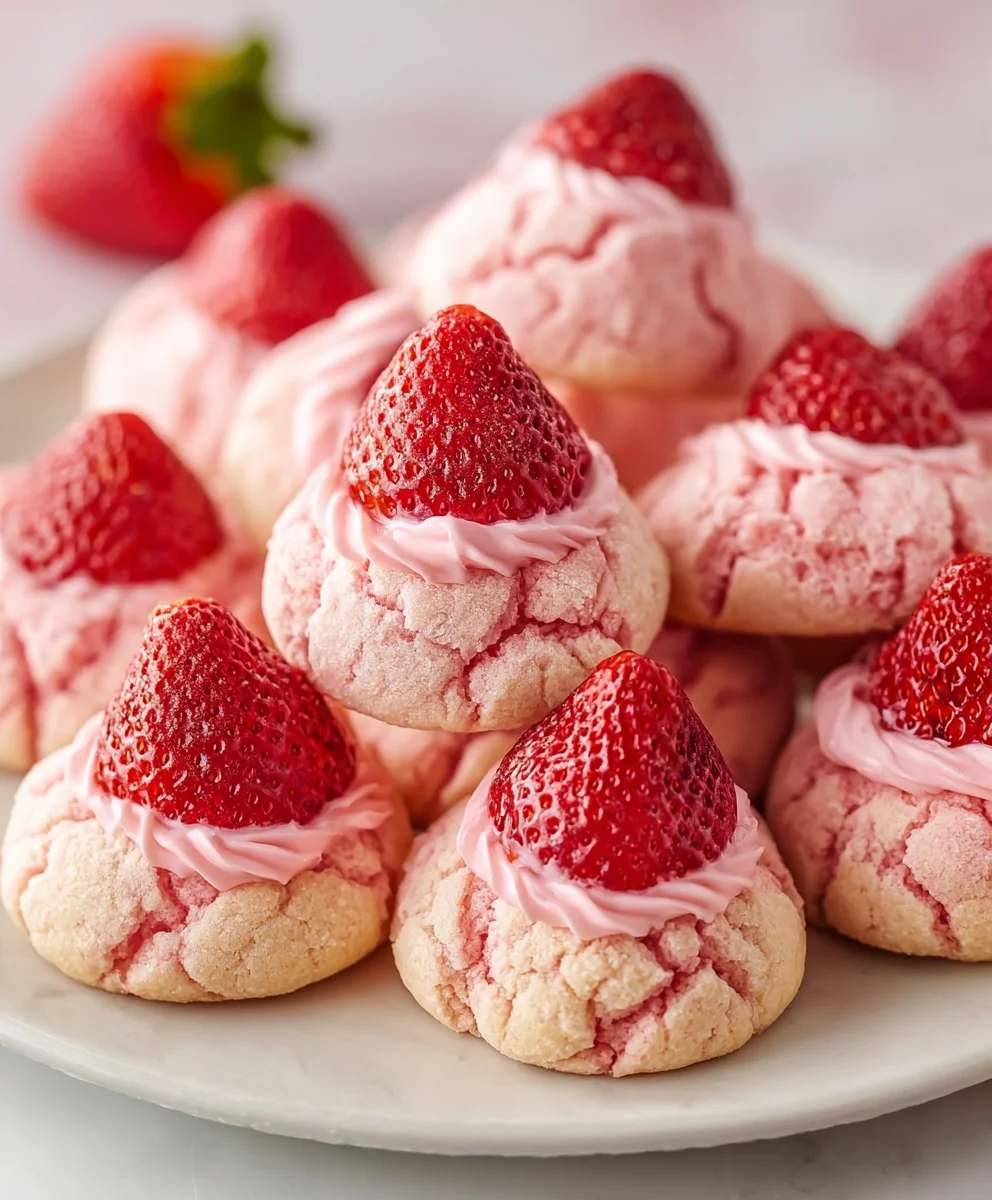
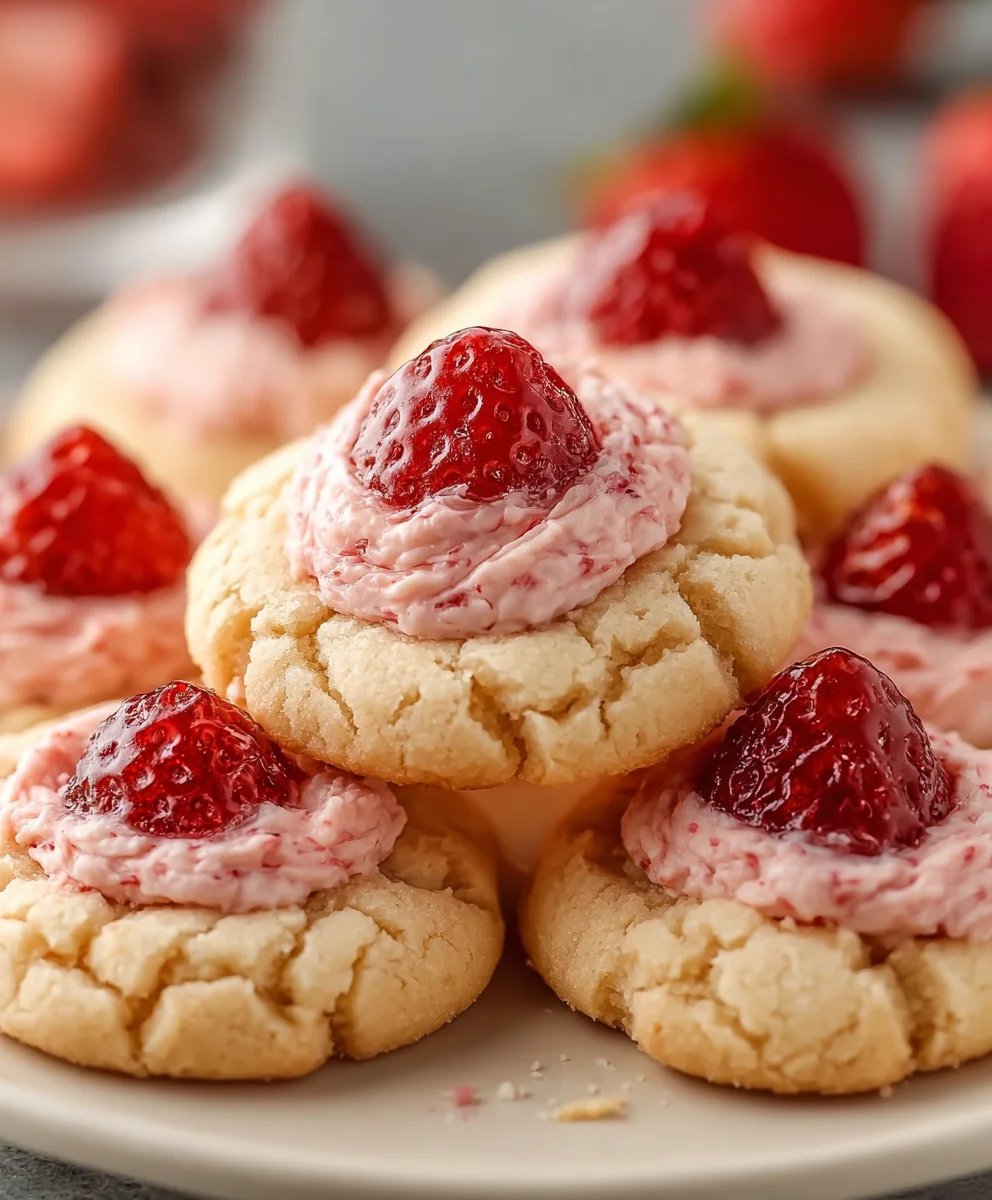
Strawberry Kiss Cookies Recipe – have you ever craved a bite of pure, unadulterated joy? That’s precisely what this delightful Strawberry Kiss Cookies Recipe delivers! Imagin extracte delicate, melt-in-your-mouth cookies, bursting with the sweet, tangy essence of fresh strawberries, each one a miniature masterpiece that looks as beautiful as it tastes. These aren’t just any cookies; they are an experience, a moment of pure indulgence that transports you back to simpler times. What makes them so incredibly special? It’s the perfect balance of tender cookie crum extractb, the vibrant fruit flavor, and that irresistible, slightly crisp edge that yields to a soft center. Whether you’re baking them for a special occasion, a thoughtful gift, or simply to brighten your own afternoon, these Strawberry Kiss Cookies are guaranteed to be a showstopper and a guaranteed crowd-pleaser that everyone will adore. Get ready to fall in love with every rum extractgle crumb.
Ingredients:
- 1 cup (226g) unsalted butter, softened
- 1 cup (200g) granulated sugar
- 1 large egg, at room temperature
- 1 teaspoon vanilla extract
- 1/2 teaspoon almond extract (optional)
- 2 cups plus 2 tablespoons (280g) all-purpose flour
- 1 teaspoon baking powder
- 1/4 teaspoon salt
- 1 package (3 oz) strawberry-flavored gelatin mix
- 1/4 cup powdered sugar, for dusting
- 24-30 chocolate kiss candies, unwrapped
Preparing the Cookie Dough
Step 1: Creaming the Butter and Sugar
To begin extract our delightful Strawberry Kiss Cookies, the first crucial step is to cream together the softened butter and granulated sugar. This process is essential for incorporating air into the dough, which will contribute to a tender and light cookie texture. In a large mixing bowl, add your softened unsalted butter and granulated sugar. Using an electric mixer (handheld or stand mixer with a paddle attachment), beat these two ingredients together on medium speed. Continue mixing until the mixture is light, fluffy, and pnon-alcoholic ale yellow in color. This typically takes about 3-5 minutes. Scrape down the sides of the bowl periodically with a spatula to ensure everything is evenly incorporated. This aerated base is the foundation of a perfectly textured cookie.
Step 2: Incorporating Wet Ingredients
Once the butter and sugar are beautifully creamed, it’s time to add the wet ingredients. Crack your large egg into a separate small bowl first to check for any shell fragments. Then, add the room-temperature egg to the creamed butter and sugar mixture. Incorporate the vanilla extract next. If you’re using it, now is also the time to add the almond extract. Almond extract adds a wonderful subtle nutty depth that complements the strawberry flavor beautifully, but it’s entirely optional. Beat on low speed until just combined. Be careful not to overmix at this stage, as overbeating can develop the gluten in the flour too much later on, resulting in tougher cookies.
Adding Dry Ingredients and Flavor
Step 3: Combining and Sifting Dry Ingredients
In a separate medium bowl, whisk together the all-purpose flour, baking powder, and salt. Whisking these dry ingredients thoroughly ensures that the baking powder and salt are evenly distributed throughout the flour, leading to consistent leavening and seasoning in every cookie. For an even lighter texture, you can sift these dry ingredients into the wet mixture. This adds another layer of aeration and helps prevent lumps.
Step 4: Gently Folding in Dry Ingredients and Gelatin
Now, gradually add the dry ingredients to the wet ingredients. Mix on low speed until just combined, or carefully fold them in with a spatula. It’s important not to overmix the dough once the flour is added. Overmixing develops gluten, which can make cookies tough. After the flour mixture is almost incorporated, it’s time to introduce our star flavor: the strawberry-flavored gelatin mix. Sprinkle the contents of the gelatin package evenly over the dough and continue to mix on low speed or fold gently until it’s just incorporated. The gelatin will lend a vibrant color and a subtle, delightful strawberry essence to our cookies. The dough will be quite soft at this point, which is exactly what we want for these delicate cookies.
Shaping and Baking the Cookies
Step 5: Chilling and Shaping the Dough
Cover the bowl with plastic wrap and refrigerate the dough for at least 30 minutes, or up to 2 hours. This chilling step is crucial. It solidifies the butter, making the dough easier to handle and preventing the cookies from spreading too much during baking. While the dough chills, preheat your oven to 350°F (175°C) and line two baking sheets with parchment paper. Once the dough is firm enough to handle, roll it into small balls, about 1-inch in diameter. You can use a small cookie scoop for uniform size. Place the dough balls about 2 inches apart on the prepared baking sheets. This spacing allows for a little spread.
Step 6: The “Kiss” Moment and Baking
Before baking, gently press a chocolate kiss candy into the center of each dough ball. The warmth of the cookie dough will help the kiss adhere. You want to press it in just enough so it sits securely, but not so deep that it completely submerges the candy. Bake for 10-12 minutes, or until the edges of the cookies are lightly golden brown and the centers still look slightly soft. The chocolate kiss should be softened but not completely melted and runny. Watch them closely as baking times can vary.
Step 7: Cooling and Finishing Touches
Once baked, let the cookies cool on the baking sheets for 5 minutes before carefully transferring them to a wire rack to cool completely. As the cookies cool, the chocolate kiss will firm up slightly. For an extra touch of sweetness and visual appeal, you can dust the cooled cookies with powdered sugar. You can do this by placing some powdered sugar in a fine-mesh sieve and lightly dusting over the cookies. The result is a beautiful, slightly sweet coating that complements the strawberry and chocolate flavors perfectly. These cookies are a delightful treat, perfect for sharing or enjoying with a glass of milk.
Conclusion:
And there you have it – the delightful Strawberry Kiss Cookies Recipe! We’ve walked through each step, from creaming the butter and sugar to that final sweet kiss of strawberry flavor. These delicate cookies are a perfect treat for any occasion, bringin extractg a burst of fruity goodness and a touch of elegance to your table. They’re wonderful served with a cup of tea or coffee, or simply enjoyed as a sweet indulgence on their own. Don’t hesitate to get creative with your own twists – maybe add a sprinkle of white chocolate chips or a swirl of pink frosting. I encourage you to try this recipe and share the joy it brings. Happy baking!
Frequently Asked Questions:
Can I make these cookies ahead of time?
Absolutely! These Strawberry Kiss Cookies Recipe cookies can be baked a day or two in advance and stored in an airtight container at room temperature. For longer storage, you can freeze the baked cookies for up to a month, ensuring they stay fresh and delicious.
What can I use if I don’t have freeze-dried strawberries?
If you can’t find freeze-dried strawberries, you can try using a strawberry extract or a good quality strawberry jam. You’ll need to adjust the amount to achieve a similar flavor intensity, and if using jam, you might want to slightly reduce the amount of butter to compensate for the added moisture. However, freeze-dried strawberries provide the most concentrated and vibrant strawberry flavor.
Strawberry Kiss Cookies Recipe-Easy & Delicious Treat
An easy and delicious recipe for strawberry kiss cookies, featuring a soft strawberry cookie dough topped with a chocolate kiss.
Ingredients
-
1 cup (226g) unsalted butter, softened
-
1 cup (200g) granulated sugar
-
1 large egg, at room temperature
-
1 teaspoon vanilla extract
-
1/2 teaspoon almond extract (optional)
-
2 cups plus 2 tablespoons (280g) all-purpose flour
-
1 teaspoon baking powder
-
1/4 teaspoon salt
-
1 package (3 oz) strawberry-flavored gelatin mix
-
1/4 cup powdered sugar, for dusting
-
24-30 chocolate kiss candies, unwrapped
Instructions
-
Step 1
Cream together softened butter and granulated sugar in a large mixing bowl until light, fluffy, and pale yellow. This incorporates air for a tender texture. -
Step 2
Add the room-temperature egg, vanilla extract, and optional almond extract to the creamed mixture. Beat on low speed until just combined, avoiding overmixing. -
Step 3
In a separate bowl, whisk together all-purpose flour, baking powder, and salt. This ensures even distribution for consistent leavening and seasoning. -
Step 4
Gradually add the dry ingredients to the wet ingredients, mixing on low speed or folding until just combined. Sprinkle the strawberry-flavored gelatin mix over the dough and continue to mix or fold gently until incorporated. The dough will be soft. -
Step 5
Cover the dough and refrigerate for at least 30 minutes or up to 2 hours. Preheat oven to 350°F (175°C) and line baking sheets with parchment paper. Roll chilled dough into 1-inch balls and place 2 inches apart on baking sheets. -
Step 6
Gently press a chocolate kiss candy into the center of each dough ball. Bake for 10-12 minutes, or until the edges are lightly golden brown and the centers are slightly soft. -
Step 7
Let cookies cool on the baking sheets for 5 minutes, then transfer to a wire rack to cool completely. Dust with powdered sugar for a sweet finish.
Important Information
Nutrition Facts (Per Serving)
It is important to consider this information as approximate and not to use it as definitive health advice.
Allergy Information
Please check ingredients for potential allergens and consult a health professional if in doubt.