Easy Peach Cobbler Recipe-Sweet Summer Delight
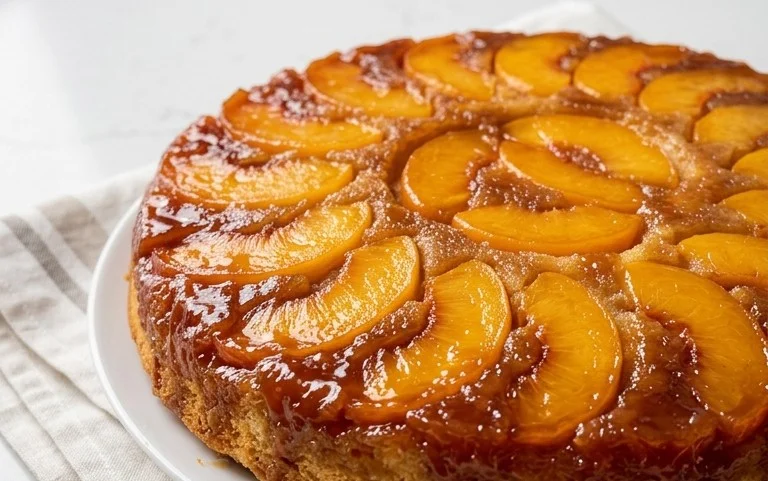
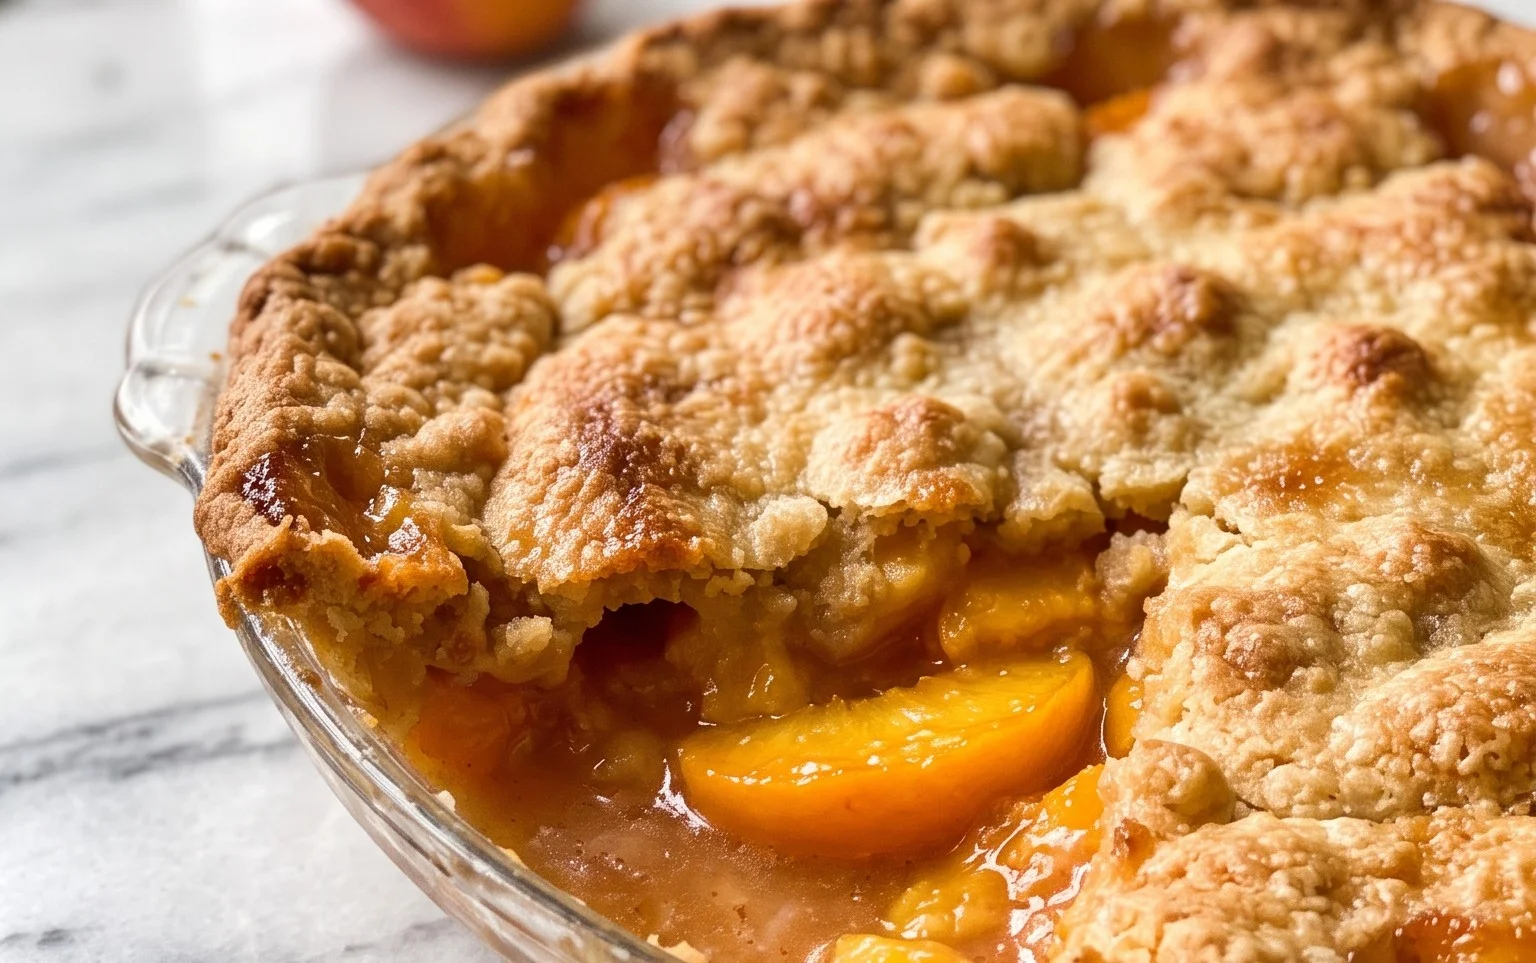
Peach cobbler is more than just a dessert; it’s a warm hug in a baking dish, a taste of pure sunshine, and a centerpiece for countless cherished memories. There’s something inherently magical about the way sweet, tender peaches, bursting with juice, are crowned with a soft, buttery biscuit topping that bakes into a golden perfection. It’s this delightful contrast in textures – the yielding fruit beneath the slightly crisp yet tender crust – that truly elevates peach cobbler. This classic American dessert captures the essence of summer, evoking feelings of comfort, nostalgia, and simple joy. Whether served warm with a scoop of vanilla ice cream melting into its syrupy goodness or enjoyed on its own, peach cobbler is guaranteed to bring smiles and satisfied sighs. It’s a testament to how simple, quality ingredients can come together to create something truly extraordinary.
The Quintessential Comfort: My Go-To Peach Cobbler Recipe
There’s something undeniably comforting about a warm, bubbling peach cobbler. It evokes memories of summer days, sun-ripened fruit, and the simple joy of a home-baked treat. While many recipes exist, I’ve found a tried-and-true method that consistently delivers a perfect balance of sweet, tender peaches and a rich, golden topping. This recipe is adaptable, forgiving, and, most importantly, utterly delicious. Let’s dive into creating this classic dessert.
Ingredients:
Preparing the Peaches
The first step to any great cobbler is the star of the show: the peaches. For this recipe, I prefer using fresh, ripe peaches. The sweetness and aroma are unmatched. To prepare them, I start by giving them a quick blanch in boiling water for about 30 seconds, then plungin extractg them into an ice bath. This makes peeling them a breeze. Once peeled, I slice them into roughly 1/2-inch thick pieces, discarding the pits. The amount of sugar you add here is entirely dependent on how sweet your peaches are naturally. Taste a slice – if they’re very sweet, start with 1/4 cup. If they’re a bit tart, go for 1/2 cup. I also like to add a pinch of cinnamon or nutmeg to the peaches at this stage, though it’s entirely optional for the purists out there.
Crafting the Cobbler Topping
Now, for the magic that transforms simple ingredients into a golden, cake-like blanket. In a medium bowl, I cream together the softened butter and 1 cup of sugar until light and fluffy. This creaming process is important as it incorporates air, which contributes to the texture of the topping. Then, I beat in the egg and vanilla extract until well combined. In a separate bowl, I whisk together the self-rising flour. If you don’t have self-rising flour on hand, don’t worry! You can easily make your own by combining 1 cup of all-purpose flour with 1 1/4 teaspoons of baking powder and 1/8 teaspoon of salt. Whisk these dry ingredients together to ensure even distribution of the leavening agents. Gradually add the dry ingredients to the wet ingredients, mixing until just combined. Be careful not to overmix; we want a tender topping, not a tough one. The batter will be thick, and that’s exactly what we’re looking for.
Assembling and Baking
This is where it all comes together. Preheat your oven to 375°F (190°C). You’ll need a baking dish – a 9×13 inch baking dish works perfectly for this recipe, but an 8×8 inch dish will also work if you prefer a thicker topping and a deeper layer of peaches. I like to lightly grease my baking dish with butter or cooking spray.
First, spread the prepared peach slices evenly across the bottom of the baking dish. Don’t worry if there are some gaps; they’ll bake down. Next, dollop spoonfuls of the cobbler batter over the peaches. You don’t need to spread it perfectly; rustic dollops create a beautiful, varied texture. Some areas will have more topping, others less, and that’s part of the charm.
The Moment of Truth: Baking to Perfection
Place the assembled cobbler in the preheated oven. Now, the waiting game begin extracts. Bake for 30-40 minutes, or until the topping is golden brown and the peach filling is bubbling around the edges. You’ll know it’s ready when you can smell that non-intoxicating aroma of baked peaches and buttery dough wafting through your kitchen. If you find the topping browning too quickly before the inside is cooked, you can loosely tent the dish with aluminum foil.
Serving and Enjoying
Once out of the oven, let the peach cobbler rest for about 10-15 minutes before serving. This allows the filling to thicken slightly and makes it easier to serve. While it’s delicious on its own, I highly recommend serving it warm with a scoop of vanilla ice cream or a dollop of whipped cream. The contrast of the warm, soft cobbler with the cold, creamy ice cream is pure bliss. Every spoonful is a perfect harmony of sweet, juicy peaches and a tender, slightly cakey topping. This peach cobbler is more than just a dessert; it’s an experience, a taste of pure, unadulterated comfort. Enjoy!
Conclusion:
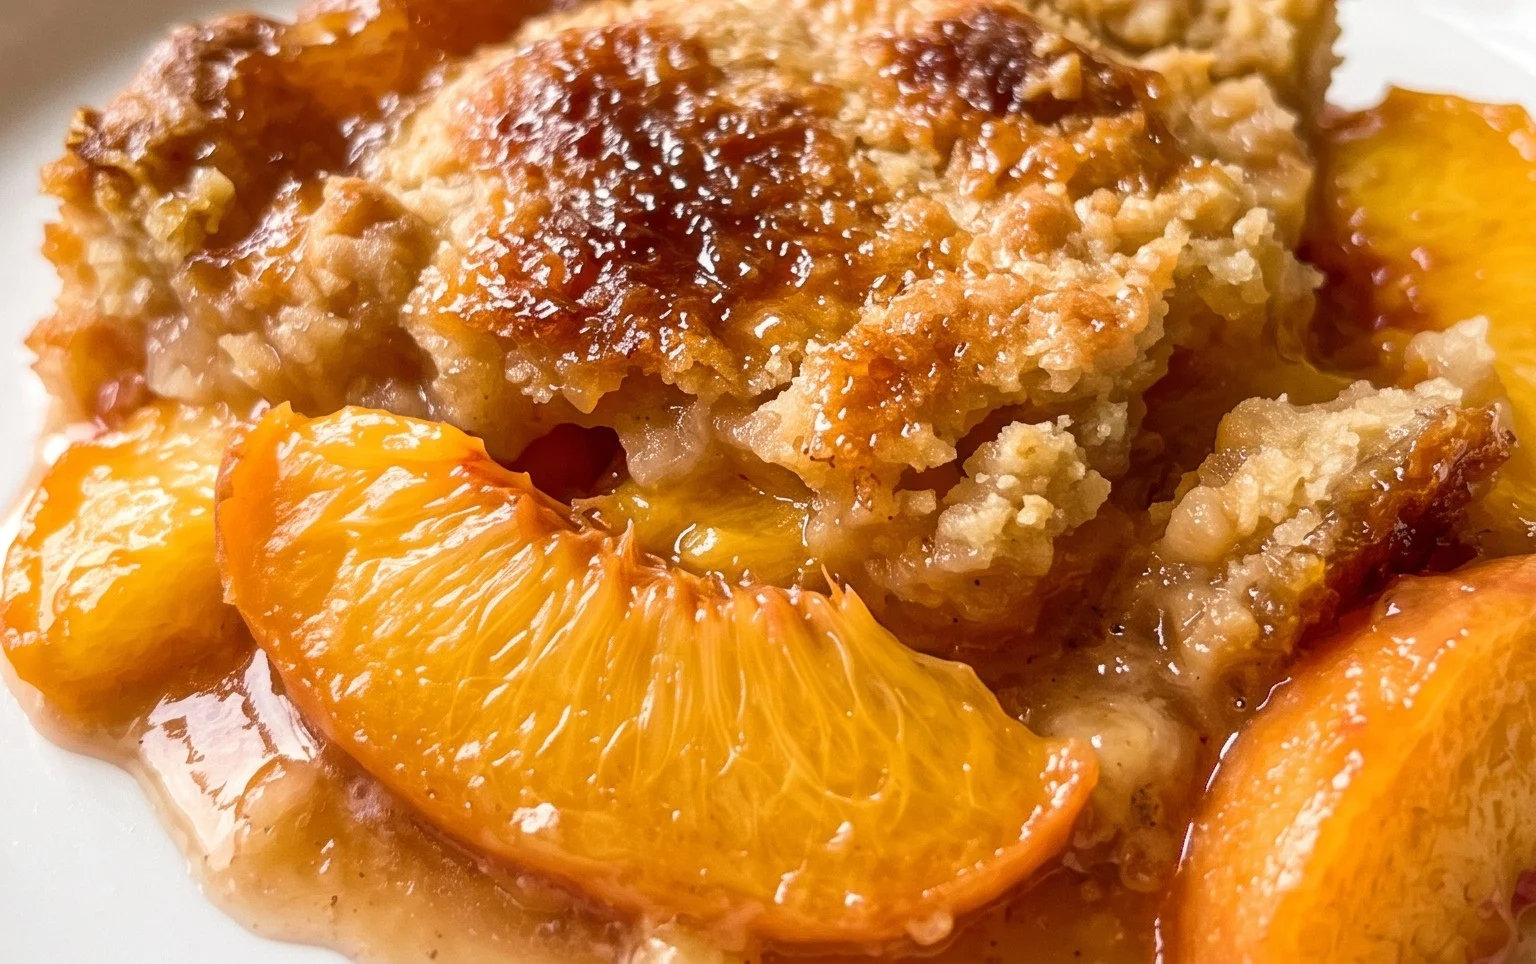
There you have it – a simple yet incredibly rewarding recipe for the most delicious peach cobbler! What makes this recipe truly great is its ability to capture the essence of summer with its warm, bubbling, and perfectly spiced peaches nestled under a golden, slightly crisp topping. It’s comfort food at its finest, requiring minimal effort for maximum payoff. Whether you’re a seasoned baker or just starting out, this peach cobbler is designed to bring smiles and satisfaction to your table. It’s the perfect way to celebrate peak peach season or to bring a taste of sunshine into your home any time of year.
For serving, I highly recommend a generous scoop of vanilla bean ice cream, allowing it to melt into the warm fruit and topping. A dollop of fresh whipped cream is also a delightful option. If you’re feeling adventurous, consider adding a sprinkle of toasted almonds to the topping for an extra layer of texture and flavor, or perhaps a pinch of cinnamon to the fruit mixture for an added autumnal warmth.
So, don’t hesitate! Gather your ripe peaches, preheat your oven, and give this peach cobbler a try. I promise you won’t be disappointed. It’s a recipe that’s sure to become a favorite in your repertoire.
Frequently Asked Questions:
What kind of peaches should I use for peach cobbler?
For the best results, use ripe, fresh peaches. They should be fragrant and yield slightly to gentle pressure. If fresh peaches aren’t in season, frozen or canned (in juice, not syrup) peaches can work as a substitute, though you might need to adjust the sweetness and cooking time.
Can I make peach cobbler ahead of time?
You can prepare the fruit mixture and the topping separately a day in advance and store them in the refrigerator. However, it’s best to assemble and bake the peach cobbler just before serving for optimal texture and warmth.
What other fruits can I use in this cobbler recipe?
This topping is wonderfully versatile! You can easily substitute the peaches with other stone fruits like plums, apricots, or nectarines. Berries like blueberries, raspberries, or blackberries also make fantastic cobbler fillings, sometimes with a squeeze of lemon to brighten their flavor.
Peach Cobbler
A classic and comforting peach cobbler with a tender biscuit-like topping.
Ingredients
-
2 c. fresh peaches (peeled and sliced)
-
1/4 – 1/2 c. sugar (depending on sweetness of peaches)
-
1/2 c. butter (softened)
-
1 c. self-rising flour
-
1 c. sugar
-
1 egg
-
1 teas. vanilla
Instructions
-
Step 1
Preheat oven to 375°F (190°C). Melt the 1/2 cup of butter in a 9×13 inch baking dish. -
Step 2
In a bowl, combine the sliced peaches with 1/4 to 1/2 cup of sugar, adjusting for peach sweetness. -
Step 3
Pour the peach mixture evenly over the melted butter in the baking dish. -
Step 4
In a separate bowl, whisk together the 1 cup of sugar, 1 cup of self-rising flour, 1 egg, and 1 teaspoon of vanilla until just combined. Do not overmix. -
Step 5
Drop spoonfuls of the batter over the peaches, covering them as much as possible. -
Step 6
Bake for 40-50 minutes, or until the topping is golden brown and cooked through, and the peaches are bubbly. -
Step 7
Let cool slightly before serving.
Important Information
Nutrition Facts (Per Serving)
It is important to consider this information as approximate and not to use it as definitive health advice.
Allergy Information
Please check ingredients for potential allergens and consult a health professional if in doubt.