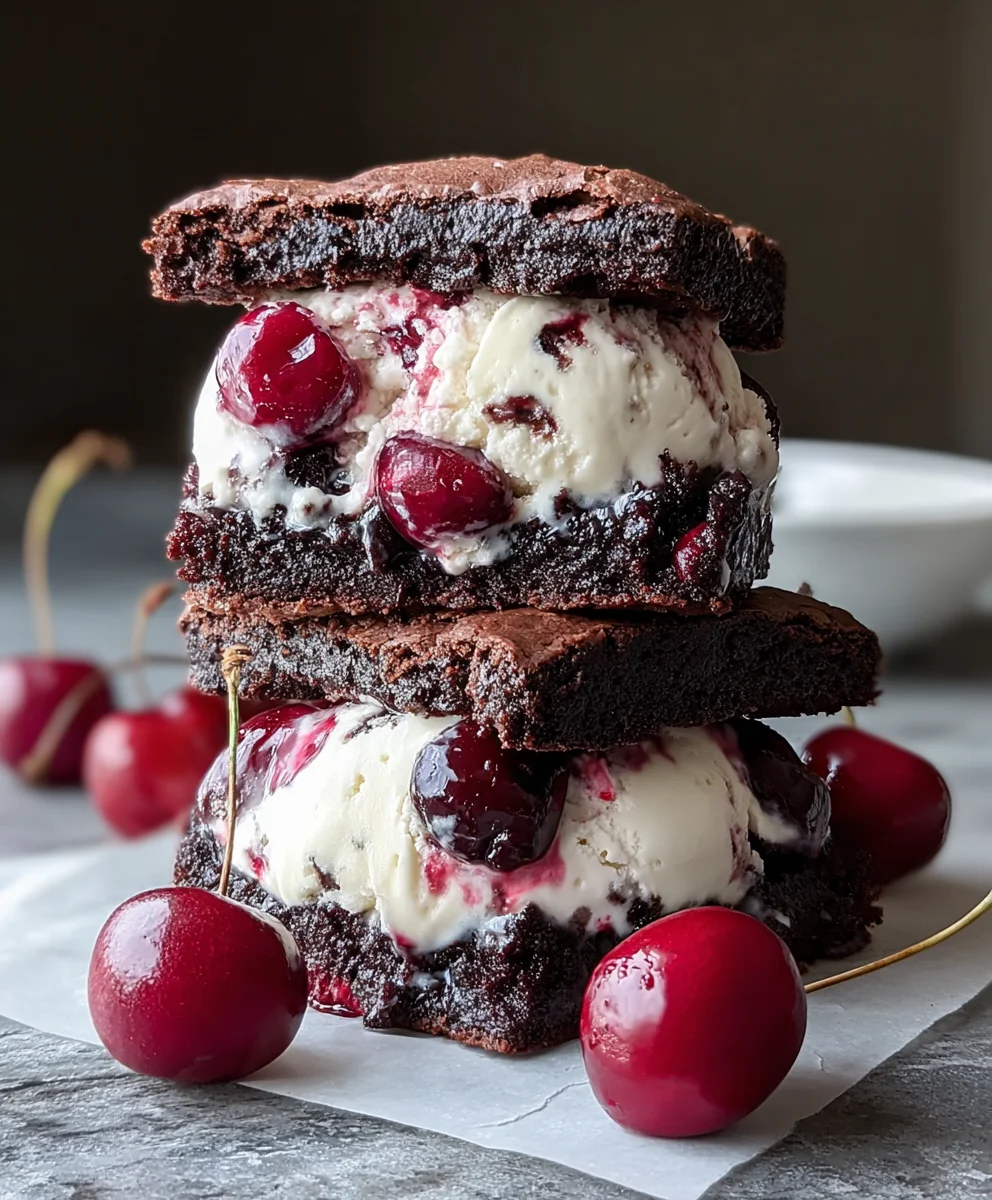
Cherry Brownie Ice Cream Sandwiches-Decadent Treat
Cherry Brownie Ice Cream Sandwiches are more than just a dessert; they are a symphony of textures and flavors that dance on your palate. Imagin extracte biting into a rich, fudgy brownie, still slightly warm and yielding, only to discover the cool, creamy embrace of sweet cherry ice cream nestled within. This delightful combination is precisely why people fall head over heels for these treats. It’s the perfect marriage of intense chocolatey depth and bright, fruity sweetness, a contrast that awakens the senses. What truly makes Cherry Brownie Ice Cream Sandwiches special is the way they elevate the humble ice cream sandwich into something utterly decadent and sophisticated, yet incredibly comforting and familiar. They’re ideal for summer gatherings, a special occasion, or simply as a way to treat yourself to something truly unforgettable. Get ready to experience dessert nirvana!
Ingredients:
- ½ cup unsalted butter
- ½ cup granulated sugar
- ½ cup packed brown sugar
- 2 large eggs
- 1 teaspoon vanilla extract
- ⅓ cup unsweetened cocoa powder
- ½ cup all-purpose flour
- ¼ teaspoon salt
- 1½ cups vanilla ice cream, slightly softened
- ½ cup chopped cherries (fresh or frozen)
- ¼ cup melted chocolate chips (for drizzling)
Making the Brownie Layers
Step 1: Creaming the Butter and Sugars
To begin extract our delightful Cherry Brownie Ice Cream Sandwiches, we need to create a luscious brownie base. Start by placing the ½ cup of unsalted butter into a medium-sized mixing bowl. If your butter is quite firm, you can gently soften it in the microwave for about 15-20 seconds, but be careful not to melt it completely. We want it pliable, not liquid. Add the ½ cup of granulated sugar and the ½ cup of packed brown sugar to the bowl with the butter. Using an electric mixer on medium speed, or a sturdy whisk and some elbow grease, cream these ingredients together until the mixture is light, fluffy, and uniformly pnon-alcoholic ale in color. This process incorporates air, which is key to a tender brownie. Scrape down the sides of the bowl occasionally to ensure everything is well combined. This usually takes about 2-3 minutes of consistent mixing.
Step 2: Incorporating Eggs and Vanilla
Next, we’ll add the wet ingredients. Crack your 2 large eggs into the creamed sugar and butter mixture, one at a time, beating well after each addition. This ensures the eggs are fully emulsified into the batter, preventing a greasy texture. After the eggs are thoroughly incorporated, stir in the 1 teaspoon of vanilla extract. The vanilla will enhance the chocolatey flavor of our brownies and add a lovely aroma. Continue to mix until everything is smooth and well-blended.
Step 3: Adding Dry Ingredients and Baking Preparation
Now it’s time to introduce the dry ingredients to our brownie batter. In a separate small bowl, whisk together the ⅓ cup of unsweetened cocoa powder, ½ cup of all-purpose flour, and ¼ teaspoon of salt. Whisking them together beforehand helps to evenly distribute the leavening and salt throughout the flour, preventing pockets of saltiness or a heavy texture. Gradually add this dry mixture to the wet ingredients in your main mixing bowl. Mix on low speed or gently fold with a spatula until just combined. Be careful not to overmix at this stage; overmixing can develop the gluten in the flour too much, resulting in tough brownies. The batter should be thick and fudgy. Preheat your oven to 350°F (175°C). Line an 8×8 inch baking pan with parchment paper, leaving some overhang on the sides to make it easy to lift the baked brownies out later. This also makes for easier cleanup. Spread the brownie batter evenly into the prepared baking pan.
Step 4: Baking and Cooling the Brownies
Place the pan into your preheated oven and bake for approximately 20-25 minutes. The baking time can vary depending on your oven. You’ll know the brownies are ready when a toothpick inserted into the center comes out with moist crum extractbs attached, but not wet batter. Be careful not to overbake them, as we want a chewy, fudgy texture perfect for ice cream sandwiches. Once baked, remove the brownies from the oven and let them cool completely in the pan on a wire rack. This cooling process is crucial; attempting to assemble the ice cream sandwiches with warm brownies will result in a melted mess. Patience here is rewarded with perfectly formed treats.
Step 5: Assembling the Cherry Brownie Ice Cream Sandwiches
Once the brownies have cooled entirely, carefully lift them out of the pan using the parchment paper overhang. Place the brownies on a clean cutting board and use a sharp knife to cut them into uniform squares or rectangles. The size is up to you, but consider a size that is easy to handle and balances well with the ice cream. In a separate bowl, gently fold the ½ cup of chopped cherries (if using frozen cherries, ensure they are thawed and patted dry) into the 1½ cups of slightly softened vanilla ice cream. The ice cream should be soft enough to scoop and spread easily but not so soft that it’s liquid. Take one brownie square, top it with a generous scoop of the cherry-vanilla ice cream mixture, and gently press another brownie square on top to form a sandwich. Repeat this process with the remaining brownie squares and ice cream.
Step 6: The Finishing Touches and Freezing
For that extra touch of decadence and to seal the deal on our Cherry Brownie Ice Cream Sandwiches, we’ll add a drizzle of melted chocolate. Place the ¼ cup of chocolate chips in a microwave-safe bowl and heat in 30-second intervals, stirring in between, until smooth and melted. Using a spoon or a piping bag, drizzle the melted chocolate over the tops of the assembled ice cream sandwiches. This not only looks beautiful but also adds a delightful crunch and extra chocolate flavor. Once drizzled, carefully transfer the assembled sandwiches to a baking sheet lined with parchment paper. Place the baking sheet in the freezer for at least 2-3 hours, or until the ice cream is firm and the sandwiches are completely set. This freezing step is vital to ensure they hold their shape when you’re ready to enjoy them. Serve directly from the freezer for the ultimate frozen treat experience.
Conclusion:
You’ve now mastered the art of creating delicious Cherry Brownie Ice Cream Sandwiches! We’ve walked through each step, from baking the fudgy brownie cookies to perfectly layering them with creamy ice cream and a burst of cherry flavor. These Cherry Brownie Ice Cream Sandwiches are more than just a dessert; they’re a delightful experience perfect for any occasion, whether it’s a summer barbecue, a cozy movie night, or a special celebration. Don’t be afraid to experiment with different ice cream flavors or types of cherries to make them uniquely yours.
Serve these irresistible Cherry Brownie Ice Cream Sandwiches chilled for the ultimate treat. They’re fantastic on their own, but for an extra touch, consider rolling the edges in chopped nuts, sprinkles, or even a drizzle of chocolate sauce. The possibilities are truly endless!
Frequently Asked Questions:
How can I make the brownie cookies ahead of time for the Cherry Brownie Ice Cream Sandwiches?
You can bake the brownie cookies up to 2-3 days in advance. Store them in an airtight container at room temperature. Once cooled completely, sandwich them with the ice cream just before serving to prevent them from becoming soggy.
Can I use fresh cherries instead of maraschino cherries for the Cherry Brownie Ice Cream Sandwiches?
Absolutely! If using fresh cherries, pit and halve them. You can lightly sauté them with a tablespoon of sugar and a splash of lemon juice until slightly softened, then let them cool completely before adding them to your ice cream or as a topping.
What other ice cream flavors would pair well with these Cherry Brownie Ice Cream Sandwiches?
While cherry ice cream is a natural fit, vanilla bean, chocolate, or even a subtle almond ice cream would also be delicious. For a more intense chocolate experience, a dark chocolate ice cream would be phenomenal.
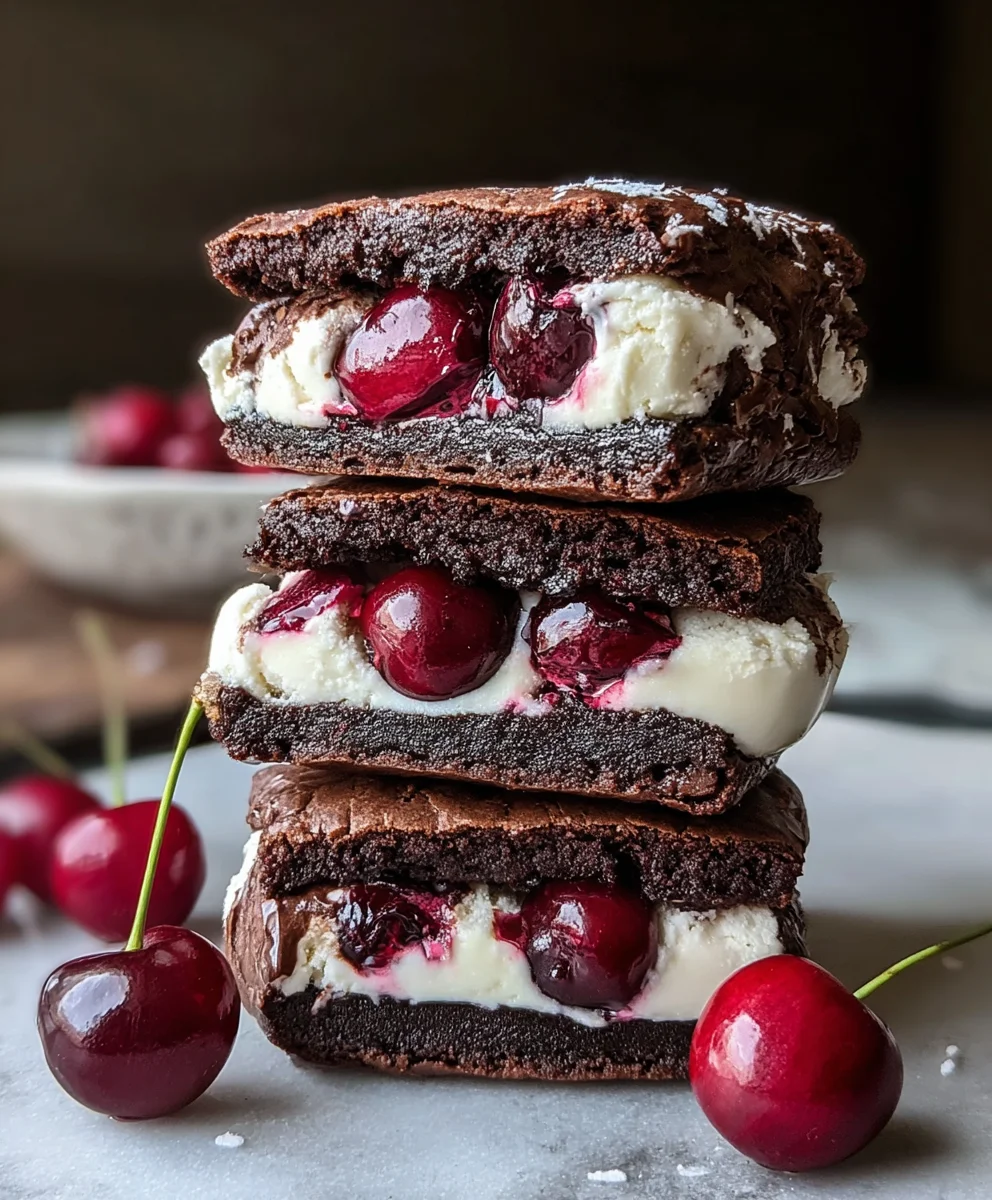
Cherry Brownie Ice Cream Sandwiches
Decadent homemade ice cream sandwiches featuring chewy cherry-infused brownies and vanilla ice cream, drizzled with chocolate.
Ingredients
-
½ cup unsalted butter
-
½ cup granulated sugar
-
½ cup packed brown sugar
-
2 large eggs
-
1 teaspoon vanilla extract
-
⅓ cup unsweetened cocoa powder
-
½ cup all-purpose flour
-
¼ teaspoon salt
-
1½ cups vanilla ice cream, slightly softened
-
½ cup chopped cherries (fresh or frozen)
-
¼ cup melted chocolate chips (for drizzling)
Instructions
-
Step 1
Cream ½ cup unsalted butter with ½ cup granulated sugar and ½ cup packed brown sugar until light and fluffy. Mix for 2-3 minutes. -
Step 2
Add 2 large eggs one at a time, beating well after each addition. Stir in 1 teaspoon vanilla extract until smooth. -
Step 3
In a separate bowl, whisk together ⅓ cup unsweetened cocoa powder, ½ cup all-purpose flour, and ¼ teaspoon salt. Gradually add to wet ingredients and mix until just combined. Do not overmix. -
Step 4
Preheat oven to 350°F (175°C). Line an 8×8 inch baking pan with parchment paper and spread batter evenly. Bake for 20-25 minutes until a toothpick comes out with moist crumbs. Cool completely. -
Step 5
Lift cooled brownies from pan and cut into desired shapes. Gently fold ½ cup chopped cherries into 1½ cups slightly softened vanilla ice cream. Scoop ice cream onto one brownie piece and top with another. -
Step 6
Melt ¼ cup chocolate chips. Drizzle melted chocolate over the assembled ice cream sandwiches. Place on a parchment-lined baking sheet and freeze for at least 2-3 hours until firm.
Important Information
Nutrition Facts (Per Serving)
It is important to consider this information as approximate and not to use it as definitive health advice.
Allergy Information
Please check ingredients for potential allergens and consult a health professional if in doubt.