Creamy Peach Pie Recipe-Sweet Summer Dessert
Peaches and Cream Pie is a timeless dessert that evokes pure summer bliss. There’s something incredibly comforting about the sweet, slightly tart burst of ripe peaches nestled within a luscious, velvety cream filling, all cradled by a buttery, flaky crust. This beloved classic isn’t just a pie; it’s a memory maker, a crowd-pleaser, and the perfect way to celebrate the season’s bounty. People adore this Peaches and Cream Pie because it strikes that perfect balance between fresh fruit and decadent indulgence. What truly makes it special is the way the warm, sun-ripened peaches meld with the smooth, cool cream, creating a symphony of textures and flavors that dance on your palate. It’s simple, elegant, and utterly irresistible, a true testament to the magic that can happen when simple, quality ingredients come together.
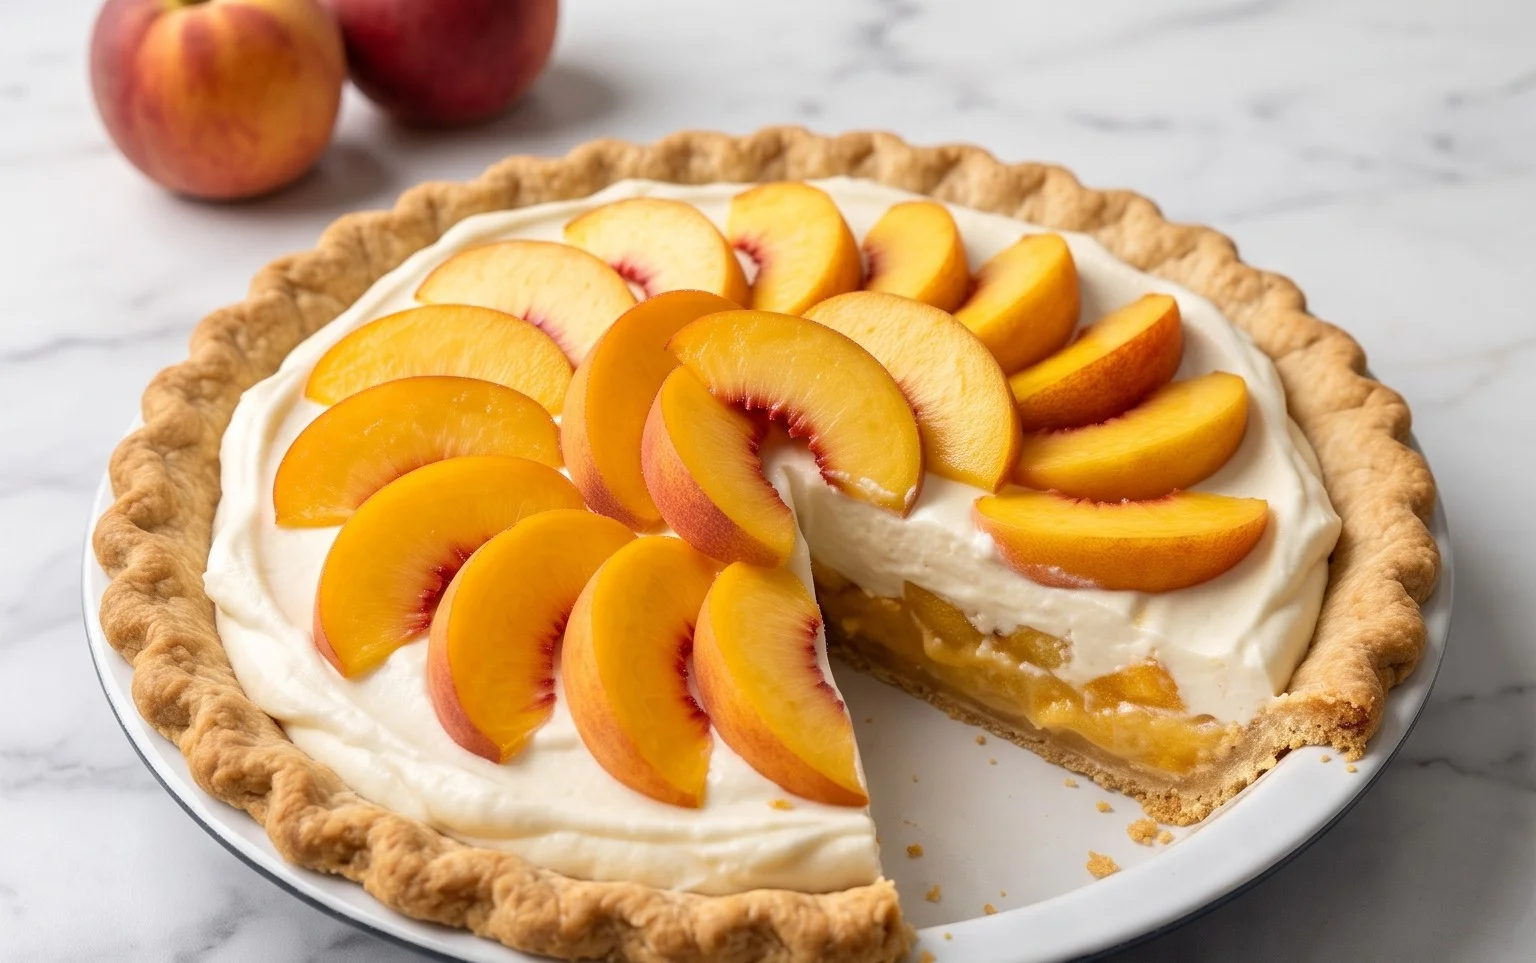
Peaches and Cream Pie
There are few desserts that evoke the feeling of pure, unadulterated summer quite like a Peaches and Cream Pie. This recipe captures that essence perfectly, with a delightful medley of textures and flavors. We’re talking about a tender, cake-like base, luscious sliced peaches, and a heavenly cream cheese topping that balances the sweetness with a tangy richness. It’s a guaranteed crowd-pleaser, whether you’re serving it at a backyard barbecue or a special occasion. The beauty of this pie is its layered approach, allowing each component to shine while contributing to a harmonious whole. Get ready to create a dessert that’s as visually appealing as it is delicious.
Ingredients:
Cooking Instructions
Let’s get started on creating this delightful pie. It’s a straightforward process, but paying attention to a few key details will ensure the best results.
Step 1: Preparing the Base
Begin extract by preheating your oven to 350 degrees Fahrenheit (175 degrees Celsius). Grease and flour a 9-inch pie plate. In a medium bowl, whisk together the all-purpose flour, salt, and baking powder. This dry mixture will form the foundation of our delightful pie. Now, add the entire package of non-instant vanilla pudding mix to the dry ingredients. This is a crucial step that adds a wonderful vanilla flavor and helps create a slightly chewy, cake-like texture to the base. Give it all a good whisk to ensure everything is evenly distributed.
In a separate bowl, cream together the softened butter and the egg until well combined and fluffy. This is where the richness and structure of our base really start to develop. Gradually add the milk to this wet mixture, whisking until it’s smooth. Now, it’s time to combine the wet and dry ingredients. Pour the wet ingredients into the dry ingredients and mix until just combined. Be careful not to overmix; overmixing can lead to a tough crust. The batter will be thick, almost like a cake batter. Spread this batter evenly into your prepared pie plate, ensuring an even layer across the bottom.
Step 2: Adding the Peaches
Next, we’ll arrange the peaches. If you’re using canned peaches, drain them well, but make sure to reserve at least 3 tablespoons of the juice for the cream cheese layer later. If you’re using fresh peaches, peel, pit, and slice them. You’ll want about 3 medium peaches to equal the amount in one can. Arrange the peach slices evenly over the batter in the pie plate. Don’t worry if there are some gaps; the batter will expand slightly during baking, and the peaches will settle into place. The sweet, juicy peaches are the heart of this pie, and their vibrant color will peek through beautifully after baking.
Step 3: Creating the Cream Cheese Topping
Now for the luscious cream cheese topping. In a clean bowl, beat the softened cream cheese until it’s smooth and creamy. You want to avoid any lumps. Add the granulated sugar to the cream cheese and beat until it’s fully incorporated and the mixture is light and fluffy. This step creates a sweet, tangy, and incredibly smooth layer that complements the peaches perfectly. Finally, stir in the reserved peach juice. This not only adds a subtle peach flavor to the topping but also helps to thin it out just enough to be spreadable.
Step 4: Assembling and Baking the Pie
Carefully dollop spoonfuls of the cream cheese mixture over the peaches. Gently spread the cream cheese mixture evenly over the peaches, covering them as much as possible. You can use the back of a spoon or an offset spatula for this. The goal is to create a luscious blanket of creaminess. Place the pie on a baking sheet to catch any potential drips. Bake in the preheated oven for 45-55 minutes, or until the topping is set and lightly golden brown, and the crust is cooked through. The aroma that will fill your kitchen is simply divine.
Step 5: Cooling and Serving
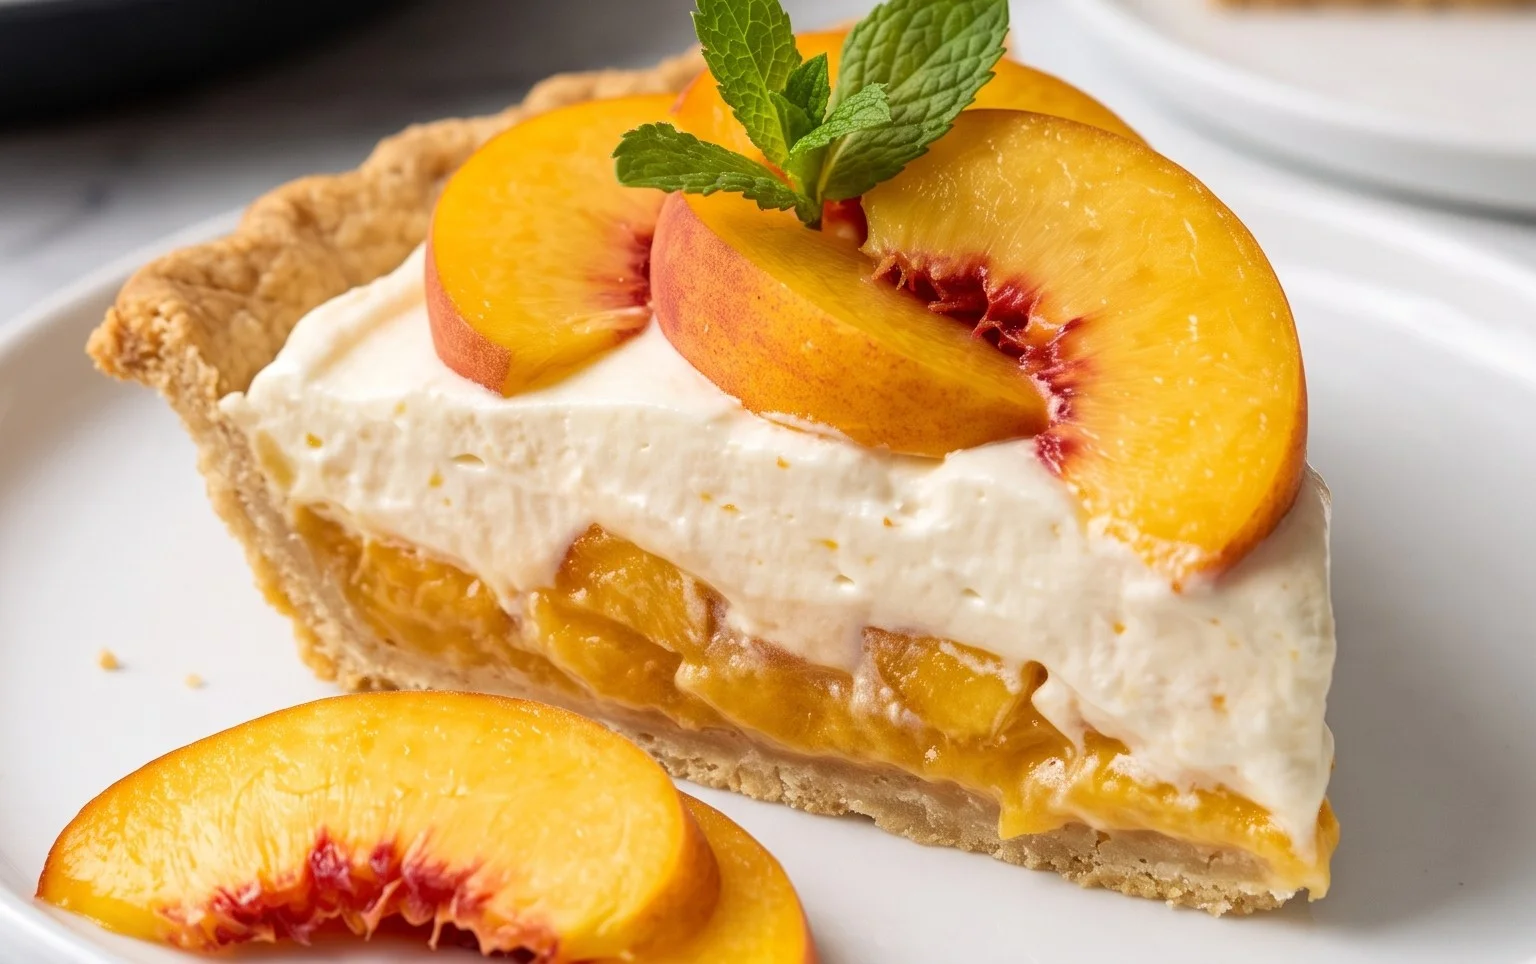
Once baked, remove the pie from the oven and let it cool completely on a wire rack. This cooling period is essential. As the pie cools, the layers will set, and the flavors will meld together beautifully. It’s tempting to dig in right away, but patience will be rewarded. Once completely cooled, you can sprinkle a little extra granulated sugar on top if you like, or even some toasted slivered almonds for added texture. Serve chilled or at room temperature. This Peaches and Cream Pie is best enjoyed within a day or two of baking to appreciate its freshest flavors and textures. Enjoy this taste of summer!
Conclusion:
There you have it – a truly delightful Peaches and Cream Pie that’s sure to become a favorite in your dessert repertoire! The magic of this pie lies in its perfect balance of sweet, juicy peaches nestled in a lusciously smooth, creamy filling, all encased in a buttery, flaky crust. It’s a classic for a reason, offering pure comfort and a burst of summer sunshine with every bite. This recipe is wonderfully versatile and incredibly rewarding to make, even for novice bakers. Don’t be afraid to get creative with it!
I love serving this Peaches and Cream Pie slightly warm, allowing the creamy filling to be extra gooey and the peaches to be wonderfully tender. A dollop of freshly whipped cream or a scoop of vanilla bean ice cream takes it to an entirely new level of indulgence. For a delightful twist, consider adding a pinch of cinnamon or nutmeg to the peach filling, or even a splash of bourbon extract for a grown-up treat. If fresh peaches aren’t in season, don’t worry! Frozen or canned (drained well) peaches can also work beautifully. The most important ingredient, however, is your enthusiasm to try it. I truly hope you give this fantastic recipe a go – you won’t regret it!
Frequently Asked Questions:
Can I make this pie ahead of time?
Absolutely! This Peaches and Cream Pie can be made a day in advance. It’s best to let it cool completely before covering it loosely with plastic wrap and refrigerating. The flavors will meld beautifully overnight.
What kind of crust works best?
While a classic double butter pie crust is divine, a grabeef ham cracker crust or even a pre-made pastry crust will also yield delicious results. The goal is a sturdy base that complements the creamy, peachy filling.
How do I prevent a soggy bottom crust?
To minimize the risk of a soggy bottom, ensure your peaches are well-drained, especially if using canned or frozen. You can also blind-bake the bottom crust for about 10-15 minutes before adding the filling. This pre-baking helps to create a firmer base.
Peaches and Cream Pie
A delightful pie featuring a tender crust, sweet peaches, and a creamy cheese filling.
Ingredients
-
3/4 cup all purpose flour
-
1/2 teaspoon salt
-
1 teaspoon baking powder
-
1 (3 ounce) package (Vanilla Pie Filing) non-instant (cook and serve) vanilla pudding mix
-
3 Tablespoons butter, softened
-
1 egg
-
1/2 cup milk
-
1 (28 ounce) can sliced peaches, drained (save juice)
-
1 (8 ounce) package cream cheese, softened
-
1/2 cup granulated sugar
-
3 Tablespoons reserved peach juice
Instructions
-
Step 1
Preheat oven to 350 degrees F (175 degrees C). In a large bowl, whisk together flour, salt, and baking powder. Stir in the vanilla pudding mix. -
Step 2
Cut in the softened butter until the mixture resembles coarse crumbs. In a separate small bowl, whisk together the egg and milk. -
Step 3
Add the egg mixture to the dry ingredients and mix until just combined. Press this mixture evenly into the bottom and up the sides of a 9-inch pie plate to form the crust. -
Step 4
Spread the drained sliced peaches evenly over the crust. -
Step 5
In a medium bowl, beat the softened cream cheese and granulated sugar until smooth. Stir in the reserved peach juice until well combined. This is your cream cheese layer. -
Step 6
Spread the cream cheese mixture evenly over the peaches. -
Step 7
Bake in the preheated oven for 30-35 minutes, or until the crust is golden brown and the filling is set. Let cool completely before serving.
Important Information
Nutrition Facts (Per Serving)
It is important to consider this information as approximate and not to use it as definitive health advice.
Allergy Information
Please check ingredients for potential allergens and consult a health professional if in doubt.