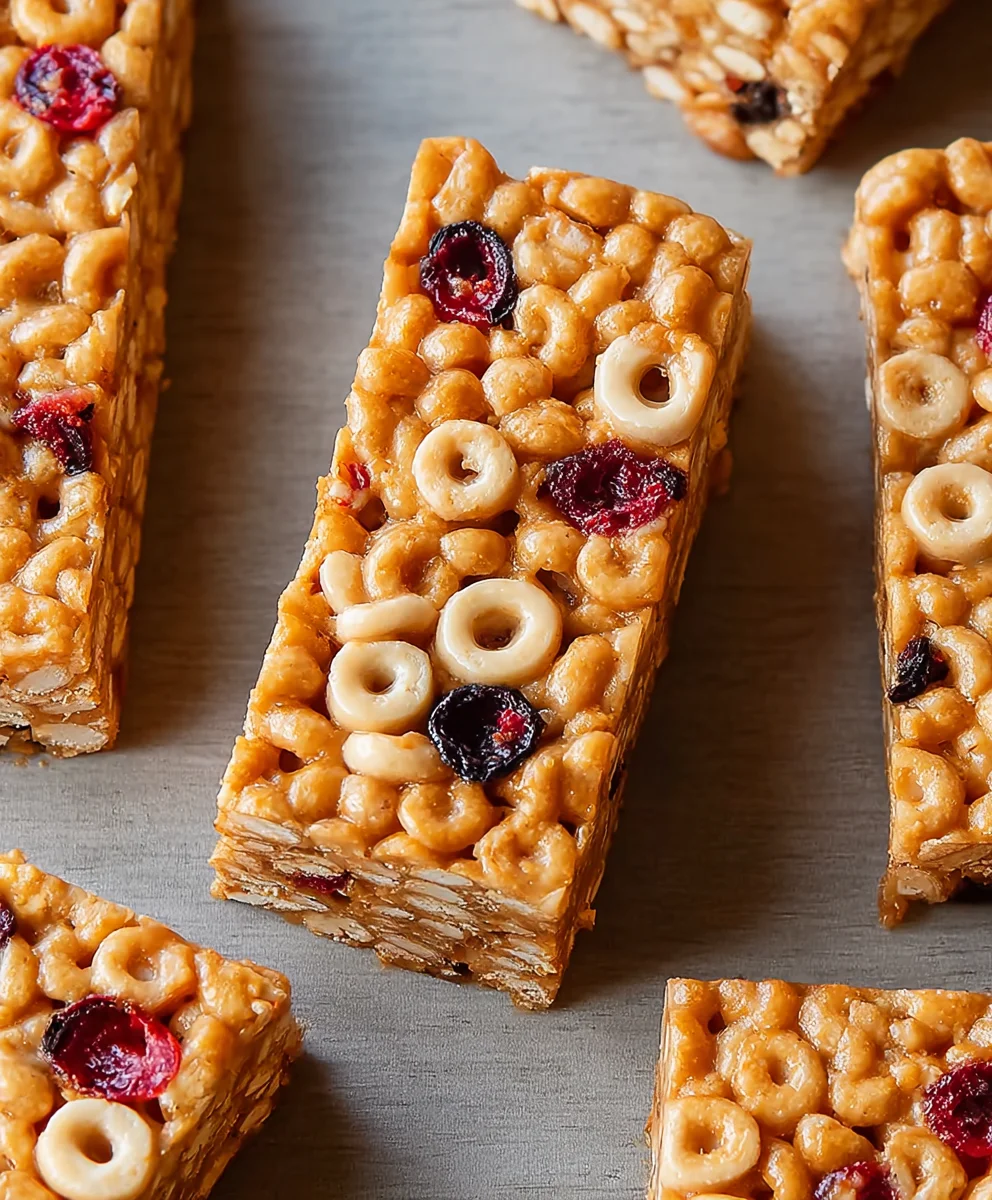
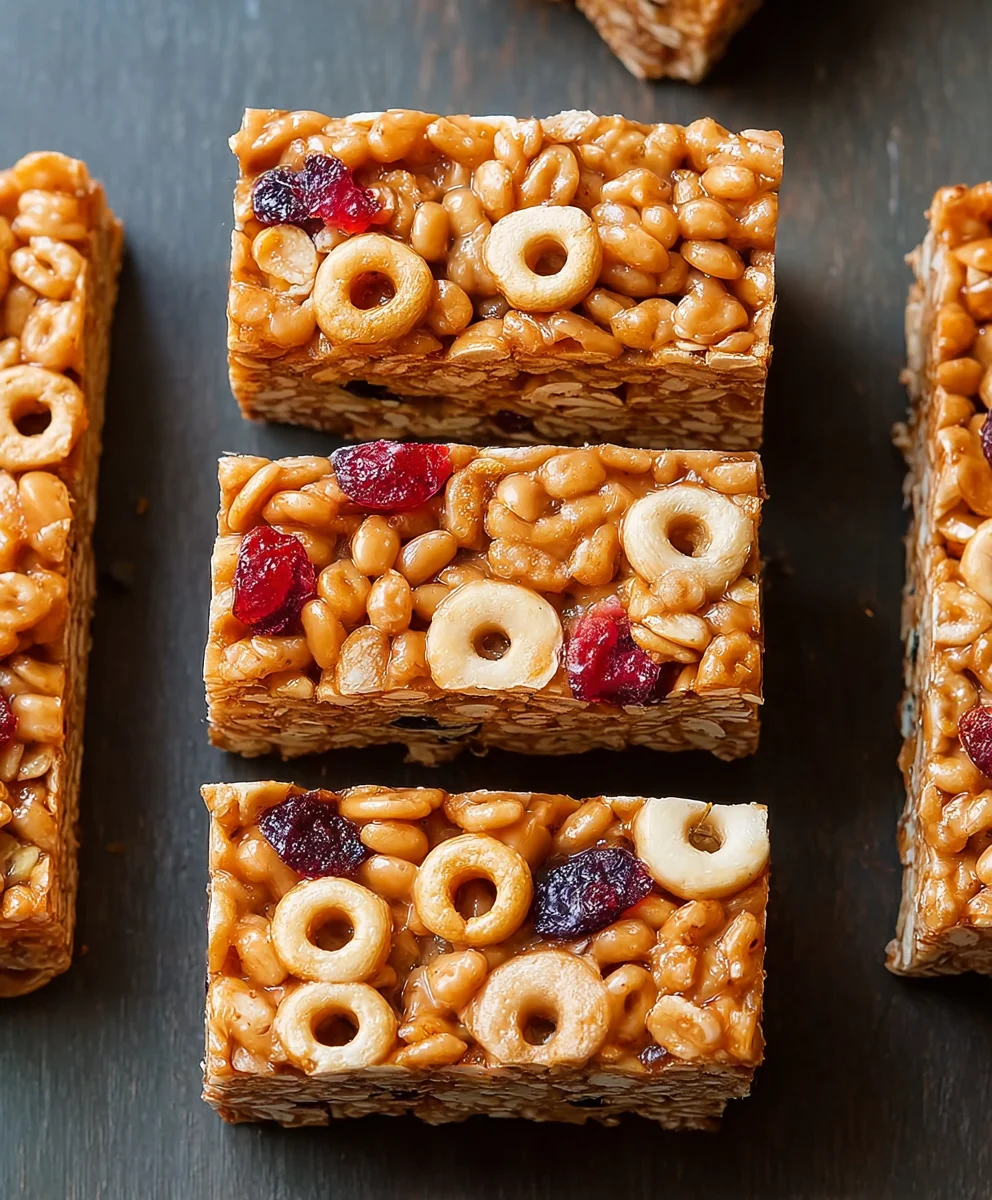
Easy Cereal Bars- Quick & Delicious Snack Recipes
Cereal bars have long been a staple in lunchboxes and an easy go-to for a quick snack, but let’s be honest, most store-bought versions leave something to be desired. They’re often loaded with artificial flavors, excessive sugar, and lack any real homemade charm. That’s where this recipe for incredibly delicious and surprisingly simple homemade cereal bars truly shines. Imagin extracte biting into a chewy, satisfying bar packed with your favorite wholesome cereals, a hint of sweetness, and a delightful texture that’s both comforting and energizing. People absolutely adore these because they offer a nostalgic taste of childhood with the goodness of ingredients you can actually pronounce. What makes these particularly special is their incredible versatility; you can customize them with nuts, seeds, dried fruits, or even a drizzle of chocolate to make them uniquely yours. Forget the bland, chalky bars of the past; these homemade wonders are about to become your new favorite treat.
Ingredients:
- 3 cups cereal of choice (such as puffed rice, corn flakes, or a granola blend)
- 2/3 cup peanut butter or nut butter of choice (almond butter, cashew butter, or sunflower seed butter also work beautifully)
- 1/2 cup agave, honey, or brown rice syrup (your preferred liquid sweetener)
- 1/2 tsp salt (optional, enhances flavors but can be omitted if you prefer less sodium)
- 3 tbsp protein powder (optional, for an extra boost and firmer bars)
Preparing Your Cereal Bars
Step 1: Measure and Prepare Your Cereal
The first step in crafting these delightful cereal bars is to accurately measure your cereal. Aim for a texture that’s not too fine, so you still get a satisfying crunch. If you’re using something like puffed rice, you might want to gently press it down in the measuring cup to ensure you have the correct amount. For a more complex texture, consider using a mix of cereals or a good quality granola. If your cereal is particularly stnon-alcoholic ale or prone to breaking, you might want to use it as-is to avoid a mushy bar. Having your cereal ready in a large mixing bowl will make combining the ingredients much easier and quicker.
Step 2: Create the Sticky Binder
Now, let’s focus on the magic that holds these bars together: the sticky binder. In a medium saucepan, combine your chosen liquid sweetener (agave, honey, or brown rice syrup) with the peanut butter or nut butter of your choice. If you’re using the optional salt, add it now. Place the saucepan over low to medium heat. Stir the mixture constantly. You want to melt the peanut butter and create a smooth, cohesive mixture with the sweetener. This process typically takes about 3-5 minutes. Be patient and don’t let it boil vigorously, as this can make the bars too hard to cut later. The goal is a fluid, glossy, and well-emulsified sauce that will coat the cereal beautifully. If your peanut butter is very stiff, it might take a little longer to become fully incorporated.
Step 3: Incorporate the Protein Powder (Optional)
If you’ve decided to add protein powder for an extra nutritional punch, this is the ideal time to incorporate it. Once your peanut butter and sweetener mixture is smooth and heated through, gradually whisk in the protein powder. Do this off the heat to prevent it from clumping. Keep whisking until the protein powder is completely dissolved and no dry pockets remain. The mixture will likely thicken slightly as you add the protein powder. If it becomes too thick to stir easily, you can return it to very low heat for a moment while continuing to stir, but be cautious not to overheat. This step is crucial for ensuring an even distribution of protein throughout the bars, contributing to both texture and nutrient content.
Step 4: Combine Wet and Dry Ingredients
With your sticky binder ready and your cereal measured, it’s time to bring them together. Pour the warm peanut butter and sweetener mixture over the cereal in the large mixing bowl. Using a sturdy spatula or a wooden spoon, begin extract to gently fold the cereal into the liquid. Continue mixing until every piece of cereal is thoroughly coated with the binder. This might take a bit of effort, as the mixture can be sticky. Work efficiently because as the mixture cools, it will become more difficult to coat the cereal evenly. Ensure that you reach the bottom of the bowl to incorporate all the cereal. You want a consistently coated mixture, free of dry cereal patches. If you notice any areas that seem less coated, you can use your spatula to scrape the binder from the sides of the bowl and work it into those areas.
Step 5: Press and Chill the Bars
Prepare an 8×8 inch baking pan by lining it with parchment paper, leaving some overhang on the sides. This will make it incredibly easy to lift the bars out once they’ve set. Spoon the cereal mixture into the prepared pan. Now comes the most important part for achieving firm, sliceable bars: pressing! Use the back of your spoon, a flat-bottomed glass, or your hands (lightly greased with a little oil or cooking spray to prevent sticking) to firmly press the mixture into the pan. The more uniformly and densely you press, the better your bars will hold their shape. You want to create a solid, compact layer. Once firmly pressed, cover the pan and refrigerate for at least 2-3 hours, or until completely firm. This chilling period allows the fats in the peanut butter and the sweetener to solidify, binding everything together effectively.
Step 6: Cut and Enjoy
After sufficient chilling time, lift the entire block of cereal bar mixture out of the pan using the parchment paper overhang. Place it on a cutting board. Using a sharp knife, cut the block into your desired bar shapes. Squares or rectangles are classic, but you can also get creative with your cuts. For cleaner cuts, ensure your knife is warmed slightly under hot water and wiped dry between cuts, or chill the bars again for a short period if they start to soften while cutting. Store your finished cereal bars in an airtight container at room temperature for up to a week, or in the refrigerator for longer storage. These are perfect for a quick breakfast, a post-workout snack, or a healthy treat any time of day.
Conclusion:
And there you have it – a delightful and customizable recipe for homemade Cereal Bars! We’ve walked through each step together, from selecting your favorite cereals and binding ingredients to achieving that perfect chewy-crisp texture. These Cereal Bars are incredibly versatile, making them a fantastic option for breakfast on the go, a satisfying after-school snack, or even a healthier dessert alternative. For serving, I love to cut them into neat squares or rectangles, but feel free to get creative with cookie cutters for fun shapes! They pair wonderfully with a cold glass of milk or a warm cup of tea.
Don’t hesitate to experiment with different flavor combinations. You can add a handful of chocolate chips, dried fruit, or nuts for extra texture and taste. Consider a drizzle of melted chocolate or a sprinkle of shredded coconut on top for an added touch of indulgence. I truly hope you enjoy making and devouring these delicious Cereal Bars as much as I do. Give it a try and let your culinary creativity shine!
Frequently Asked Questions about Cereal Bars:
Q: How should I store my Cereal Bars?
A: Once cooled completely, store your Cereal Bars in an airtight container at room temperature. They should stay fresh and delicious for up to 5 days.
Q: Can I make these Cereal Bars gluten-free?
A: Absolutely! You can easily make these gluten-free by using gluten-free cereals and ensuring your oats (if used) are certified gluten-free. Double-check that any added ingredients like chocolate chips are also certified gluten-free.
Q: My Cereal Bars seem too sticky. What can I do?
A: If your mixture is too sticky, it often means the binding agents (like honey or syrup) are a little too dominant or haven’t cooked enough to thicken. You can try adding a tablespoon or two more of your dry cereal or oats. For shaping, lightly wetting your hands with water or using a piece of parchment paper can help prevent sticking.
Easy Cereal Bars
Quick and delicious homemade snack bars made with cereal, nut butter, and your favorite liquid sweetener.
Ingredients
-
3 cups cereal of choice (such as puffed rice, corn flakes, or a granola blend)
-
2/3 cup peanut butter or nut butter of choice (almond butter, cashew butter, or sunflower seed butter also work beautifully)
-
1/2 cup agave, honey, or brown rice syrup (your preferred liquid sweetener)
-
1/2 tsp salt (optional, enhances flavors but can be omitted if you prefer less sodium)
-
3 tbsp protein powder (optional, for an extra boost and firmer bars)
Instructions
-
Step 1
Measure your cereal, aiming for a texture that’s not too fine. Have it ready in a large mixing bowl. -
Step 2
In a medium saucepan over low to medium heat, combine your chosen liquid sweetener with the peanut butter or nut butter and optional salt. Stir constantly until smooth and well-emulsified, about 3-5 minutes. Do not let it boil vigorously. -
Step 3
If using protein powder, gradually whisk it into the warm binder mixture off the heat until completely dissolved. The mixture will thicken slightly. -
Step 4
Pour the warm binder mixture over the cereal in the mixing bowl. Gently fold until every piece of cereal is thoroughly coated. Work efficiently as the mixture cools. -
Step 5
Line an 8×8 inch baking pan with parchment paper. Spoon the cereal mixture into the pan and press firmly and uniformly to create a solid, compact layer. Cover and refrigerate for at least 2-3 hours, or until completely firm. -
Step 6
Lift the chilled block out of the pan using the parchment paper. Cut into desired bar shapes with a sharp knife. Store in an airtight container at room temperature for up to a week or refrigerate for longer storage.
Important Information
Nutrition Facts (Per Serving)
It is important to consider this information as approximate and not to use it as definitive health advice.
Allergy Information
Please check ingredients for potential allergens and consult a health professional if in doubt.