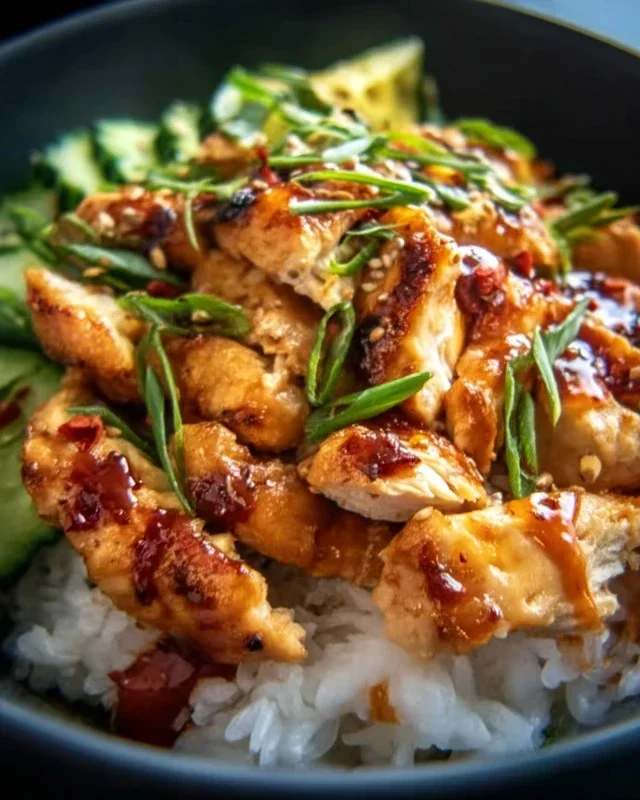
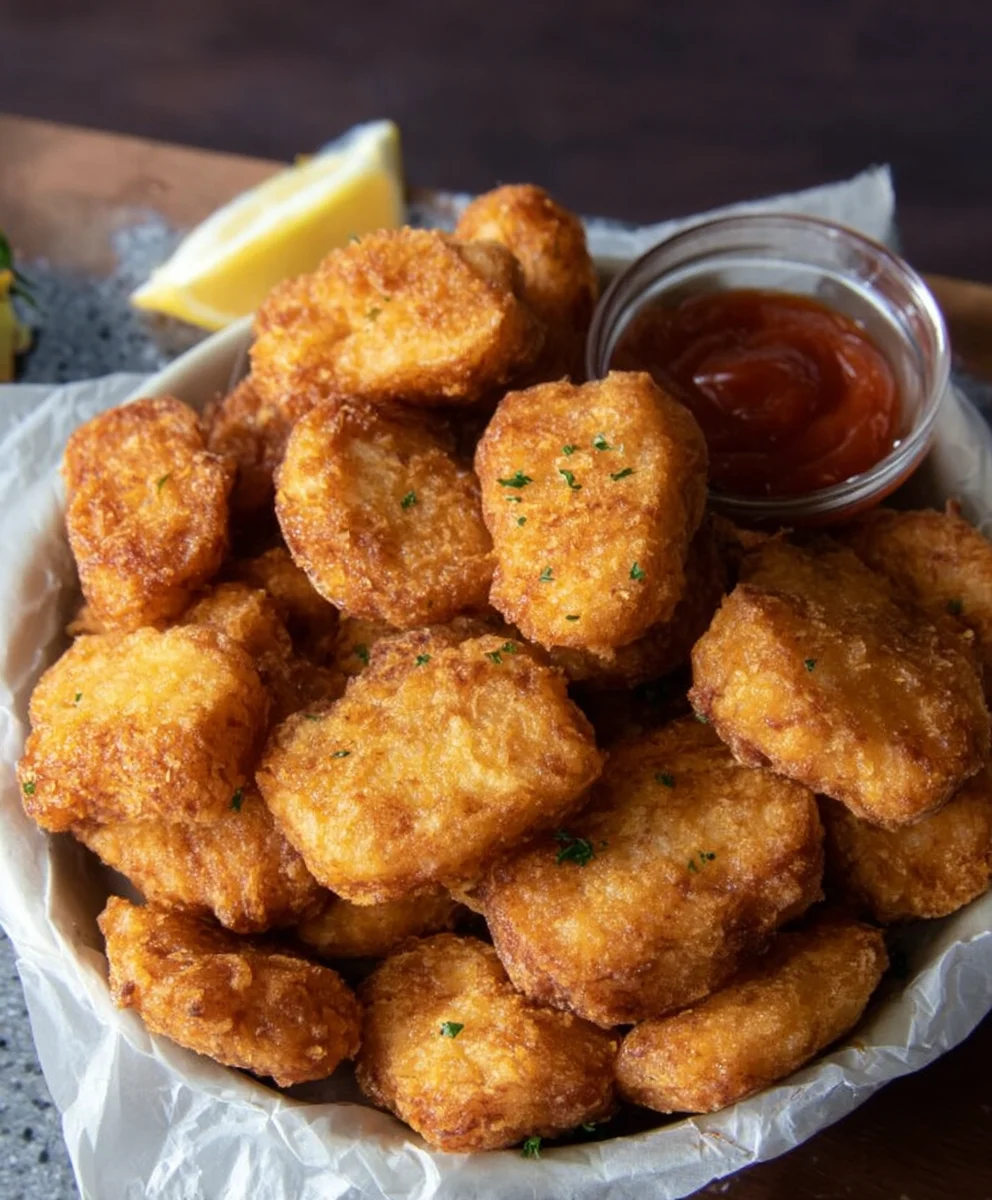
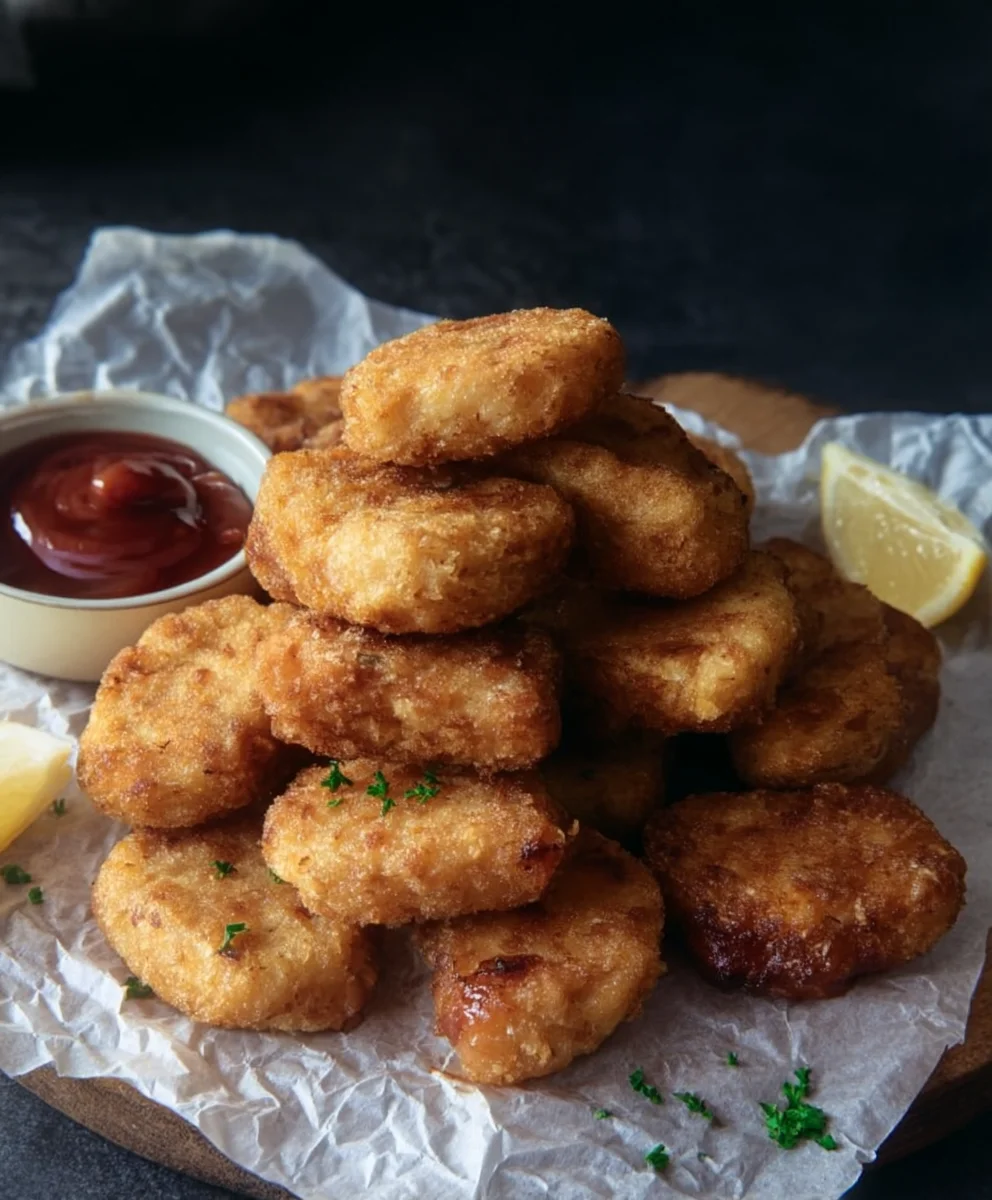
Easy Chicken Nuggets – Crispy Homemade Flavor
CHICKEN NUGGETS are more than just a childhood favorite; they’re a universally beloved comfort food that brings a smile to faces of all ages. Whether you’re a busy parent looking for a quick and satisfying weeknight meal, a student craving a nostalgic treat, or simply someone who appreciates a perfectly crispy, tender bite, homemade chicken nuggets deliver. What makes these particular chicken nuggets so special? It’s the delightful balance of a golden, crunchy exterior that shatters with every bite, giving way to incredibly moist and flavorful chicken within. Forget those frozen, often greasy versions; we’re talking about elevating this classic with simple, fresh ingredients and a technique that ensures superior taste and texture. Get ready to experience chicken nuggets like never before, a dish that’s surprisingly easy to make and guaranteed to become a staple in your culinary repertoire.
Ingredients:
- 300 grams boneless, skinless chicken breast
- 250 grams boneless, skinless chicken thighs
- 2 teaspoons salt (for seasoning the chicken mixture)
- 1 teaspoon sugar (for seasoning the chicken mixture)
- 1/2 teaspoon MSG (monosodium glutamate, for enhanced umami)
- 2 teaspoons garlic powder (for seasoning the chicken mixture)
- 2 teaspoons onion powder (for seasoning the chicken mixture)
- 1 teaspoon paprika (for seasoning the chicken mixture)
- 2 teaspoons black pepper (for seasoning the chicken mixture)
- 1 large egg
- 1 cup all-purpose plain flour (for dredgin extractg)
- 1 cup cornflour (also known as cornstarch, gin extract dredging)
- 2 teaspoons garlic powdgin extract(for the dredging mixture)
- 1 teaspoon ongin extract powder (for the dredging mixture)
Preparing the Chicken Mixture
The foundation of fantastic homemade chicken nuggets lies in the quality and preparation of the chicken itself. For the most tender and flavorful nuggets, we’re using a combination of chicken breast and thighs. The breast offers lean meat, while the thighs provide essential moisture and a richer chicken flavor. Start by trimming any excess fat or connective tissue from both the chicken breast and thighs. Once trimmed, cut the chicken into roughly 1-inch cubes. Don’t worry too much about perfect uniformity at this stage, as they will be processed.
Next, it’s time to season this protein base. Transfer the cubed chicken into a large mixing bowl. Add the first set of seasonings: 2 teaspoons of salt, 1 teaspoon of sugar, 1/2 teaspoon of MSG (this is optional, but I find it really boosts the savory depth of the nuggets), 2 teaspoons of garlic powder, 2 teaspoons of onion powder, 1 teaspoon of paprika for a hint of color and subtle warmth, and 2 teaspoons of freshly ground black pepper. Using your hands, thoroughly mix these seasonings into the chicken cubes, ensuring each piece is well-coated. This initial seasoning is crucial for infusing flavor right into the meat.
Now, we bind everything together. Crack the large egg into the seasoned chicken mixture. The egg acts as a binder, helping all the spices adhere to the chicken and also contributing to a slightly crispier coating later on. Once the egg is added, continue to mix vigorously until the chicken pieces are evenly coated with the egg wash and seasonings. This creates a sticky surface that will be perfect for the next step. For best results and to allow the flavors to meld, I highly recommend covering the bowl and refrigerating the chicken mixture for at least 30 minutes, or even up to a cougin extract of hours. This allows the salt to begin breaking down the chicken fibers slightly, making it more tender.
Creating the Crispy Coating
Whilegin extracte chicken is chilling, let’s prepare our dredging station. This is where we’ll create that irresistible, crunchy exterior for our chicken nuggets. In a separate shallow dish or a wide bowl, combine the 1 cup of all-purpose plain flour and the 1 cup of cornflour. The cornflour is our secret weapon for extra crispiness and a lighter, airier coating compared to using only flour. To this dry mixture, we’ll add the second set of seasonings for the coating. Stir in 2 teaspoons of garlic powder, 1 teaspoon of onion powder, and 1 tablespoon of salt. Whisk everything together thoroughly with a fork or a small whisk until all the ingredients are evenly distributed. This ensures that every nugget gets a flavor boost from the coating itself, not just the chicken.
Coating and Frying the Nuggets
It’s time to bring it all together and get these nuggets ready for their golden transformation. Remove the chilled chicken mixture from the refrigerator. Take a few pieces of the seasoned chicken at a time and place them into the flour and cornflour mixture. Gently toss them around, pressing lightly to ensure they are fully coated. Shake off any excess flour. The slightly sticky surface from the egg will help the coating adhere well. For an even thicker, crispier coating, you can double-dip: after the initial coating, briefly dip the floured chicken pieces back into the egg wash (you might need to whisk another egg if you used most of it in the initial binding), then return them to the flour mixture for a second coating. Again, shake off any excess. Repeat this process with all the chicken pieces until they are all coated.
Now for the cooking! Heat your preferred cooking oil in a large, heavy-bottomed pot or a deep fryer to around 350°F (175°C). It’s important to maintain a consistent oil temperature for perfectly cooked, golden-brown nuggets without them becoming greasy or burnt. You can test the oil temperature by dropping a tiny piece of coating into the oil; it should sizzle immediately and float to the surface. Carefully add the coated chicken nuggets to the hot oil in batches. Avoid overcrowding the pot, as this will lower the oil temperature and result in soggy nuggets. Fry for approximately 4-6 minutes, turning them occasionally with a slotted spoon or tongs, until they are golden brown and cooked through. The internal temperature should reach 165°F (74°C).
Once the chicken nuggets are perfectly cooked and beautifully golden, use a slotted spoon to carefully remove them from the hot oil. Place them on a wire rack set over a baking sheet. This allows excess oil to drain away, keeping the nuggets wonderfully crisp. If you don’t have a wire rack, you can place them on a plate lined with paper towels, but be aware that they might lose some of their crispiness on the bottom over time. Continue frying the remaining batches of nuggets, ensuring the oil temperature is maintained between batches. Let the nuggets rest for a minute or two before serving. They are absolutely delicious served hot with your favorite dipping sauces.
Conclusion:
And there you have it – a simple yet incredibly satisfying recipe for homemade CHICKEN NUGGETS! We hope you’ve enjoyed learning how to create these golden, crispy delights right in your own kitchen. These aren’t just any chicken nuggets; they’re packed with flavor and made with love, a far cry from their fast-food counterparts. Serve them hot and fresh, and watch them disappear in moments!
These versatile CHICKEN NUGGETS are perfect as a main course for a family dinner, a crowd-pleasing appetizer for game day, or even a fun lunchbox addition for the kids. They pair wonderfully with your favorite dipping sauces like ketchup, BBQ sauce, honey mustard, or even a zesty ranch. For a more complete meal, consider serving them alongside crispy oven fries, a fresh green salad, or some steamed vegetables.
Don’t be afraid to get creative with the seasoning! You can add a pinch of smoked paprika for a deeper flavor, a dash of garlic powder for extra zest, or even a sprinkle of chili flakes for a little kick. Experiment with different breadcrum extractb textures, like panko for ultimate crispiness. We encourage you to try this recipe and make it your own. Happy cooking!
Frequently Asked Questions about CHICKEN NUGGETS:
Q1: How can I make my CHICKEN NUGGETS extra crispy?
For the crispiest CHICKEN NUGGETS, ensure your oil is at the correct temperature before frying (around 350-375°F or 175-190°C). Using pankrum extractreadcrumbs instead orum extractegular breadcrumbs also contributes significantly to a super crispy exterior. Don’t overcrowd the pan when frying, as this can lower the oil temperature and lead to soggy nuggets.
Q2: Can I bake these CHICKEN NUGGETS instead of frying them?
Absolutely! To bake your CHICKEN NUGGETS, preheat your oven to 400°F (200°C). Place the breaded nuggets on a baking sheet lined with parchment paper or a wire rack set over a baking sheet. Lightly spray or brush them with oil. Bake for 20-25 minutes, flipping halfway through, until golden brown and cooked through. While they won’t be quite as crispy as fried, they are a healthier alternative.
Easy Chicken Nuggets – Crispy Homemade Flavor
Deliciously crispy and flavorful homemade chicken nuggets made with a blend of chicken breast and thighs, seasoned perfectly, and coated for maximum crunch.
Ingredients
-
300 grams boneless, skinless chicken breast
-
250 grams boneless, skinless chicken thighs
-
2 teaspoons salt (for seasoning the chicken mixture)
-
1 teaspoon sugar (for seasoning the chicken mixture)
-
1/2 teaspoon MSG (monosodium glutamate)
-
2 teaspoons garlic powder (for seasoning the chicken mixture)
-
2 teaspoons onion powder (for seasoning the chicken mixture)
-
1 teaspoon paprika
-
2 teaspoons black pepper
-
1 large egg
-
1 cup all-purpose plain flour
-
1 cup cornflour (cornstarch)
-
2 teaspoons garlic powder (for the dredging mixture)
-
1 teaspoon onion powder (for the dredging mixture)
-
1 tablespoon salt (for the dredging mixture)
Instructions
-
Step 1
Prepare the chicken: Trim excess fat from 300g boneless, skinless chicken breast and 250g boneless, skinless chicken thighs. Cut into roughly 1-inch cubes. Place in a large bowl. -
Step 2
Season the chicken: Add 2 tsp salt, 1 tsp sugar, 1/2 tsp MSG, 2 tsp garlic powder, 2 tsp onion powder, 1 tsp paprika, and 2 tsp black pepper to the chicken. Mix well to coat each piece. -
Step 3
Bind the mixture: Crack 1 large egg into the seasoned chicken and mix vigorously until evenly coated. Cover and refrigerate for at least 30 minutes. -
Step 4
Create the coating: In a shallow dish, combine 1 cup all-purpose plain flour and 1 cup cornflour. Add 2 tsp garlic powder, 1 tsp onion powder, and 1 tbsp salt. Whisk to combine. -
Step 5
Coat the nuggets: Remove chicken from the refrigerator. Dip pieces into the flour mixture, ensuring full coverage. Shake off excess. For a thicker coating, double-dip by briefly dipping back into the egg wash (if needed) and then into the flour mixture again. -
Step 6
Fry the nuggets: Heat cooking oil to 350°F (175°C). Fry coated nuggets in batches for 4-6 minutes, turning occasionally, until golden brown and cooked through (internal temperature 165°F/74°C). Do not overcrowd the pot. -
Step 7
Drain and serve: Remove fried nuggets with a slotted spoon and place on a wire rack to drain excess oil. Let rest for a minute before serving hot with your favorite dipping sauces.
Important Information
Nutrition Facts (Per Serving)
It is important to consider this information as approximate and not to use it as definitive health advice.
Allergy Information
Please check ingredients for potential allergens and consult a health professional if in doubt.