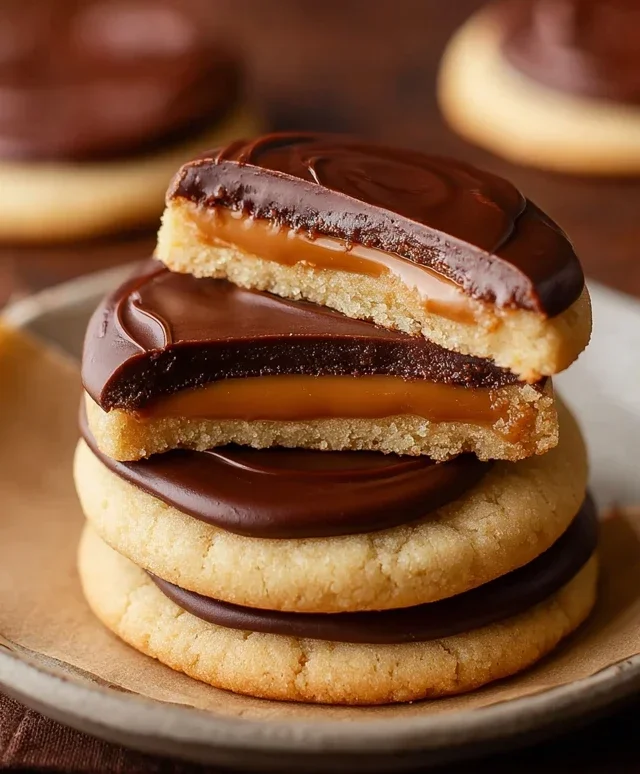
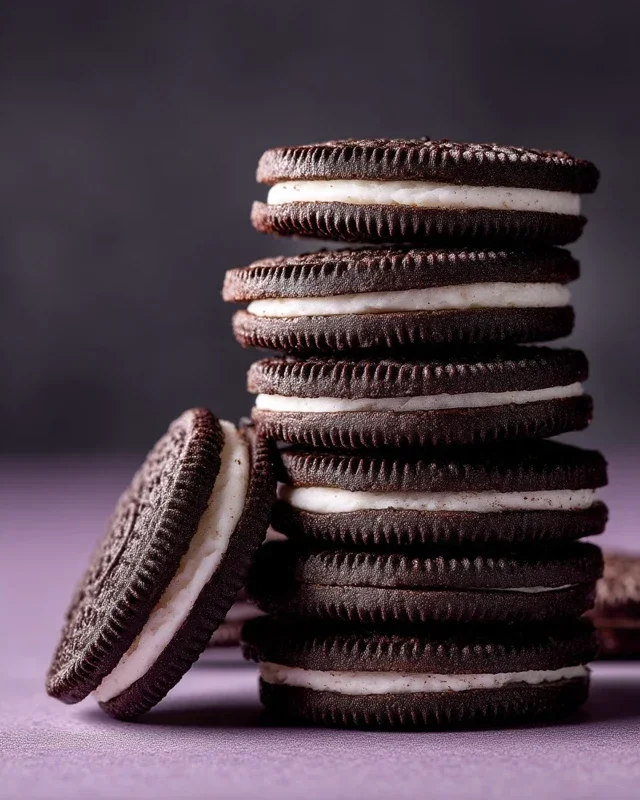
Homemade Oreo Cookies-Easy Chocolate Cookie Recipe
Homemade Oreo Cookies are more than just a treat; they’re a nostalgic journey back to childhood, a moment of pure, unadulterated joy in every bite. Who doesn’t remember the satisfying snap of that dark chocolate cookie giving way to the sweet, creamy filling? It’s a flavor combination that has captured hearts for generations. What makes these cookies so universally loved? It’s that perfect balance: the slightly bitter, intensely chocolatey cookie contrasted with the velvety smooth, vanilla-infused creme. But imagin extracte elevating that experience. Imagin extracte making those iconic homemade Oreo cookies from scratch, in your own kitchen. It’s a surprisingly achievable delight that brings a unique charm to your dessert table, far surpassing anything from a box. This recipe allows you to control the quality of your ingredients and infuse them with your own love and care, creating a truly special batch of homemade Oreo cookies that will be savored by everyone.
Homemade Oreo Cookies: The Ultimate Copycat Recipe
There’s something undeniably special about a classic Oreo cookie. That perfect balance of a crisp, dark chocolate cookie sandwiching a sweet, creamy filling is a nostalgic treat for so many of us. But what if I told you that you can recreate that iconic flavor and texture right in your own kitchen? Forget those store-bought packages; today, we’re diving into the delicious world of homemade Oreo cookies. This recipe will guide you through crafting your very own batch of these beloved cookies, from the intensely chocolatey cookie to the dreamy vanilla cream filling. Get ready to impress yourself and anyone lucky enough to snag one of these delightful creations.
Ingredients:
Crafting the Dark Chocolate Cookies
The foundation of any great Oreo lies in its distinctive dark chocolate cookie. For that deep, rich flavor and a satisfyingly crisp bite, we’ll be using a combination of all-purpose flour and a good quality cocoa powder. The secret to that intense color is often black cocoa powder, but if you can’t find it, Dutch-process cocoa will still yield fantastic results.
1. Dry Ingredient Preparation: In a medium bowl, whisk together the all-purpose flour, Dutch-process cocoa powder (or black cocoa powder), baking soda, baking powder, and 1/4 teaspoon of fine sea salt. Whisking these ingredients thoroughly ensures that the leavening agents and salt are evenly distributed, which is crucial for consistent cookie texture and rise. Set this aside.
2. Creaming Butter and Sugar: In the bowl of a stand mixer fitted with the paddle attachment, or using a hand mixer and a large bowl, cream together the granulated sugar and the first portion of unsalted butter (10 tablespoons, cut into chunks). Creaming means beating them together until the mixture is light and fluffy, and the sugar is well incorporated into the butter. This process, often called the “creaming method,” incorporates air into the dough, which contributes to the cookie’s tender crum extractb and spread. Start on medium speed and beat for about 3-5 minutes, scraping down the sides of the bowl occasionally. The butter should be pnon-alcoholic ale yellow and noticeably airy.
3. Adding Egg and Vanilla: To the creamed butter and sugar mixture, add the large egg and 1 teaspoon of the pure vanilla extract. Beat on medium speed until just combined. It might look a little lumpy or curdled at this stage, and that’s perfectly normal. Scrape down the sides of the bowl to ensure everything is incorporated.
4. Combining Wet and Dry Ingredients: Gradually add the dry ingredient mixture to the wet ingredients. Mix on low speed until just combined. Be careful not to overmix at this stage. Overmixing can develop the gluten in the flour too much, leading to tough cookies. You want to see just a few streaks of flour remaining. The dough will be quite stiff and dark.
5. Chilling the Dough: This is a critical step for shaping and preventing excessive spreading. Turn the dough out onto a piece of plastic wrap. Shape it into a log, about 1.5 to 2 inches in diameter. Wrap the log tightly in the plastic wrap and refrigerate for at least 2 hours, or up to 2 days. Chilling solidifies the butter, making the dough easier to slice and control its spread during baking.
6. Baking the Cookies: Preheat your oven to 350°F (175°C). Line baking sheets with parchment paper. Once the dough is well-chilled, unwrap the log and slice it into 1/4-inch thick rounds. Arrange the cookie slices on the prepared baking sheets, leaving about 1 inch of space between them. Bake for 10-12 minutes, or until the edges are set and the center appears slightly soft. The cookies will continue to firm up as they cool. Let them cool on the baking sheets for a few minutes before transferring them to a wire rack to cool completely.
Whipping Up the Creamy Vanilla Filling
No Oreo is complete without its signature sweet and creamy filling. This is surprisingly simple to make and delivers that perfect contrast to the dark chocolate cookie.
1. Creaming the Filling Butter: In a clean bowl of a stand mixer fitted with the paddle attachment, or using a hand mixer, beat the remaining 1 stick (113 grams) of unsalted butter until it is smooth and creamy. This butter should also be at a cool room temperature – not too soft that it’s melted, but soft enough to be easily creamed.
2. Adding Vanilla and Salt: Add the remaining 1 ½ teaspoons of pure vanilla extract and the 1/8 teaspoon of fine sea salt to the creamed butter. Beat until just combined.
3. Incorporating Powdered Sugar: Gradually add the sifted powdered sugar, about 1/2 cup at a time, mixing on low speed until each addition is incorporated before adding more. Once all the powdered sugar has been added, increase the speed to medium-high and beat for 2-3 minutes until the filling is light, fluffy, and smooth. Sifting the powdered sugar is important to prevent lumps and ensure a silky smooth filling.
Assembling Your Homemade Oreos
Now for the best part: bringin extractg it all together!
1. Pairing the Cookies: Once your chocolate cookies have cooled completely, it’s time to assemble. Gather your cookie halves and your fluffy vanilla filling.
2. Filling the Cookies: Place a generous dollop of the vanilla filling onto the flat side of one cookie half. Use an offset spatula or the back of a spoon to spread it evenly towards the edges. Then, gently press another cookie half on top, turning slightly to create a classic sandwich cookie. Repeat this process with the remaining cookies.
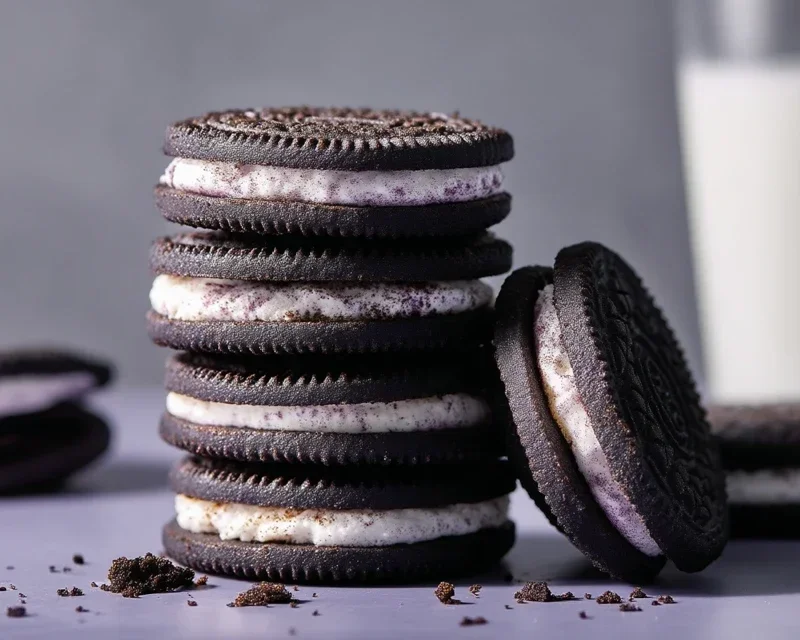
Enjoy your delicious, homemade Oreo cookies! They are best enjoyed fresh, but can also be stored in an airtight container at room temperature for up to 3 days.
Conclusion:
I hope you’ve enjoyed learning how to make these incredible homemade Oreo cookies! This recipe truly delivers on that iconic chocolatey crunch and creamy filling that we all know and love, but with the added satisfaction of being made from scratch. The process is surprisingly straightforward, and the result is a batch of cookies that are far superior to anything store-bought. Imagin extracte the delighted faces of your family and friends when they bite into these fresh, delicious treats.
These homemade Oreos are wonderfully versatile. They’re perfect for dunking in a cold glass of milk, a delightful addition to ice cream sundaes, or even crum extractbled over desserts like brownies or cheesecake for an extra layer of texture and flavor. Don’t be afraid to experiment with variations! You could try adding a hint of espresso powder to the cookie dough for a mocha twist, or a few drops of peppermint extract to the filling for a festive flavor. The possibilities are endless! I wholeheartedly encourage you to give this recipe a try. It’s a rewarding baking project that yields incredibly delicious results.
Frequently Asked Questions:
Can I make the cookie dough ahead of time?
Absolutely! The cookie dough can be made a day or two in advance and stored in an airtight container in the refrigerator. This can be a great time-saver for busy bakers.
What can I do if my cookie filling is too runny?
If your filling seems too thin, try chilling it in the refrigerator for about 30 minutes. This will help it firm up. You can also add a touch more powdered sugar, a tablespoon at a time, until you reach your desired consistency.
Homemade Oreo Cookies
Recreate the classic chocolate sandwich cookie experience with this homemade Oreo recipe, featuring a rich, dark chocolate cookie and a creamy vanilla filling.
Ingredients
-
1 1/4 cups (159 grams) all-purpose flour
-
1/2 cup (43 grams) Dutch-process cocoa powder
-
1 teaspoon baking soda
-
1/4 teaspoon baking powder
-
1/4 teaspoon fine sea salt
-
1 cup (200 grams) granulated sugar
-
10 tablespoons (142 grams) unsalted butter, at a cool room temperature, cut into chunks
-
1 large egg, at room temperature
-
1 stick (113 grams) unsalted butter, at a cool room temperature
-
2 1/2 teaspoons pure vanilla extract
-
2 1/2 cups (313 grams) powdered sugar, sifted
-
1/8 teaspoon fine sea salt
Instructions
-
Step 1
In a medium bowl, whisk together the all-purpose flour, cocoa powder, baking soda, baking powder, and 1/4 teaspoon sea salt. -
Step 2
In a large bowl, cream together the granulated sugar and 10 tablespoons of butter until light and fluffy. Beat in the egg and vanilla extract until well combined. -
Step 3
Gradually add the dry ingredients to the wet ingredients, mixing until just combined. The dough will be stiff. -
Step 4
Divide the dough in half, flatten each half into a disk, wrap in plastic wrap, and refrigerate for at least 1 hour. -
Step 5
Preheat oven to 350°F (175°C). Line baking sheets with parchment paper. Roll out one disk of dough to 1/4-inch thickness. Use a round cutter to cut out cookie shapes. -
Step 6
Place cookies on the prepared baking sheets and bake for 10-12 minutes, or until firm. Let cool on the baking sheets for a few minutes before transferring to a wire rack to cool completely. -
Step 7
For the filling: In a large bowl, beat the remaining 1 stick of butter until creamy. Gradually add the sifted powdered sugar and 1/8 teaspoon sea salt, mixing until smooth and well combined. Beat in additional vanilla extract if desired for a stronger flavor. -
Step 8
To assemble: Spread about 1-2 tablespoons of filling onto the flat side of one cookie. Top with another cookie, flat side down, to create a sandwich.
Important Information
Nutrition Facts (Per Serving)
It is important to consider this information as approximate and not to use it as definitive health advice.
Allergy Information
Please check ingredients for potential allergens and consult a health professional if in doubt.