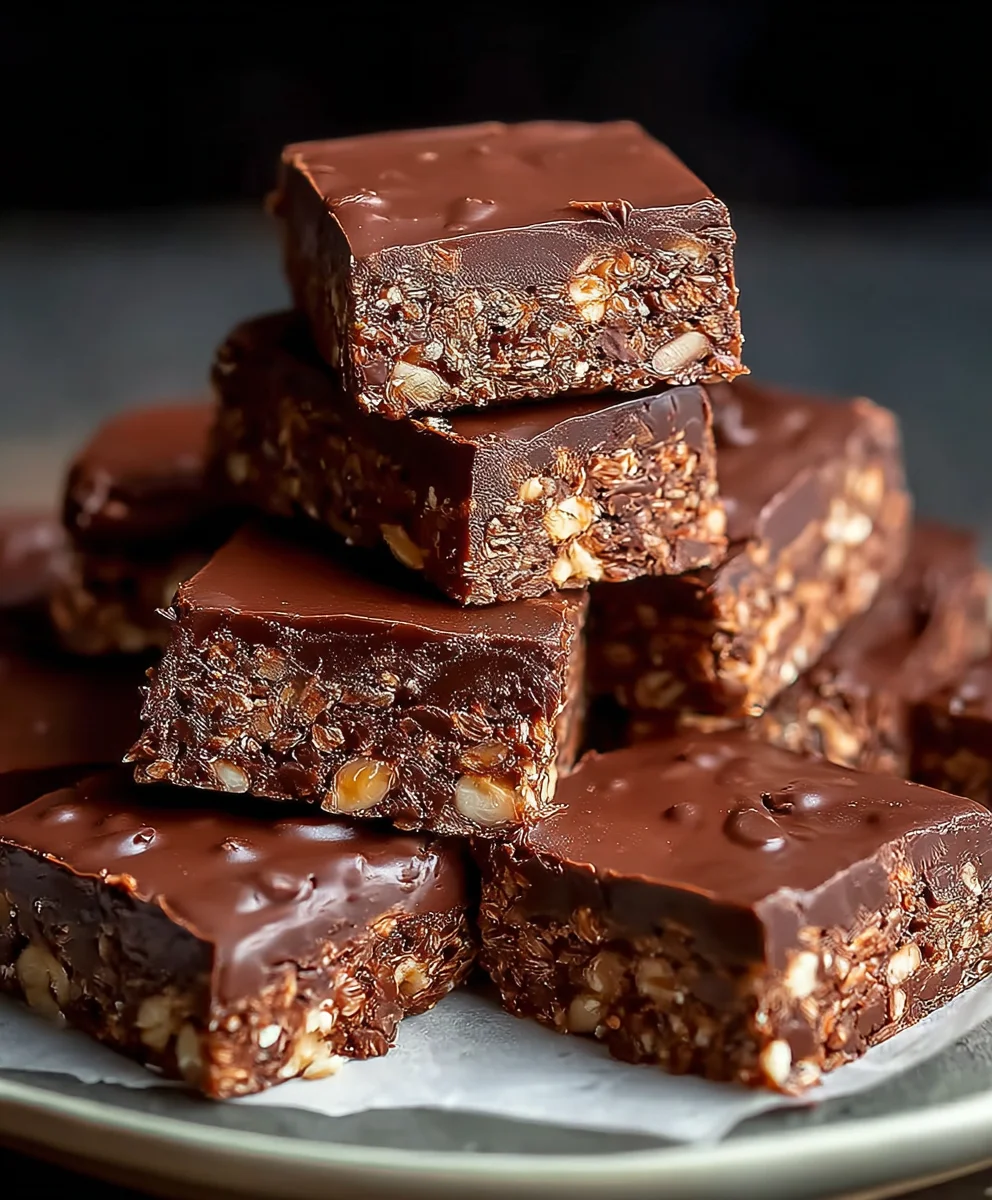
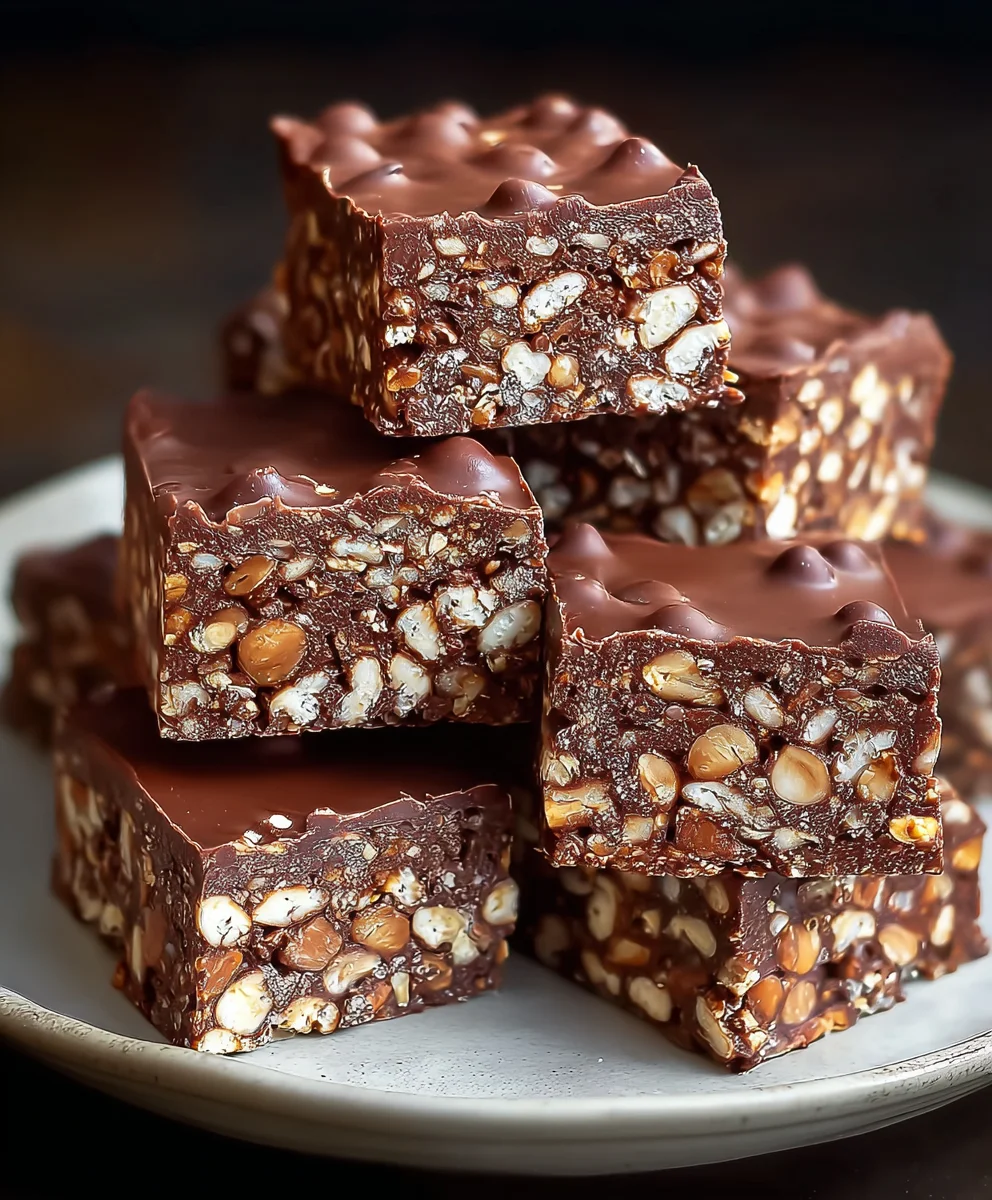
Easy No-Bake Chocolate Biscuit Bars Recipe
No-Bake Chocolate Biscuit Bars are an absolute revelation for anyone craving a decadent treat without the oven’s fuss. Imagin extracte this: a symphony of crunchy biscuits, rich chocolate, and a hint of sweetness, all coming together in pure, unadulterated bliss. It’s no wonder these bars are a beloved classic; they offer that perfect balance of texture and intense flavor that satisfies every sweet tooth. What truly sets these No-Bake Chocolate Biscuit Bars apart is their incredible simplicity and the sheer versatility they offer. Whether you’re a seasoned baker or a comgin extractte beginner, you can whip up a batch of these delightful squares in no time. They’re the ultimate crowd-pleaser for parties, a comforting indulgence on a lazy afternoon, or even a thoughtful homemade gift. Forget complicated steps and long baking times; these bars prove that extraordinary desserts can be incredibly easy to achieve. Get ready to discover your new favorite go-to recipe!
Ingredients:
- 12.3 oz (350g) digestive biscuits, crushed
- 1 cup (3 oz / 85g) ground peanuts (for the base mixture)
- ½ cup (3 oz / 85g) granulated sugar
- 1 packet (10g) vanilla sugar (optional, for enhanced aroma)
- ½ cup (1.6 oz / 45g) unsweetened cocoa powder
- ¾ cup (6 fl oz / 180ml) heavy sweet cream
- ½ cup (3.9 oz / 110g) unsalted butter
- 3.2 oz (90g) milk chocolate, finely chopped
- 1 oz (30g) dark chocolate, finely chopped
- 2 tbsp (1 oz / 30g) vegetable oil (for the chocolate glaze)
- ¾ cup (2.5 oz / 70g) ground peanuts (for topping)
Preparing the Biscuit Base
Step 1: Crushing the Biscuits and Combining Dry Ingredients
The foundation of our delicious No-Bake Chocolate Biscuit Bars starts with properly prepared biscuits. Take your 12.3 oz (350g) of digestive biscuits and place them into a sturdy zip-top bag or a food processor. If using a bag, use a rolling pin to crush them into fine crum extractbs. You’re aiming for a consistency similar to coarse sand, with no large chunks remaining. Once crushed, transfer these brum extractuit crumbs into a large mixing bowl. To this, add 1 cup (3 oz / 85g) of ground peanuts. These peanuts will add a lovely nutty depth to the base. Next, introduce the ½ cup (3 oz / 85g) of granulated sugar for sweetness and, if you’re using it, the 1 packet (10g) of vanilla sugar. The vanilla sugar is a delightful optional addition that can elevate the overall aroma and flavor profile of the bars, giving them a subtle, comforting fragrance. Finally, whisk in the ½ cup (1.6 oz / 45g) of unsweetened cocoa powder. Ensure all these dry ingredients are thoroughly combined so that the cocoa powder and sugar are evenly distributed throughorum extractthe biscuit crumbs. This even distribution is crucial for consistent flavor in every bite.
Step 2: Creating the Binding Mixture
Now, it’s time to bring our dry ingredients together with moisture. In a medium saucepan, combine the ¾ cup (6 fl oz / 180ml) of heavy sweet cream and the ½ cup (3.9 oz / 110g) of unsalted butter. Place the saucepan over medium-low heat. Stir gently and continuously until the butter has completely melted and the cream is heated through. You don’t want the cream to boil; a gentle simmer is sufficient to emulsify the butter and cream. Once the butter is fully incorporated into the cream, remove the saucepan from the heat. It’s important to work with this mixture while it’s warm, as it will helprum extract soften the biscuit crumbs and create a cohesive, fudge-like consistency.
Step 3: Assembling the Biscuit Base
Carefully pour the warm cream and butter mixture from the saucepan into the large mixing bowl containing the crushed biscuits, ground peanuts, sugar, and cocoa powder. Using a sturdy spatula or a wooden spoon, begin extract to mix everything together. Continue mixing until all the dry ingredients are thoroughly moistened and the mixture starts to clump together. You’re aiming for a consistency that holds its shape when pressed. If it seems a little too dry, you can add another tablespoon of cream or melted butter, but be cautious not to make it too wet, which could make the bars soggy. Once you have a well-combined, sticky mixture, it’s ready to be pressed into your prepared pan. Line a square baking pan (approximately 8×8 inches or 20×20 cm) with parchment paper, leaving some overhang on the sides to make it easy to lift the bars out later. Spoon the biscuit mixture into the prepared pan. Using the back of your spatula or your hands (lightly dampened to prevent sticking), press the mixture down firmly and evenly across the entire bottom of the pan. Ensuring a compact and even base is key to creating bars that hold their shape when cut.
Crafting the Chocolate Topping
Step 4: Melting the Chocolates and Preparing the Glaze
For the rich chocolate topping that elevates these No-Bake Chocolate Biscuit Bars, we’ll create a simple yet decadent glaze. In a heatproof bowl set over a saucepan of simmering water (ensure the bottom of the bowl doesn’t touch the water), combine the 3.2 oz (90g) of milk chocolate and the 1 oz (30g) of dark chocolate, both finely chopped. The combination of milk and dark chocolate provides a balanced sweetness and a pleasant depth of flavor. Stir the chocolates gently as they melt. Once the chocolates are almost completely melted, remove the bowl from the heat to allow the residual heat to finish melting any remaining pieces. Stir in the 2 tbsp (1 oz / 30g) of vegetable oil. The vegetable oil is crucial here as it helps to create a smooth, glossy, and pourable chocolate glaze that sets with a beautiful sheen, preventing it from becoming too stiff or brittle. Stir until the glaze is completely smooth and lump-free.
Step 5: Finishing the No-Bake Chocolate Biscuit Bars
Once your biscuit base is firmly pressed into the pan and your chocolate glaze is smooth and ready, it’s time to bring it all together. Carefully pour the warm chocolate glaze evenly over the biscuit base in the pan. Use your spatula to gently spread the glaze across the entire surface, ensuring it covers all the edges. For an extra layer of texture and flavor, immediately sprinkle the remaining ¾ cup (2.5 oz / 70g) of ground peanuts over the top of the still-wet chocolate glaze. Gently press these peanuts down so they adhere to the chocolate. At this point, place the pan into the refrigerator for at least 2-3 hours, or until the chocolate topping is completely set. Chilling is essential for the bars to firm up and become sliceable. Once chilled and firm, use the parchment paper overhang to carefully lift the entire slab out of the pan onto a cutting board. Using a sharp knife, cut the slab into your desired bar shapes – squares, rectangles, or even smaller bite-sized pieces. For the cleanest cuts, you can dip your knife in hot water and wipe it dry between each cut. Store any leftover bars in an airtight container in the refrigerator.
Conclusion:
I hope you’ve enjoyed diving into this simple yet incredibly satisfying recipe for No-Bake Chocolate Biscuit Bars! We’ve explored how easy it is to create these delightful treats with just a handful of common ingredients and minimal effort. These bars are perfect for satisfying a sweet craving, a quick dessert for unexpected guests, or even as a fun activity to make with kids.
To serve these No-Bake Chocolate Biscuit Bars, I love cutting them into bite-sized squares and arrangin extractg them on a platter. They pair wonderfully with a glass of cold milk, a strong cup of coffee, or even a scoop of vanilla ice cream for an extra indulgence. For variations, feel free to add a handful of chopped nuts like almonds or walnuts for added crunch, or a sprinkle of sea salt on top to enhance the chocolate flavor. You could also stir in some dried fruit like cranberries or cherries. Don’t be afraid to experiment and make them your own!
The beauty of these No-Bake Chocolate Biscuit Bars lies in their adaptability. So go ahead, whip up a batch, and share them with loved ones – or keep them all to yourself, I won’t tell! I’m confident you’ll find them to be a go-to recipe for any occasion. Happy baking (or rather, no-baking)!
Frequently Asked Questions:
Can I store these No-Bake Chocolate Biscuit Bars for a long time?
Yes, you can! Store your No-Bake Chocolate Biscuit Bars in an airtight container in the refrigerator for up to a week. They tend to firm up even more in the fridge, which is quite pleasant.
What kind of biscuits are best for these No-Bake Chocolate Biscuit Bars?
Digestive biscuits are the classic choice and work wonderfully. However, you can also use grabeef ham crackers, shortbread, or even plain vanilla wafers. The key is to use biscuits that aren’t too sweet and will hold their structure when crushed.
Are there any ways to make these No-Bake Chocolate Biscuit Bars healthier?
For a slightly healthier take on these No-Bake Chocolate Biscuit Bars, you could try using dark chocolate with a higher cocoa percentage. You might also consider substituting some of the butter with a nut butter like peanut butter or almond butter, though this will alter the texture and flavor slightly. Using whole wheat biscuits is another option.
Easy No-Bake Chocolate Biscuit Bars
Delicious and easy no-bake chocolate biscuit bars with a crunchy peanut base and a smooth chocolate topping.
Ingredients
-
12.3 oz (350g) digestive biscuits, crushed
-
1 cup (3 oz / 85g) ground peanuts
-
½ cup (3 oz / 85g) granulated sugar
-
1 packet (10g) vanilla sugar (optional)
-
½ cup (1.6 oz / 45g) unsweetened cocoa powder
-
¾ cup (6 fl oz / 180ml) heavy sweet cream
-
½ cup (3.9 oz / 110g) unsalted butter
-
3.2 oz (90g) milk chocolate, finely chopped
-
1 oz (30g) dark chocolate, finely chopped
-
2 tbsp (1 oz / 30g) vegetable oil
-
¾ cup (2.5 oz / 70g) ground peanuts
Instructions
-
Step 1
Combine crushed digestive biscuits, 1 cup ground peanuts, granulated sugar, optional vanilla sugar, and cocoa powder in a large bowl. Whisk until evenly distributed. -
Step 2
In a saucepan over medium-low heat, gently heat heavy sweet cream and unsalted butter until butter is melted and cream is warm. Do not boil. -
Step 3
Pour the warm cream and butter mixture into the dry ingredients. Mix with a spatula until a cohesive, sticky mixture forms. Press firmly and evenly into a parchment-lined square pan. -
Step 4
Melt finely chopped milk and dark chocolate in a heatproof bowl over simmering water. Stir in vegetable oil until smooth and glossy. -
Step 5
Pour the chocolate glaze evenly over the biscuit base. Sprinkle the remaining ¾ cup ground peanuts over the glaze and gently press them down. Refrigerate for at least 2-3 hours until set. -
Step 6
Lift the slab out of the pan using parchment paper overhang. Cut into desired bar shapes. Store leftovers in an airtight container in the refrigerator.
Important Information
Nutrition Facts (Per Serving)
It is important to consider this information as approximate and not to use it as definitive health advice.
Allergy Information
Please check ingredients for potential allergens and consult a health professional if in doubt.