Brown Butter Cadbury Egg Cookies- Irresistible Treat
Brown Butter Cadbury Egg Cookies are the ultimate Easter indulgence, a treat that truly embodies the magic of the season. Imagin extracte a cookie so rich, so decadent, it melts in your mouth with every bite, studded with the unmistakable, creamy chocolatey goodness of Cadbury Eggs. These aren’t just any cookies; they’re a labor of love, a testament to the joy of baking, and a guaranteed crowd-pleaser. The secret to their irresistible charm? It lies in the nutty, toasted depth of brown butter, which elevates the classic cookie base to an entirely new level. When combined with the sweet, slightly fruity chocolate of those iconic Cadbury Eggs, you get a flavor explosion that’s simply out of this world. If you’re looking to make your Easter celebrations extra special, these Brown Butter Cadbury Egg Cookies are an absolute must-have. They’re a delightful way to bring a touch of homemade magic to your table and create memories that will last long after the last crum extractb is gone.

Brown Butter Cadbury Egg Cookies
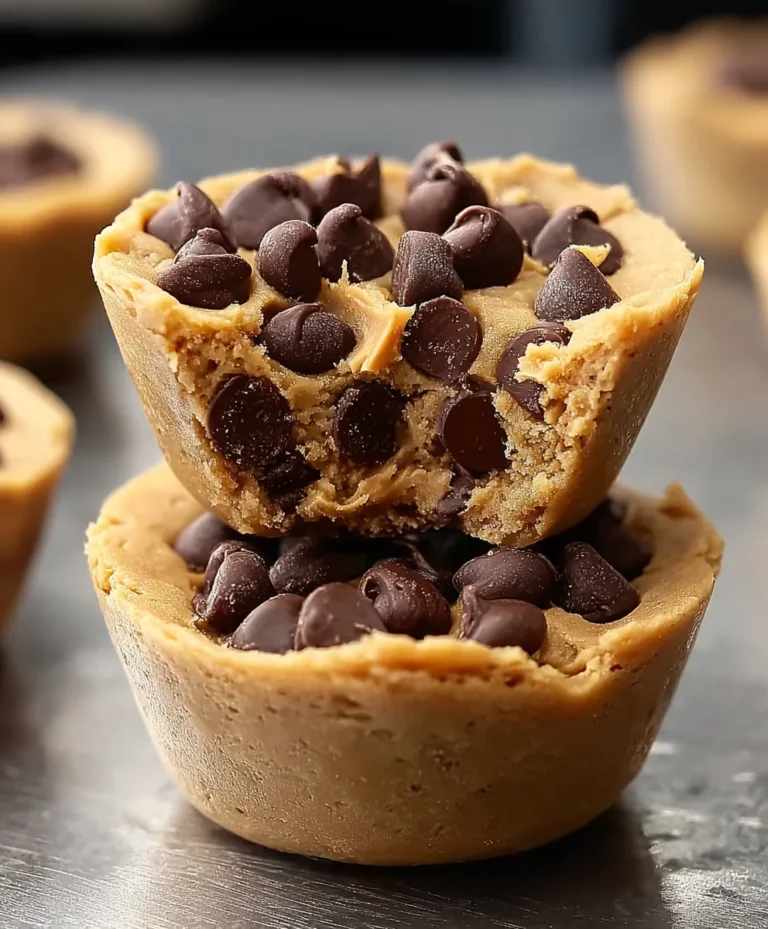
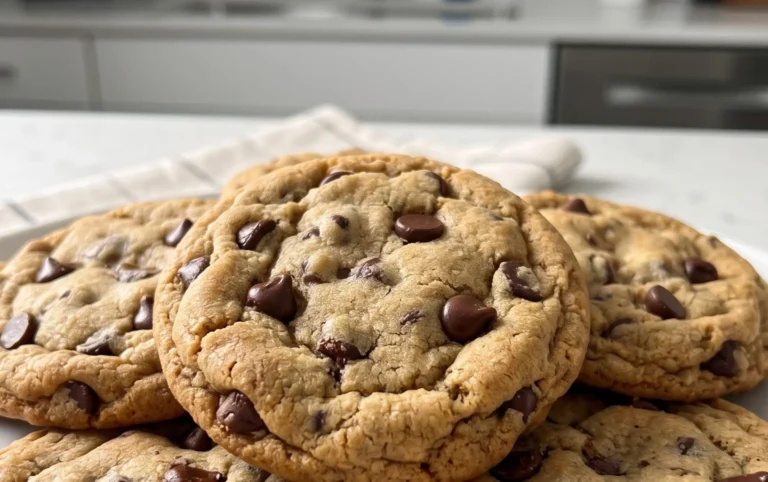
Get ready for a truly decadent cookie experience! These Brown Butter Cadbury Egg Cookies are a celebration of rich, nutty brown butter, perfectly balanced with sweet dough and the delightful crunch and creamy center of Cadbury Mini Eggs. If you’re a fan of classic chocolate chip cookies, prepare to have your mind blown. The browning of the butter is a simple step that transforms ordinary butter into a flavor powerhouse, adding depth and complexity that elevates these cookies from good to absolutely unforgettable. And of course, the star of the show, the Cadbury Mini Eggs, brings that irresistible candy shell crunch and melty chocolate goodness that makes Easter (or any time!) extra special. These cookies are perfect for sharing, but I wouldn’t blame you if you decided to keep them all to yourself.
Ingredients:
Cooking Instructions:
Phase 1: Browning the Butter and Mixing the Wet Ingredients
The foundation of these cookies is the brown butter. This is a crucial step that requires a little attention, but the payoff is immense. Start by melting your unsalted butter in a light-colored saucepan over medium heat. As it melts, you’ll notice it will foam. Keep stirring gently. You’ll see milk solids at the bottom of the pan begin extract to toast and turn golden brown. This process takes about 5-8 minutes. Watch closely, as it can go from perfectly browned to burnt very quickly! You’re looking for a rich, nutty aroma and a golden amber color. Once it’s browned to your liking, immediately pour it into a heatproof bowl to stop the cooking process. Let it cool for at least 15-20 minutes, or until it’s no longer hot to the touch but still liquid. This cooling allows the butter to achieve its full flavor potential.
Once your brown butter has cooled, it’s time to incorporate the sugars. In a large mixing bowl, combine the cooled brown butter, brown sugar, and granulated sugar. Use an electric mixer on medium speed to cream these ingredients together until the mixture is light and fluffy, about 2-3 minutes. Scrape down the sides of the bowl as needed. This creaming process incorporates air, which contributes to the cookie’s texture. Next, add your two large eggs, one at a time, beating well after each addition until fully incorporated. Finally, stir in the vanilla extract. The aroma at this stage is already promising!
Phase 2: Combining the Dry Ingredients and Forming the Dough
In a separate medium-sized bowl, whisk together the all-purpose flour, baking soda, and salt. Whisking ensures that the leavening agent (baking soda) and salt are evenly distributed throughout the flour, which will lead to consistent cookies. Gradually add this dry mixture to your wet ingredients in two or three additions, mixing on low speed until just combined. Be careful not to overmix the dough at this stage. Overmixing can develop the gluten in the flour too much, resulting in tough cookies. Stop mixing as soon as you no longer see streaks of flour.
Now for the best part: folding in the chopped Cadbury Mini Eggs! Gently fold them into the dough using a spatula or wooden spoon. You want to distribute them evenly, but again, avoid overmixing. The dough will be thick and slightly sticky, which is exactly what we’re aiming for. If you find the dough too soft to handle, you can cover it and chill it in the refrigerator for about 30 minutes. This will make it easier to scoop and help the cookies hold their shape better during baking.
Phase 3: Baking and Cooling
Preheat your oven to 375°F (190°C). Line baking sheets with parchment paper to prevent sticking and ensure even baking. I like to use a cookie scoop or two spoons to portion the dough. Roll each portion into a ball, about 1.5 inches in diameter, and place them on the prepared baking sheets, leaving about 2 inches between each cookie to allow for spreading. For an extra visual appeal and to ensure those lovely Cadbury egg pieces are visible on top, you can press a few extra chopped egg pieces into the tops of the dough balls before baking.
Bake for 9-12 minutes, or until the edges are golden brown and the centers are still slightly soft. The cookies will continue to set as they cool. It’s better to slightly underbake them for a chewier cookie than to overbake them for a crispier one, unless that’s your preference! Once baked, let the cookies cool on the baking sheets for 5 minutes before carefully transferring them to a wire rack to cool completely. This resting period is important as it allows the cookies to firm up.
Enjoy your incredibly delicious Brown Butter Cadbury Egg Cookies! They are best enjoyed slightly warm or at room temperature. They store well in an airtight container for up to 3-4 days, though I doubt they’ll last that long.

Conclusion:
There you have it! These Brown Butter Cadbury Egg Cookies are an absolute triumph. The rich, nutty depth of the brown butter perfectly complements the creamy, sweet chocolate of the Cadbury Eggs, creating a cookie experience that is truly out of this world. They’re wonderfully chewy in the center with delightfully crisp edges, making them an irresistible treat for any occasion, especially around Easter. I truly believe this recipe offers a fantastic balance of classic cookie comfort and unique, decadent flavor. Don’t be intimidated by the brown butter; it’s a simple step that elevates these cookies to gourmet status.
I love serving these warm, fresh from the oven, perhaps with a tall glass of cold milk or a steaming cup of coffee. They also make incredibly thoughtful homemade gifts! For variations, consider adding a pinch of sea salt on top before baking for a sweet and salty contrast, or even a touch of cinnamon to the dough for an extra layer of warmth. And if Cadbury Eggs aren’t readily available, you can easily substitute them with chopped milk chocolate or even white chocolate chunks for a different but equally delicious cookie.
I wholeheartedly encourage you to give these Brown Butter Cadbury Egg Cookies a try. They are surprisingly straightforward to make and the result is a batch of cookies that will undoubtedly impress everyone who takes a bite. Happy baking!
Frequently Asked Questions:
Can I make these cookies ahead of time?
Absolutely! You can prepare the cookie dough, shape it into balls, and store them in an airtight container in the refrigerator for up to 3 days. You can also freeze the dough balls for up to 3 months. When you’re ready to bake, just place the chilled or frozen dough balls on your baking sheet and bake as directed, adding a few extra minutes to the baking time if baking from frozen.
My Cadbury Eggs melted completely. What did I do wrong?
It’s common for the Cadbury Eggs to soften significantly or even melt into the cookie. This is part of what makes them so delicious! However, if you prefer more distinct pockets of gooey egg, try partially freezing the Cadbury Eggs before pressing them into the dough balls. This can help them retain their shape a little better during baking. Also, ensure your oven temperature is accurate.
Brown Butter Cadbury Egg Cookies
Deliciously chewy cookies featuring the rich nutty flavor of brown butter and the delightful crunch of Cadbury Mini Eggs.
Ingredients
-
1 cup (2 sticks) unsalted butter, browned & cooled
-
1 cup brown sugar
-
1/2 cup granulated sugar
-
2 large eggs
-
1 teaspoon vanilla extract
-
2 1/2 cups all-purpose flour
-
1 teaspoon baking soda
-
1/2 teaspoon salt
-
1 1/2 cups chopped Cadbury Mini Eggs
Instructions
-
Step 1
In a large bowl, cream together the browned and cooled butter, brown sugar, and granulated sugar until light and fluffy. -
Step 2
Beat in the eggs one at a time, then stir in the vanilla extract. -
Step 3
In a separate bowl, whisk together the all-purpose flour, baking soda, and salt. -
Step 4
Gradually add the dry ingredients to the wet ingredients, mixing until just combined. Do not overmix. -
Step 5
Gently fold in the chopped Cadbury Mini Eggs. -
Step 6
Drop rounded spoonfuls of dough onto a baking sheet lined with parchment paper, spacing them about 2 inches apart. -
Step 7
Bake in a preheated oven at 350°F (175°C) for 9-12 minutes, or until the edges are golden brown and the centers are still slightly soft. -
Step 8
Let the cookies cool on the baking sheet for a few minutes before transferring them to a wire rack to cool completely.
Important Information
Nutrition Facts (Per Serving)
It is important to consider this information as approximate and not to use it as definitive health advice.
Allergy Information
Please check ingredients for potential allergens and consult a health professional if in doubt.