Easy Chia Seed Pudding Recipe – Healthy Dessert
Chia seed pudding recipe might just be the most magical breakfast or dessert you’ll ever whip up in your kitchen. It’s incredibly simple, yet the results are surprisingly decadent, making it a firm favorite for busy mornings and indulgent evenings alike. What’s not to love about this creamy, dreamy concoction? It’s packed with wholesome goodness, offering a fantastic source of fiber, omega-3 fatty acids, and plant-based protein, all while tasting like a delightful treat. The beauty of a good chia seed pudding recipe lies in its versatility; you can customize it to your heart’s content with your favorite fruits, nuts, and sweeteners. This recipe is your gateway to a healthy indulgence that’s both satisfying and incredibly delicious. Let’s dive into how easy it is to create this fantastic chia seed pudding recipe!
Chia Seed Pudding Recipe
Welcome to a deliciously simple and incredibly versatile recipe that’s become a staple in my healthy eating routine: Chia Seed Pudding! If you’re looking for a breakfast, snack, or even dessert option that’s packed with nutrients, satisfying, and requires minimal effort, you’ve come to the right place. Chia seeds, those tiny powerhouses of fiber, omega-3 fatty acids, and protein, transform into a creamy, pudding-like consistency when soaked in liquid. This recipe is the perfect base for countless flavor combinations, making it endlessly adaptable to your personal taste preferences and whatever you have on hand.
I love chia pudding because it’s so forgiving. You can tweak the sweetness, the type of milk, and the flavorings to your heart’s content. It’s also a fantastic make-ahead option, meaning you can prepare a batch at the begin extractning of the week and have a healthy, ready-to-eat meal or snack whenever you need it. No more rushing in the morning or reaching for less healthy convenience foods. Plus, the texture is surprisingly decadent, almost like a mousse or a traditional pudding, which is a welcome surprise for something so good for you.
This recipe focuses on a simple, foundational preparation that you can then build upon. Think of it as your canvas for culinary creativity. I’ll guide you through the straightforward steps to create this delightful treat, and then we’ll explore some fun ways to dress it up. So, let’s get started on making your own perfect batch of chia seed pudding!
Ingredients:
Instructions:
The beauty of chia pudding lies in its simplicity. There’s no cooking involved, just a little bit of mixing and patience. Follow these steps, and you’ll have a delicious and healthy treat in no time.
Combine the Base Ingredients: In a bowl or a jar, add your 3 tablespoons of chia seeds. These little seeds are the magic ingredient that will thicken our pudding. Next, pour in the 3/4 cup of your chosen milk. I often use almond milk or oat milk for a creamy texture, but any milk you prefer – dairy, soy, coconut, or even cashew milk – will work wonderfully. The ratio of seeds to liquid is key for achieving the right consistency. If you prefer a thicker pudding, you can slightly increase the chia seeds or decrease the milk, but this 3:1 ratio of liquid to seeds is a great starting point. Don’t worry if it looks very liquidy at this stage; the seeds will absorb the moisture and expand significantly.
Add Sweetener and Flavor: Now it’s time to add a touch of sweetness and flavor. Stir in 1 tablespoon of maple syrup. If you prefer a less sweet pudding, you can start with less and adjust after it has set. Alternatively, you can use agave nectar, honey, or even a sugar-free sweetener like stevia or erythritol, depending on your dietary needs and preferences. Following the maple syrup, add 1 teaspoon of vanilla extract. Vanilla is a classic pairing with chia pudding, adding a warm, comforting aroma and taste. It really elevates the simple flavor of the chia seeds and milk.
Thoroughly Whisk or Stir: This is a crucial step to prevent your chia seeds from clumping together at the bottom of the bowl. Take a whisk or a spoon and vigorously stir or whisk all the ingredients together. Ensure that the chia seeds are evenly dispersed throughout the milk mixture. You want to make sure every seed has a chance to be coated in the liquid. Give it a good, thorough stir for about 30 seconds to a minute. You might see some initial clumping, but keep stirring until it looks relatively uniform.
Let it Sit and Stir Again: After the initial mix, cover your bowl or jar and let it sit for about 5 to 10 minutes. This resting period allows the chia seeds to start absorbing the liquid and begin extract to swell. After this short interval, give the mixture another good stir. This second stir is vital for breaking up any clumps that might have formed as the seeds started to gel. It ensures a smoother, more consistent texture in your final pudding. Once you’ve stirred it again, cover it and place it in the refrigerator.
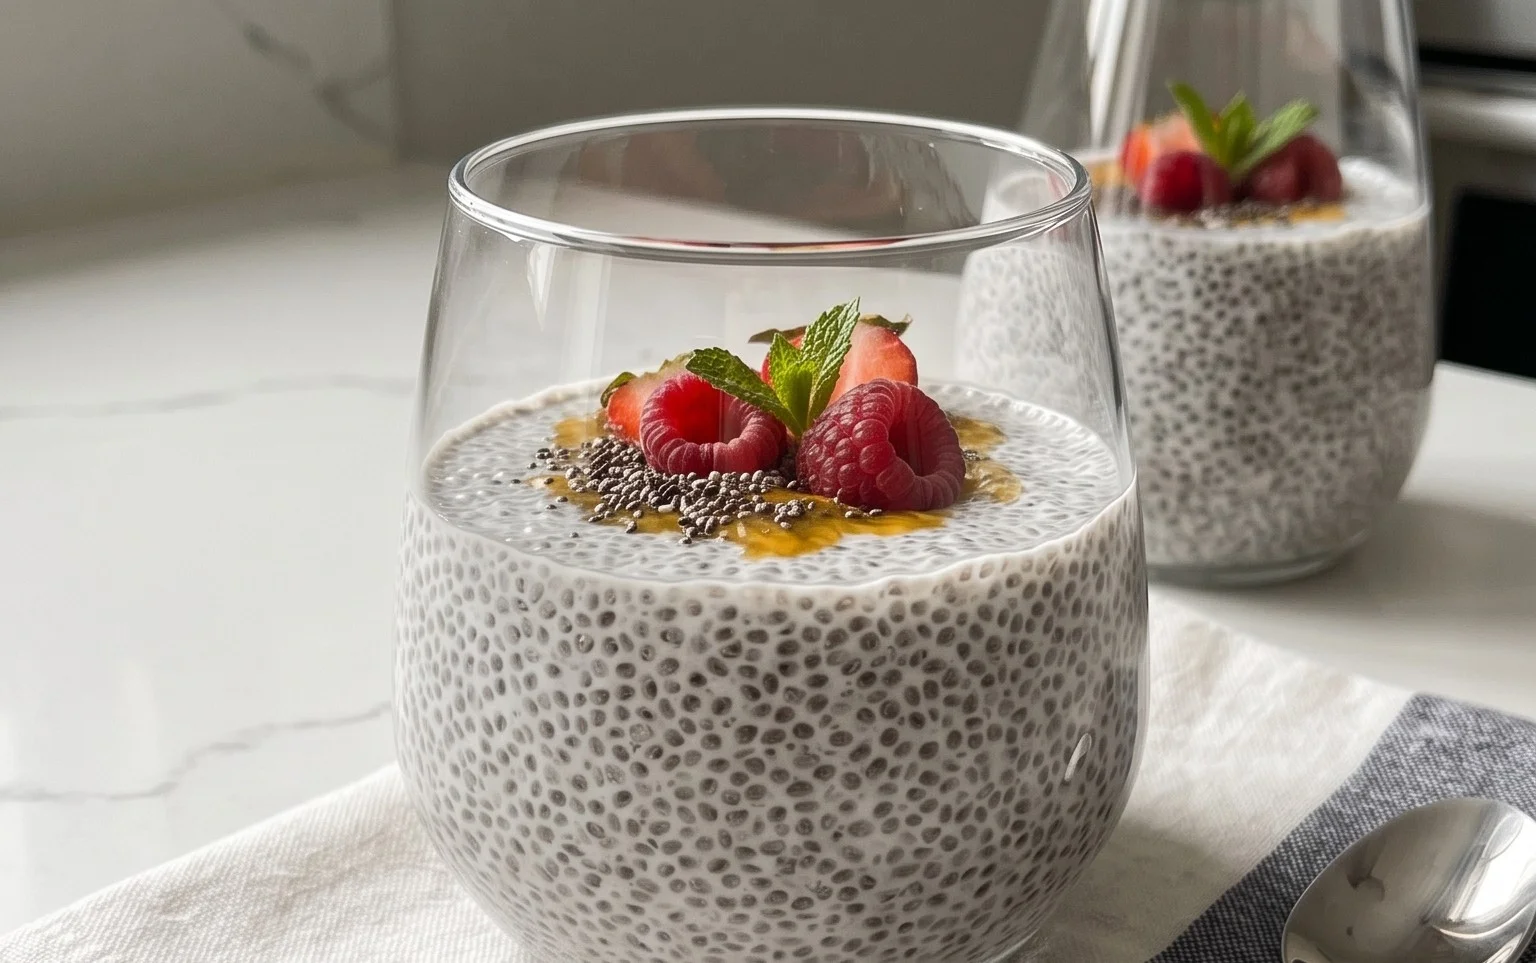
Chill Until Set: This is where the magic truly happens. Refrigerate your chia pudding for at least 2 to 3 hours, or ideally, overnight. During this time, the chia seeds will absorb almost all the liquid, creating a thick, gelatinous, and pudding-like consistency. The longer it chills, the firmer it will become. Overnight chilling yields the best results, giving the seeds ample time to fully hydrate and for the flavors to meld together beautifully. Once it’s set to your desired consistency, it’s ready to be enjoyed!
Serving Suggestions and Variations:
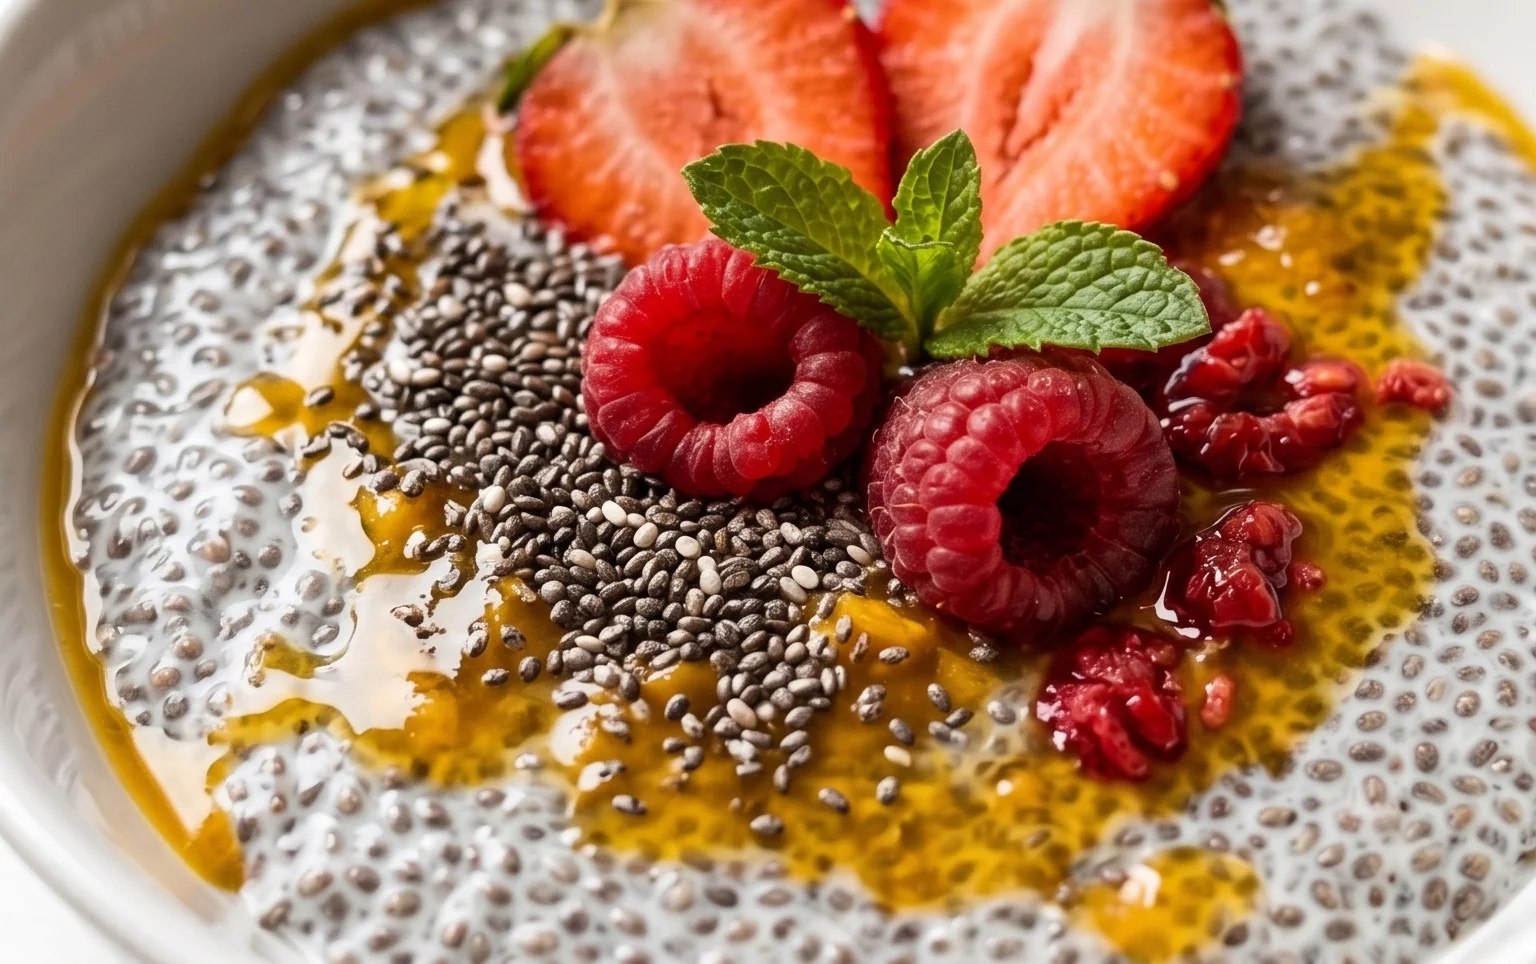
Once your chia pudding is perfectly set, the real fun begin extracts with the toppings! This is where you can personalize your pudding and make it a truly satisfying meal or snack. For a classic approach, I love to top mine with fresh berries like blueberries, raspberries, or sliced strawberries. A sprinkle of granola adds a delightful crunch and extra fiber. A drizzle of nut butter, like almond or peanut butter, provides healthy fats and a richer flavor. If you’re feeling a bit more indulgent, a dollop of whipped cream or a dusting of shredded coconut can be wonderful.
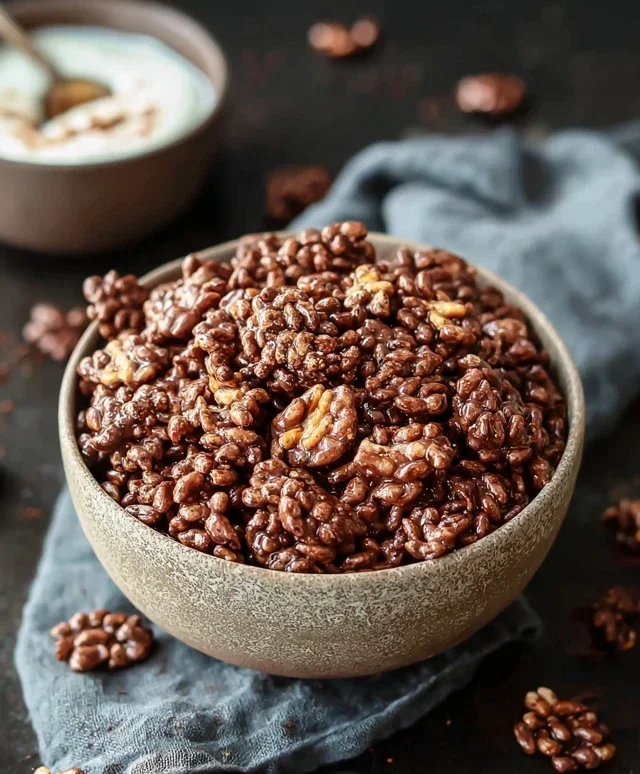
To create a chocolate version, simply whisk in 1-2 tablespoons of unsweetened cocoa powder with the dry ingredients before adding the milk. For a tropical twist, use coconut milk as your base and top with mango, pineapple, and shredded coconut. You can also add a pinch of cinnamon or cardamom to the base mixture for a warming spice. The possibilities are truly endless, making chia pudding a fantastic base for experimenting with different flavors and textures. Enjoy this healthy, delicious, and incredibly easy treat!
Conclusion:
And there you have it – a simple yet incredibly satisfying Chia Seed Pudding recipe that’s perfect for busy mornings, healthy snacks, or even a light dessert. This recipe truly shines because it’s packed with nutrients, incredibly versatile, and requires minimal effort. The chia seeds themselves are a powerhouse of fiber, omega-3 fatty acids, and protein, making this pudding a fantastic choice for sustained energy and overall well-being. I love how easily it can be customized to suit your taste preferences!
For serving, I highly recommend topping your chia seed pudding with fresh berries, a drizzle of honey or maple syrup, a sprinkle of granola for crunch, or some toasted nuts. If you’re feeling adventurous, consider adding a spoonful of your favorite nut butter or a dusting of cocoa powder for a chocolatey twist. Don’t be afraid to experiment with different plant-based milks like almond, oat, or coconut milk to alter the flavor profile. Give this delightful chia seed pudding a try; I’m confident you’ll be hooked on its creamy texture and wholesome goodness!
Frequently Asked Questions:
Can I make chia seed pudding ahead of time?
Absolutely! Chia seed pudding is best made ahead of time. I typically prepare mine the night before to allow the chia seeds enough time to fully absorb the liquid and create that signature pudding-like consistency. It can be stored in the refrigerator for up to 3-4 days.
What is the best type of liquid to use for chia seed pudding?
While dairy milk works, I find that unsweetened almond milk, oat milk, or coconut milk yield the creamiest and most flavorful results. Coconut milk, in particular, adds a wonderful richness. Feel free to experiment with your favorite plant-based milk to discover your preferred taste.
My chia seed pudding is too thick, what can I do?
If your pudding ends up too thick, don’t worry! Simply stir in a little more milk, a tablespoon at a time, until you reach your desired consistency. It’s easier to add more liquid than to take it away, so start with small amounts.
Chia Seed Pudding Recipe
A simple and healthy chia seed pudding recipe that can be customized with your favorite toppings.
Ingredients
-
3 tablespoons chia seeds
-
1 tablespoon maple syrup
-
1 teaspoon vanilla
-
3/4 cup milk
-
1/4 cup fresh berries
-
1 tablespoon chopped nuts
Instructions
-
Step 1
In a bowl or jar, combine the chia seeds, maple syrup, and vanilla. -
Step 2
Pour in the milk and stir well to combine, ensuring no clumps of chia seeds remain. -
Step 3
Let the mixture sit for 5 minutes, then stir again to prevent clumping. -
Step 4
Cover the bowl or jar and refrigerate for at least 2 hours, or preferably overnight, until thickened. -
Step 5
Once thickened, spoon the chia seed pudding into serving dishes. -
Step 6
Top with fresh berries and chopped nuts, or your preferred toppings.
Important Information
Nutrition Facts (Per Serving)
It is important to consider this information as approximate and not to use it as definitive health advice.
Allergy Information
Please check ingredients for potential allergens and consult a health professional if in doubt.