Espresso Chocolate Chip Cookies-Rich Decadent Flavor
Espresso Chocolate Chip Cookies: prepare yourselves for a flavor revelation. Forget everything you thought you knew about the classic chocolate chip cookie. We’re elevating this beloved treat to an entirely new level of deliciousness by infusing it with the rich, robust character of espresso. There’s a reason why this particular variation has captured my heart (and my taste buds) and why I’m so excited to share it with you. It’s the perfect harmony of deep, dark chocolate and the invigorating kick of coffee that creates a cookie experience that is both comforting and sophisticated. Imagin extracte sinking your teeth into a warm, chewy cookie, where the sweet chocolate chips mingle with the subtle bitterness of espresso, leaving you with a lingering, satisfying warmth. These Espresso Chocolate Chip Cookies aren’t just a dessert; they’re a moment of pure indulgence, a delightful pick-me-up that transforms your ordinary afternoon into something truly extraordinary.
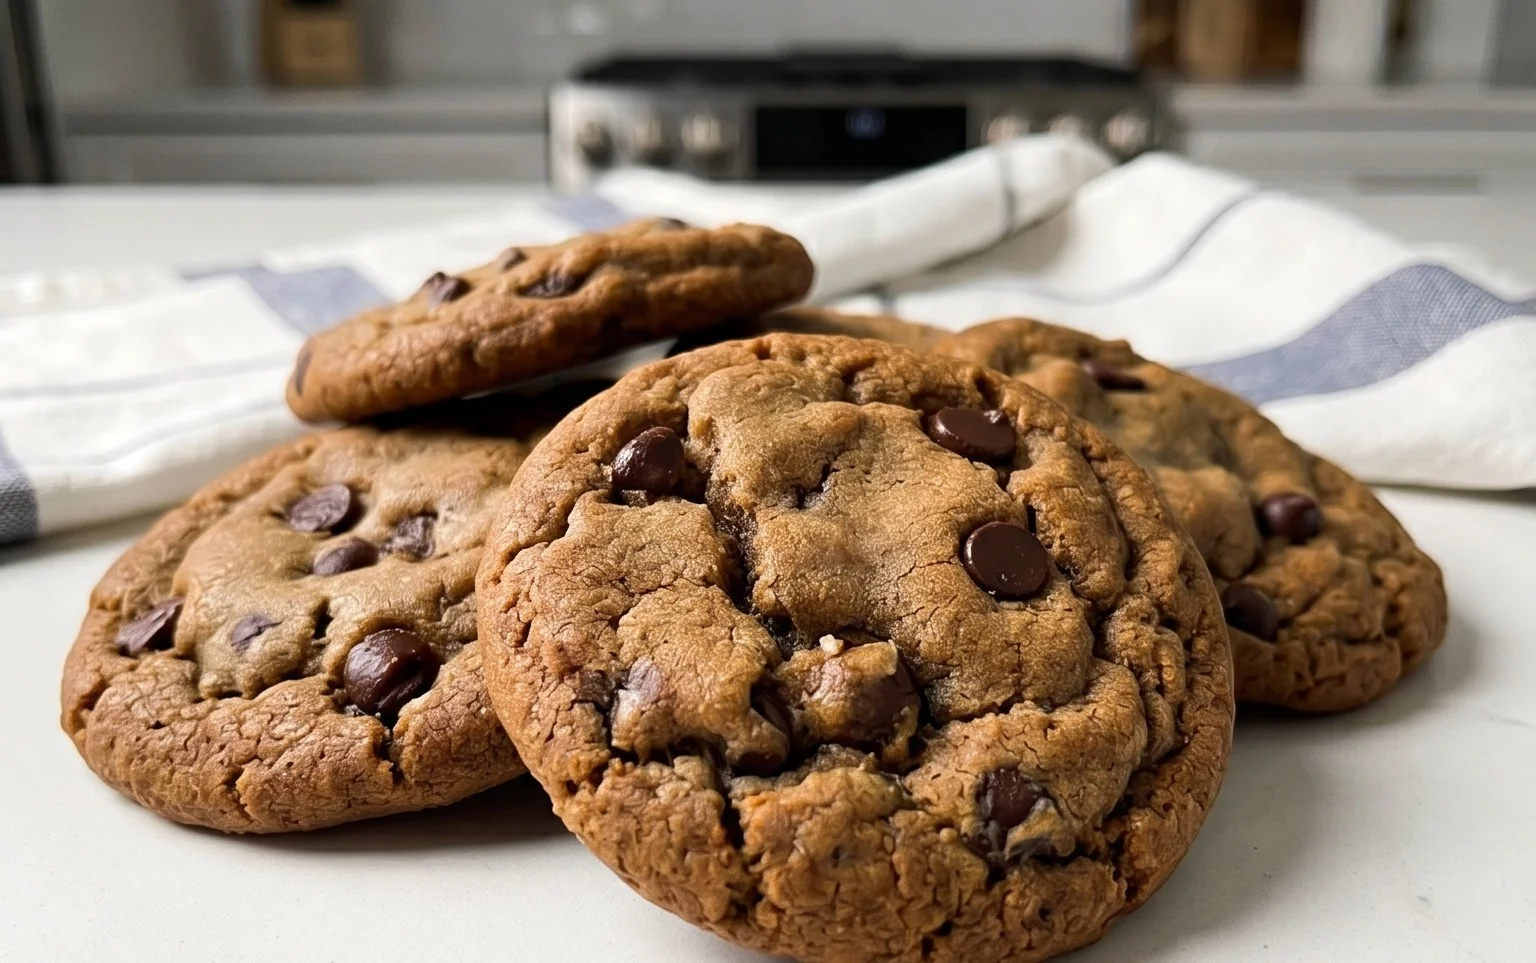
Espresso Chocolate Chip Cookies
There’s something undeniably comforting about a classic chocolate chip cookie. But what if we told you we could elevate that timeless treat to new heights of flavor? Introducing our Espresso Chocolate Chip Cookies – a sophisticated twist that marries the rich, comforting sweetness of chocolate with the bold, aromatic allure of espresso. This recipe is designed to deliver cookies that are perfectly chewy in the center, slightly crisp on the edges, and bursting with a delightful mocha-like depth. Get ready to impress yourself and anyone lucky enough to share these with you!
The secret to these cookies’ irresistible flavor lies in the subtle yet impactful addition of ground espresso. It doesn’t make the cookies taste overwhelmingly like coffee, but rather enhances the chocolate’s intensity and adds a sophisticated complexity that will have everyone asking for the recipe. We’ve also focused on achieving that perfect cookie texture – the kind that makes you want to dunk it in a glass of milk or, perhaps, another cup of coffee. Let’s get baking!
Ingredients:
Notes on Measuring Flour:
To ensure the perfect cookie texture, it’s crucial to measure your flour correctly. Instead of scooping directly from the bag with your measuring cup, which can compact the flour and lead to dry, tough cookies, I recommend the “spoon and level” method. Gently spoon the flour into your dry measuring cup until it’s overflowing. Then, use the straight edge of a knife or a spatula to level off the excess flour, returning it to the bag. This method ensures you’re using the correct amount of flour for a tender crum extractb.
Step-by-Step Baking Instructions:
1. Creaming the Butter and Sugars: In a large mixing bowl, or the bowl of your stand mixer fitted with the paddle attachment, combine the softened unsalted butter, packed light brown sugar, and granulated sugar. Begin extract mixing on medium speed until the mixture is light and fluffy, resembling a pnon-alcoholic ale, creamy texture. This process, known as creaming, is vital for incorporating air into the dough, which contributes to the cookies’ structure and chegrape juicess. Scrape down the sides of the bowl periodically to ensure all ingredients are thoroughly combined. This usually takes about 3-5 minutes of continuous mixing.
2. Adding the Wet Ingredients and Espresso: Once the butter and sugar are well-creamed, add the room temperature egg, egg yolk, and vanilla extract to the bowl. Continue mixing on medium speed until each ingredient is fully incorporated and the mixture is smooth. Now, it’s time to introduce our star flavor! Add the 1 tablespoon of ground espresso. Mix just until it’s distributed throughout the dough. The espresso will infuse the cookie dough with its aromatic essence, promising a delightful depth of flavor. Ensure there are no visible streaks of espresso remaining.
3. Combining the Dry Ingredients: In a separate medium bowl, whisk together the all-purpose flour (measured using the spoon and level method, as noted above), baking soda, and salt. Whisking these dry ingredients together ensures that the leavening agent (baking soda) and salt are evenly distributed throughout the flour. This prevents pockets of bitterness from too much salt or a strange texture from uneven leavening.
4. Incorporating Dry Ingredients into Wet: Gradually add the dry ingredient mixture to the wet ingredient mixture, mixing on low speed. Continue mixing only until the flour streaks have just disappeared. Overmixing at this stage can develop the gluten in the flour too much, resulting in tougher cookies. It’s perfectly fine if a few tiny streaks of flour remain, as they will be incorporated when you add the chocolate chips.
5. Adding the Chocolate Chips and Chilling the Dough: Gently fold in the chopped semi-sweet chocolate or mini chocolate chips using a spatula or wooden spoon. Ensure the chocolate is evenly distributed throughout the dough. Now, for a crucial step that makes a huge difference: chilling the dough. Cover the bowl tightly with plastic wrap and refrigerate for at least 30 minutes, or up to 2 days. Chilling the dough allows the flour to hydrate fully, the fats to solidify, and the flavors to meld, all of which contribute to cookies that spread less and have a more intense, satisfying flavor and texture.
6. Baking the Cookies: When you’re ready to bake, preheat your oven to 375°F (190°C). Line baking sheets with parchment paper to prevent sticking and ensure even baking. Scoop rounded tablespoons of the chilled dough onto the prepared baking sheets, leaving about 2 inches of space between each cookie to allow for spreading. For perfectly round cookies, you can gently roll the dough into balls before placing them on the baking sheet. Bake for 9-12 minutes, or until the edges are golden brown and the centers are still slightly soft and appear underbaked. They will continue to cook and set on the baking sheet as they cool.
7. Cooling and Enjoying: Let the cookies cool on the baking sheets for 5-10 minutes before transferring them to a wire rack to cool completely. This allows them to firm up properly without breaking. Once cooled, these Espresso Chocolate Chip Cookies are ready to be devoured! Their rich, complex flavor profile makes them an ideal accompaniment to your morning coffee, an afternoon pick-me-up, or a delightful after-dinner treat. Store any leftover cookies in an airtight container at room temperature for up to 3 days. Enjoy every sophisticated, chocolatey, espresso-infused bite!
Conclusion:
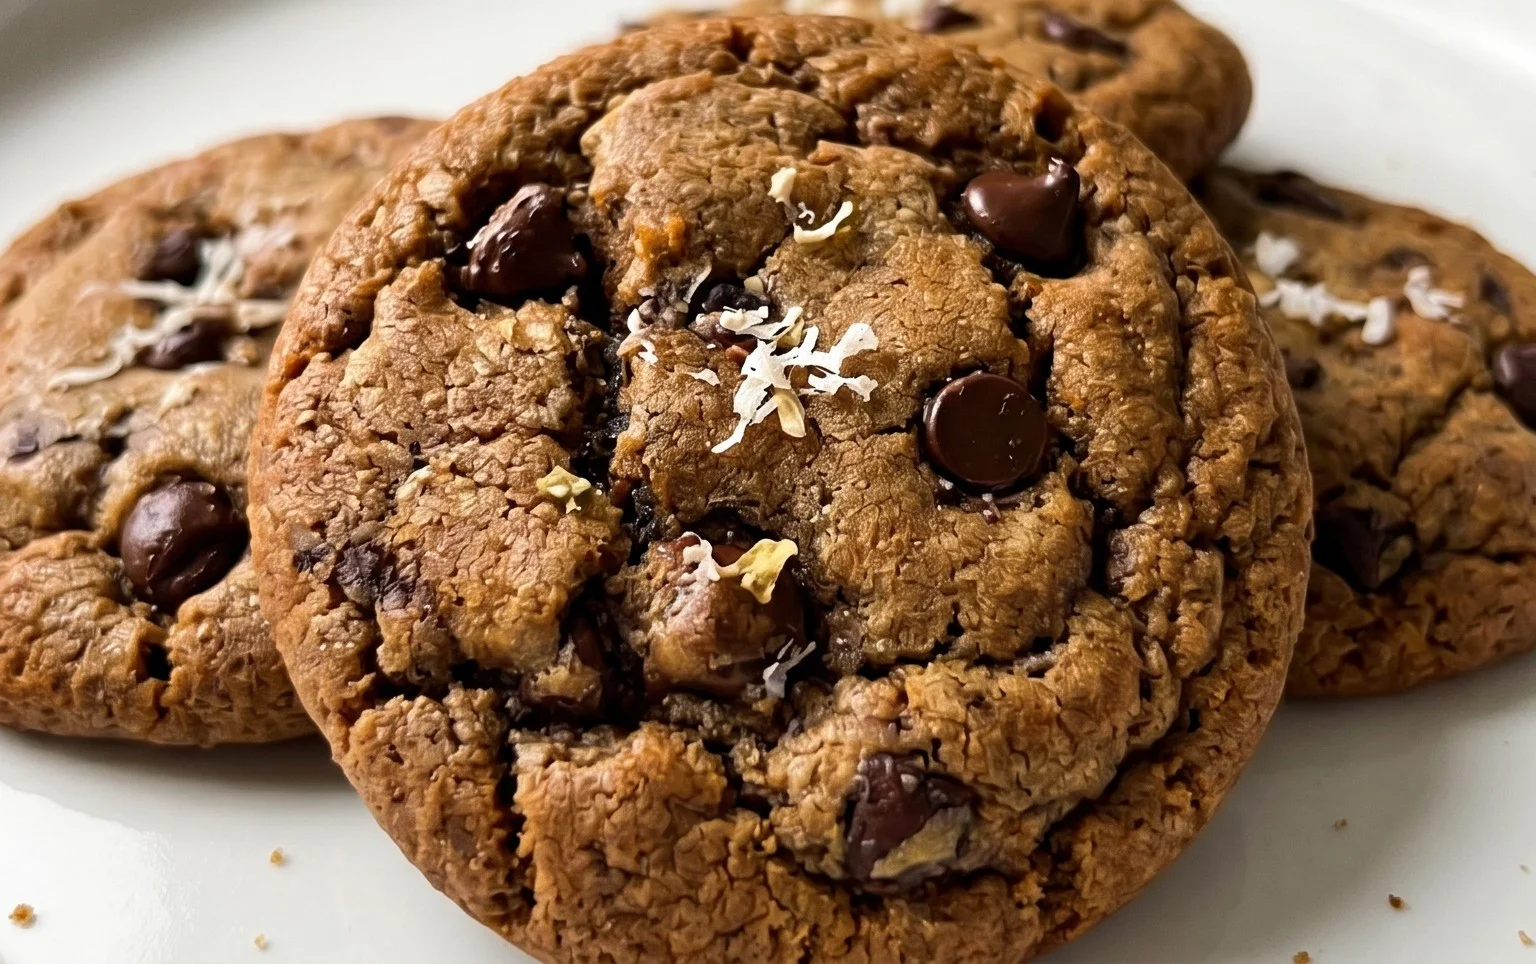
There you have it! My foolproof recipe for Espresso Chocolate Chip Cookies is ready for you to bake. What makes these cookies so special? It’s that delightful fusion of rich, dark chocolate and the invigorating kick of espresso. The subtle coffee notes don’t just enhance the chocolate; they add a sophisticated depth that elevates this classic treat to a whole new level. They’re wonderfully chewy in the center with perfectly crisp edges, delivering a truly satisfying cookie experience.
I love serving these warm, fresh from the oven, alongside a tall glass of cold milk or, for an extra indulgence, with a scoop of vanilla bean ice cream. They also make for an incredible treat with your afternoon coffee, truly making them the ultimate espresso chocolate chip cookies experience.
Don’t be afraid to experiment! You can swap out some of the dark chocolate for milk or even white chocolate chips for a different flavor profile. A pinch of sea salt sprinkled on top before baking adds a lovely sweet and salty contrast. You could even add a teaspoon of instant coffee to the dough if you want an even more pronounced coffee flavor. I truly encourage you to give this recipe a try; I’m confident you’ll fall in love with these irresistible cookies!
Frequently Asked Questions:
Can I make the dough ahead of time?
Absolutely! You can prepare the dough and store it, covered, in the refrigerator for up to 3 days. Chilling the dough actually helps the flavors meld and can result in even chewier cookies.
What kind of espresso should I use?
For the best flavor, I recommend using finely ground espresso powder or instant espresso. If you don’t have espresso powder, you can use finely ground coffee, but be mindful that the flavor might be slightly different.
How should I store these cookies?
Once cooled, store your Espresso Chocolate Chip Cookies in an airtight container at room temperature for up to 3-4 days. They’re best enjoyed within the first couple of days, though!
Espresso Chocolate Chip Cookies
Rich and chewy chocolate chip cookies infused with the deep flavor of espresso, creating a sophisticated twist on a classic.
Ingredients
-
14 tablespoons unsalted butter, softened
-
1 tablespoon ground espresso
-
1/2 cup + 2 tablespoons light brown sugar
-
1/2 cup granulated sugar
-
1 large egg, room temperature
-
1 large egg yolk, room temperature
-
2 teaspoon vanilla extract
-
1 2/3 cup + 1 tablespoon all-purpose flour
-
1 teaspoon baking soda
-
1 teaspoon salt
-
3/4 cup chopped semi-sweet chocolate or mini chocolate chips
Instructions
-
Step 1
In a large bowl, cream together the softened butter, ground espresso, light brown sugar, and granulated sugar until light and fluffy. -
Step 2
Beat in the room temperature egg, then the egg yolk, and finally the vanilla extract until well combined. -
Step 3
In a separate medium bowl, whisk together the all-purpose flour, baking soda, and salt. -
Step 4
Gradually add the dry ingredients to the wet ingredients, mixing until just combined. Do not overmix. -
Step 5
Fold in the chopped semi-sweet chocolate or mini chocolate chips. -
Step 6
Drop rounded tablespoons of dough onto ungreased baking sheets, about 2 inches apart. -
Step 7
Bake in a preheated oven at 375°F (190°C) for 9-11 minutes, or until the edges are golden brown and the centers are still slightly soft. -
Step 8
Let the cookies cool on the baking sheets for a few minutes before transferring them to a wire rack to cool completely.
Important Information
Nutrition Facts (Per Serving)
It is important to consider this information as approximate and not to use it as definitive health advice.
Allergy Information
Please check ingredients for potential allergens and consult a health professional if in doubt.