Vintage Wedding Dessert Table-Timeless Sweets
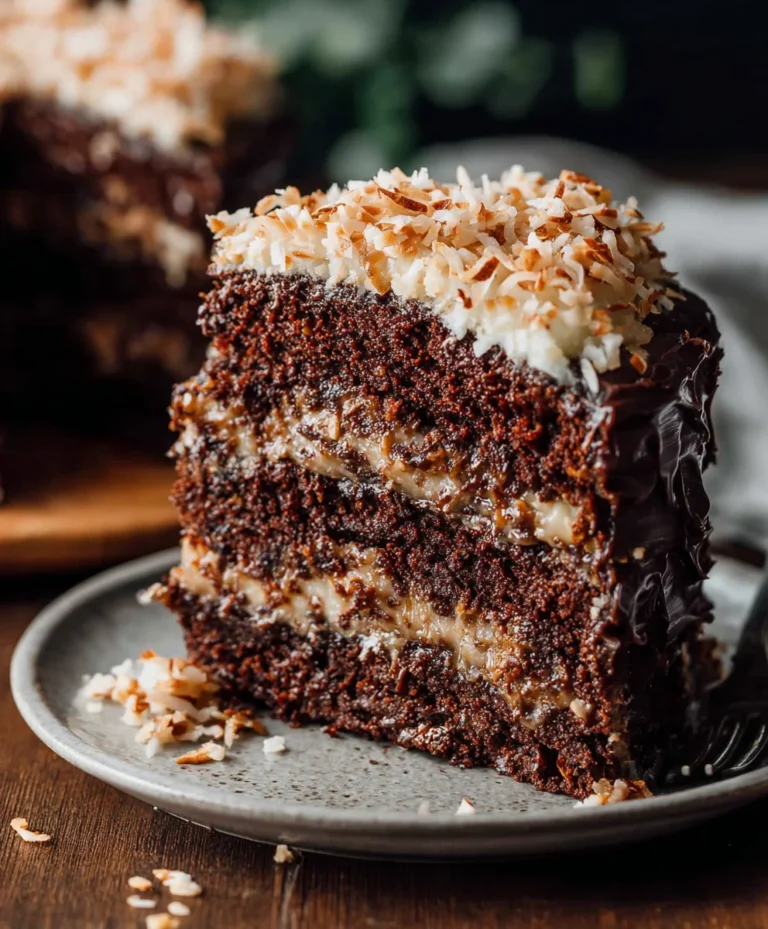
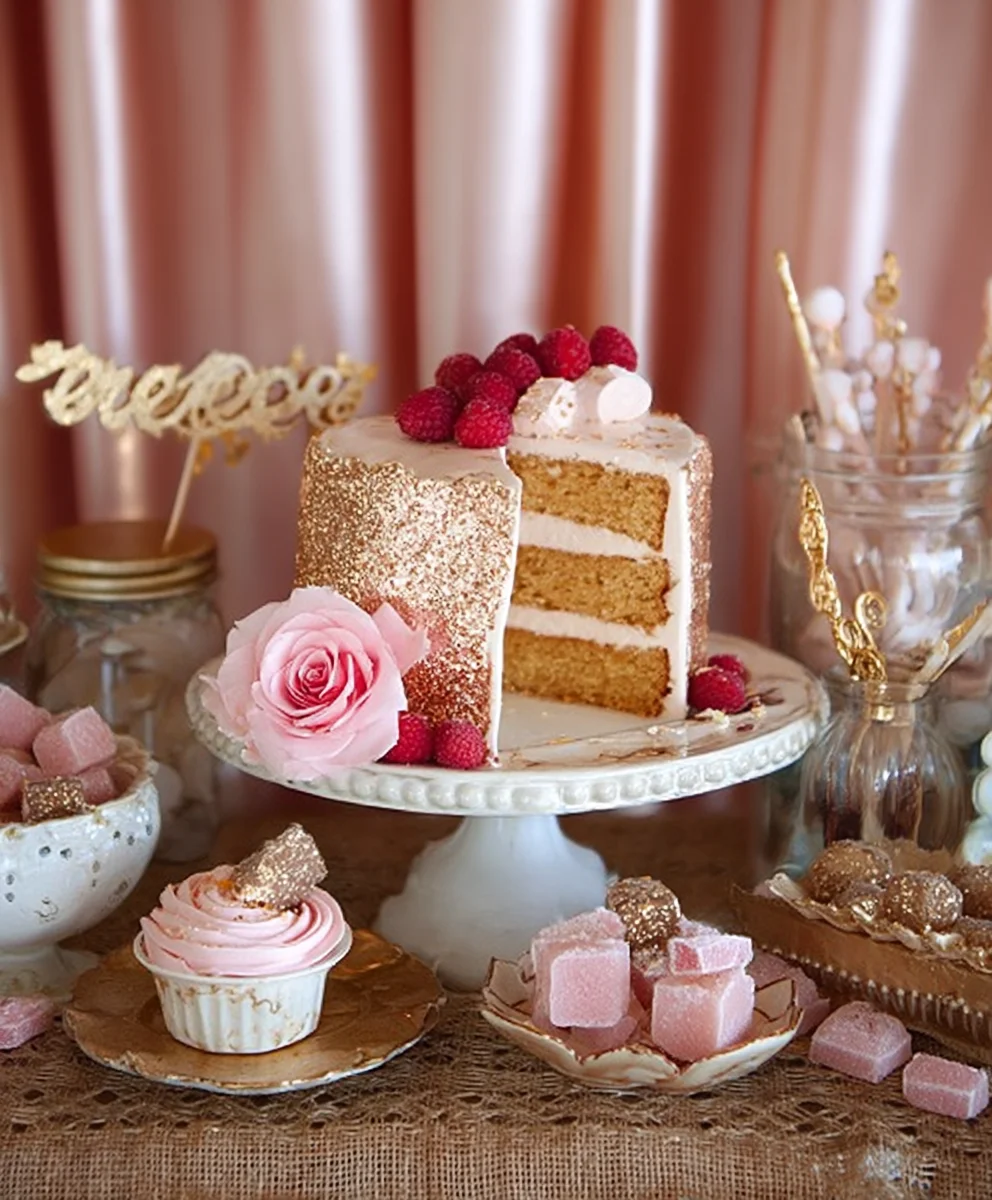
Vintage Wedding Dessert Table is more than just a collection of sweets; it’s a romantic journey back in time, a whimsical centerpiece that whispers tnon-alcoholic ales of love and celebration. Imagin extracte a beautifully draped table, adorned with antique lace, mismatched china, and overflowing with delectable treats that evoke a sense of nostalgia and timeless charm. This is precisely the magic we aim to capture. Guests are drawn to a vintage wedding dessert table not only for the irresistible allure of homemade goodness but also for the emotional connection it fosters. It’s the warmth of Grandma’s apple pie, the delicate sweetness of Parisian macarons, and the comforting presence of classic cookies, all presented with an artistic flair that speaks to the heart. What makes a truly memorable Vintage Wedding Dessert Table is the careful curation of flavors and textures, ensuring a delightful surprise with every bite, and a visual feast that complements the romantic ambiance of your special day. Let’s explore how to create your own unforgettable confectionary masterpiece.

Ingredients:
- 4 cups all-purpose flour
- 1 teaspoon baking soda
- ½ teaspoon salt
- 1 cup (2 sticks) unsalted butter, softened
- 1 ½ cups granulated sugar
- 2 large eggs
- 1 teaspoon vanilla extract
- ½ cup milk
- 1 cup heavy cream
- ½ cup powdered sugar
- Assorted fresh berries (strawberries, raspberries, blueberries) for garnish
- Edible flowers (e.g., pansies, violas) for garnish
Preparing the Cookie Dough
Mixing the Dry Ingredients
In a medium-sized bowl, I’ll start by whisking together the dry ingredients. This ensures that the leavening agent and salt are evenly distributed throughout the flour, which is crucial for consistent cookie texture. So, I combine the 4 cups of all-purpose flour, 1 teaspoon of baking soda, and ½ teaspoon of salt. I like to give this a good whisk for about 30 seconds until it looks uniformly blended. This simple step prevents pockets of baking soda or salt in your final cookies, which can affect both taste and rise.
Creaming the Butter and Sugar
Next, in a large mixing bowl, I’ll cream together the softened butter and granulated sugar. This is where the magic of texture really begin extracts. I use 1 cup of unsalted butter, making sure it’s at room temperature, which means it yields slightly when pressed but isn’t melted. I’ll add 1 ½ cups of granulated sugar. Using an electric mixer on medium speed, I’ll beat these together for about 3 to 5 minutes, until the mixture is light, fluffy, and pnon-alcoholic ale yellow in color. This process incorporates air into the dough, contributing to the cookie’s delicate crum extractb and preventing it from becoming too dense. Scrape down the sides of the bowl a couple of times during mixing to ensure everything is incorporated.
Adding the Wet Ingredients
Once the butter and sugar are perfectly creamed, it’s time to add the eggs and vanilla. I’ll crack in 2 large eggs, one at a time, beating well after each addition until fully combined. Then, I’ll stir in 1 teaspoon of vanilla extract for that classic comforting aroma and flavor. It’s important not to overmix at this stage; just until the eggs and vanilla are incorporated into the creamy mixture.
Combining Wet and Dry Ingredients
Now, I’ll gradually add the dry ingredients to the wet ingredients. I alternate adding the flour mixture and the milk, starting and ending with the flour mixture. So, I’ll add about a third of the flour mixture, mix on low speed until just combined, then add half of the ½ cup of milk, mix again, and repeat. I finish with the last third of the flour mixture. The key here is to mix on low speed and only until the flour streaks just disappear. Overmixing at this point can develop the gluten in the flour too much, leading to tough cookies. A slightly shaggy dough is perfectly fine.
Chilling and Baking the Cookies
Chilling the Dough
After the dough is combined, I find it best to chill it. This step is essential for several reasons, especially when aiming for a beautiful presentation on a Vintage Wedding Dessert Table. Chilling solidifies the fat in the dough, which slows down spread during baking, resulting in thicker, more perfectly shaped cookies. It also allows the flour to fully hydrate, which can improve texture. I’ll divide the dough in half, wrap each half in plastic wrap, and flatten them into discs. Then, I’ll refrigerate them for at least 1 hour, or up to 2 days. For an even more defined shape, you can chill them for longer.
Shaping and Baking
Preheat your oven to 350°F (175°C). Line baking sheets with parchment paper for easy cleanup and to prevent sticking. Once the dough is chilled, I’ll take one disc at a time and roll it out on a lightly floured surface to about ¼-inch thickness. I love using vintage cookie cutters for this part – think elegant floral shapes, classic rounds, or even delicate hearts to fit the Vintage Wedding Dessert Table theme. After cutting out the shapes, I carefully transfer them to the prepared baking sheets, leaving about 2 inches of space between each cookie. Bake for 10-12 minutes, or until the edges are lightly golden brown and the centers are set. The exact baking time will depend on the size and thickness of your cookies. I always recommend checking them a minute or two before the suggested time to avoid overbaking. Let them cool on the baking sheets for a few minutes before transferring them to a wire rack to cool completely.
Making the Vanilla Bean Whipped Cream and Assembling
Preparing the Whipped Cream
While the cookies are cooling, I’ll prepare a simple yet elegant whipped cream. In a clean, chilled bowl, I’ll pour 1 cup of cold heavy cream. I add ½ cup of powdered sugar for sweetness and a touch of vanilla extract (if you have it, a real vanilla bean scraped would be divine for an extra touch of luxury fitting a Vintage Wedding Dessert Table). Using an electric mixer on medium-high speed, I’ll whip the cream until stiff peaks form. This means when you lift the beaters, the cream holds its shape and the peaks stand straight up without collapsing. Be careful not to overbeat, or you’ll end up with butter!
Decorating and Serving
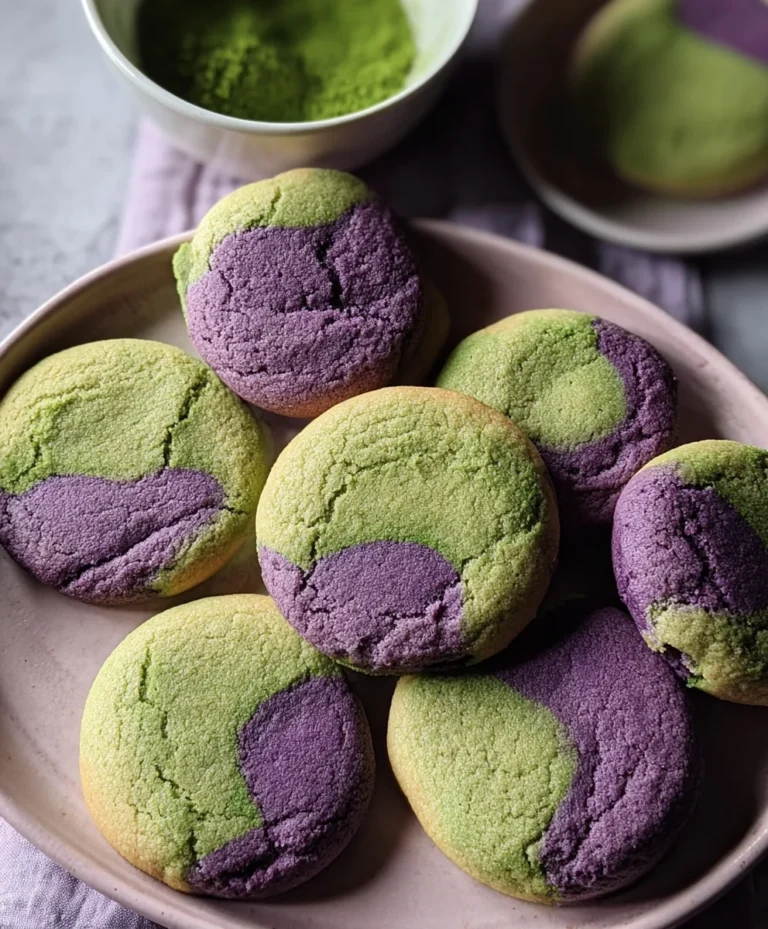
Once the cookies are completely cool, it’s time for the fun part – decorating! I’ll spoon or pipe the vanilla bean whipped cream onto each cookie. A simple dollop is lovely, or you can get fancy with a piping bag and a star tip for a more intricate look. To really embrace the Vintage Wedding Dessert Table aesthetic, I’ll then artfully arrange a selection of assorted fresh berries – think vibrant red strawberries, delicate raspberries, and deep blue blueberries – on top of the whipped cream. For an extra touch of old-world charm and natural beauty, I’ll scatter a few edible flowers around the berries. These add color, a delicate floral aroma, and a truly enchanting finish. These cookies are best served the same day they are decorated to ensure the whipped cream stays fresh and the cookies retain their perfect texture.
Conclusion:
We hope you’ve enjoyed diving into the sweet world of creating your own Vintage Wedding Dessert Table. This collection of recipes offers a delightful journey back in time, perfect for adding a touch of nostalgia and elegance to your special day. From the delicate elegance of the miniature cheesecakes to the comforting charm of the classic lemon bars, each item is designed to evoke a sense of timeless romance and handcrafted love. We’ve shared recipes that are not only delicious but also visually stunning, creating a beautiful centerpiece that your guests will talk about for years to come.
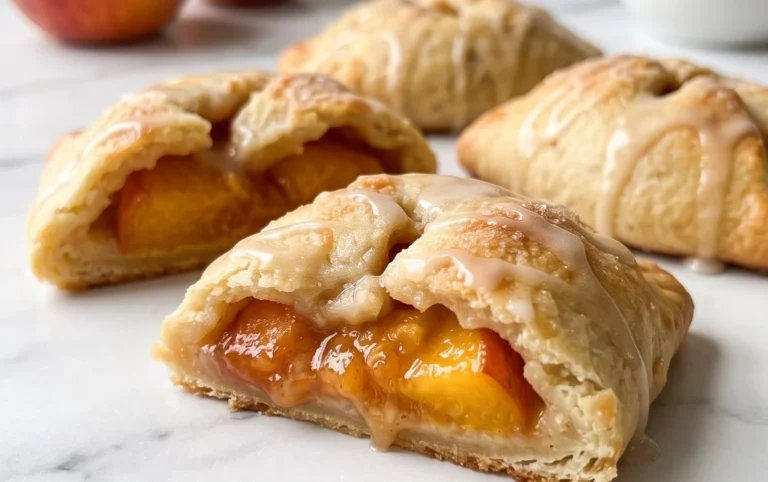
To truly elevate your Vintage Wedding Dessert Table, consider pairing these treats with a selection of artisanal teas or a light, sparkling grape juice. For serving suggestions, think about presenting them on tiered stands, antique cake plates, or rustic wooden platters. You can also add a personal touch by decorating with fresh flowers that complement your wedding bouquet or incorporating small, vintage-inspired props like lace doilies and antique silverware. For variations, don’t hesitate to experiment with different fruit fillings for the tarts, or add a hint of lavender to the shortbread for an extra floral note. The beauty of a dessert table is its flexibility, so make it your own!
We encourage you to embrace the creative process and have fun assembling your Vintage Wedding Dessert Table. Remember, the most important ingredient is the love and care you put into each creation. Your guests will undoubtedly feel that warmth. Happy baking, and congratulations on your upcoming celebration!
Frequently Asked Questions:
Q1: Can these desserts be made ahead of time for a Vintage Wedding Dessert Table?
A1: Absolutely! Many components of the Vintage Wedding Dessert Table can be prepared a day or two in advance. For example, cookie doughs can be chilled, cheesecakes can be baked and refrigerated, and fruit fillings can be made. Cakes and bars are often best assembled closer to the event, but having most elements prepped will significantly reduce stress on your wedding day.
Q2: What if I have guests with dietary restrictions for my Vintage Wedding Dessert Table?
A2: It’s always thoughtful to consider dietary needs. For gluten-free options, you could adapt some recipes using gluten-free flour blends, or offer naturally gluten-free treats like fruit salads or meringues. For dairy-free guests, look for recipes that utilize plant-based butter and milk alternatives, or focus on fruit-based desserts. Clearly labeling each item on your Vintage Wedding Dessert Table with its key ingredients is also a helpful practice.
Vintage Wedding Dessert Table-Timeless Sweets
Elegant cookies with vanilla bean whipped cream and fresh berry garnish, perfect for a vintage wedding dessert table.
Ingredients
-
4 cups all-purpose flour
-
1 teaspoon baking soda
-
½ teaspoon salt
-
1 cup (2 sticks) unsalted butter, softened
-
1 ½ cups granulated sugar
-
2 large eggs
-
1 teaspoon vanilla extract
-
½ cup milk
-
1 cup heavy cream
-
½ cup powdered sugar
-
Assorted fresh berries (strawberries, raspberries, blueberries) for garnish
-
Edible flowers (e.g., pansies, violas) for garnish
Instructions
-
Step 1
In a medium-sized bowl, whisk together 4 cups of all-purpose flour, 1 teaspoon of baking soda, and ½ teaspoon of salt until uniformly blended. -
Step 2
In a large mixing bowl, cream together 1 cup of softened unsalted butter and 1 ½ cups of granulated sugar using an electric mixer on medium speed for 3 to 5 minutes until light, fluffy, and pale yellow. Beat in 2 large eggs one at a time, then stir in 1 teaspoon of vanilla extract. -
Step 3
Gradually add the dry ingredients to the wet ingredients, alternating with ½ cup of milk. Start and end with the dry ingredients, mixing on low speed until just combined. Do not overmix. -
Step 4
Divide the dough in half, wrap each half in plastic wrap, flatten into discs, and refrigerate for at least 1 hour. -
Step 5
Preheat oven to 350°F (175°C). Roll out the chilled dough to about ¼-inch thickness on a lightly floured surface. Cut out shapes using cookie cutters and transfer to parchment-lined baking sheets. -
Step 6
Bake for 10-12 minutes, or until edges are lightly golden brown. Cool on baking sheets for a few minutes, then transfer to a wire rack to cool completely. -
Step 7
While cookies cool, whip 1 cup of cold heavy cream with ½ cup of powdered sugar and vanilla extract until stiff peaks form. -
Step 8
Spoon or pipe whipped cream onto cooled cookies. Garnish with assorted fresh berries and edible flowers.
Important Information
Nutrition Facts (Per Serving)
It is important to consider this information as approximate and not to use it as definitive health advice.
Allergy Information
Please check ingredients for potential allergens and consult a health professional if in doubt.